
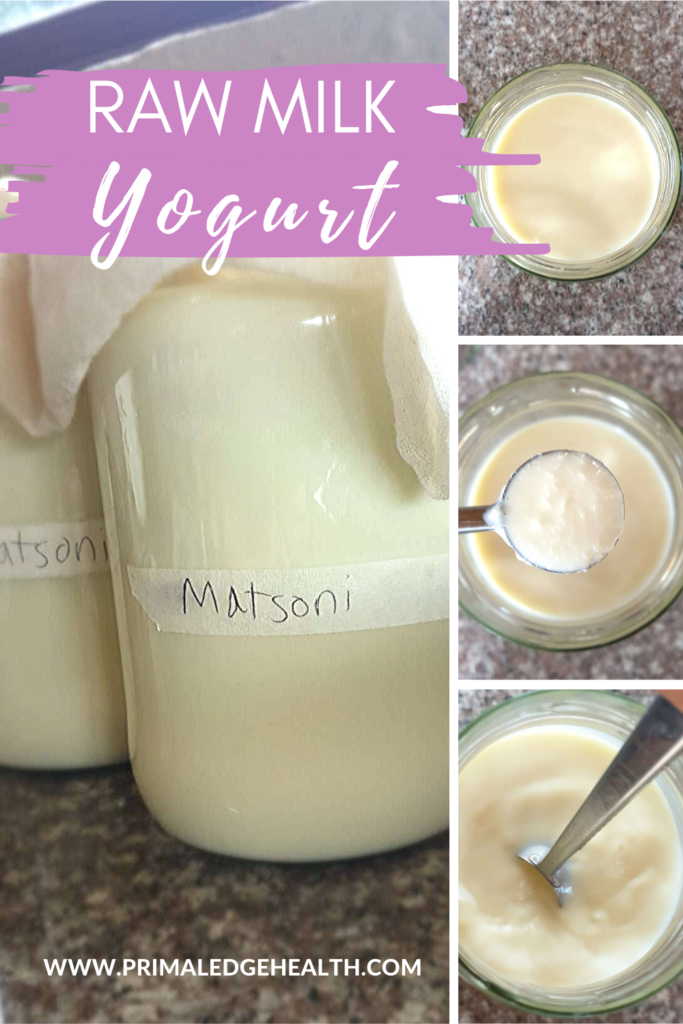
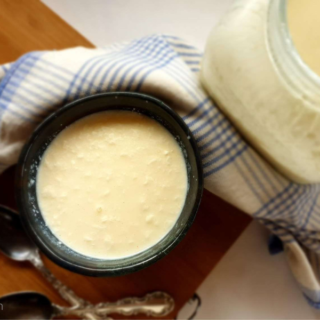
Homemade Raw Milk Yogurt Recipe (Keto Carnivore)
Primal Edge Health participates in the Amazon Services LLC Associates Program and other affiliate programs and therefore, may collect a share of sales or other compensation from the links on this page. This comes at no additional cost to you, and all the prices and availability are accurate at the time of publishing.

Learning how to make yogurt from fresh milk is life-changing. Why choose store-bought when you can create a batch that’s fresher, healthier, and so much more delicious than anything you’ll find at the store? All you need is 10 minutes of prep time and 2 simple, easy-to-find ingredients to make this versatile treat right in your own kitchen.
If you like fermented foods on a keto diet, be sure to check out other easy recipes like homemade sauerkraut and pickle relish too. Ready to impress yourself (and maybe your friends) with a bowl of delicious yogurt? Let’s dive in and turn that milk into magic!
Jump To:
Why You’ll Love This Recipe
- All-natural goodness: Made with raw milk, this yogurt is a probiotic-rich food with good bacteria and all the popular benefits of probiotics like improved gut health and strengthened immune system.
- No yogurt maker or machine is needed.
- Family-friendly
- Carnivore diet-friendly: Raw milk yogurt is an excellent source of carnivore carbohydrates. Take a look at other foods to eat on a carnivore diet or enjoy as carnivore snacks and download our free Carnivore Diet Food List. This list is a printable pdf so you can save it on your device or print it out at home for your convenience.
- Customizable: Prefer it thick and creamy? Strain the whey to get the perfect consistency.
How to Make Raw Milk Yogurt
Making raw milk yogurt has never been easier and introduces your ability to replicate future batches by preserving a “mother”, so you’ll never have to buy a yogurt starter again.
This “mother” forms the base for your yogurt and works best in pasteurized milk. You can technically take a shortcut to inoculate raw milk directly with a yogurt culture, but the strain will eventually go wild. For example, for every 2 quart (2 liter) jar of yogurt, you can reserve 8 tablespoons (½ cup) of yogurt to add to the next batch. However, this isn’t recommended to do often. I’ve learned this from experience that the quality significantly degrades over time.
The best way to preserve the taste and texture of the original strain is to pasteurize a bit of milk, culture it, and then use that as the starter for your batch of raw milk yogurt. Specific directions will be provided by the company you purchase the yogurt culture from.
Scroll to the bottom of this post for a printable recipe card with a full list of ingredients, measurements, and step-by-step instructions.
If you like fermented foods on a keto diet, be sure to check out other easy recipes like homemade sauerkraut and pickle relish too. Ready to impress yourself (and maybe your friends) with a bowl of delicious yogurt? Let’s dive in and turn that milk into magic!
Why You’ll Love This Recipe
- All-natural goodness: Made with raw milk, this yogurt is a probiotic-rich food with good bacteria and all the popular benefits of probiotics like improved gut health and strengthened immune system.
- No yogurt maker or machine is needed.
- Family-friendly
- Carnivore diet-friendly: Raw milk yogurt is an excellent source of carnivore carbohydrates. Take a look at other foods to eat on a carnivore diet or enjoy as carnivore snacks and download our free Carnivore Diet Food List. This list is a printable pdf so you can save it on your device or print it out at home for your convenience.
- Customizable: Prefer it thick and creamy? Strain the whey to get the perfect consistency.

How to Make Raw Milk Yogurt
Making raw milk yogurt has never been easier and introduces your ability to replicate future batches by preserving a “mother”, so you’ll never have to buy a yogurt starter again.
This “mother” forms the base for your yogurt and works best in pasteurized milk. You can technically take a shortcut to inoculate raw milk directly with a yogurt culture, but the strain will eventually go wild. For example, for every 2 quart (2 liter) jar of yogurt, you can reserve 8 tablespoons (½ cup) of yogurt to add to the next batch. However, this isn’t recommended to do often. I’ve learned this from experience that the quality significantly degrades over time.
The best way to preserve the taste and texture of the original strain is to pasteurize a bit of milk, culture it, and then use that as the starter for your batch of raw milk yogurt. Specific directions will be provided by the company you purchase the yogurt culture from.
Scroll to the bottom of this post for a printable recipe card with a full list of ingredients, measurements, and step-by-step instructions.
Ingredients You Need
We only need 2 simple ingredients for this recipe: raw milk and yogurt mother culture. I get all my home fermenting supplies from Cultures from Health. I really can’t recommend them enough.
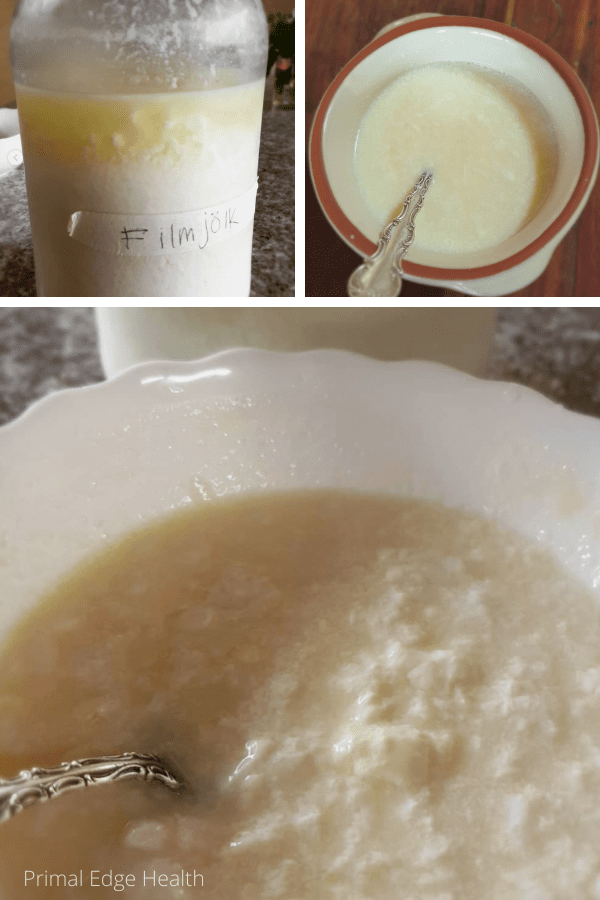
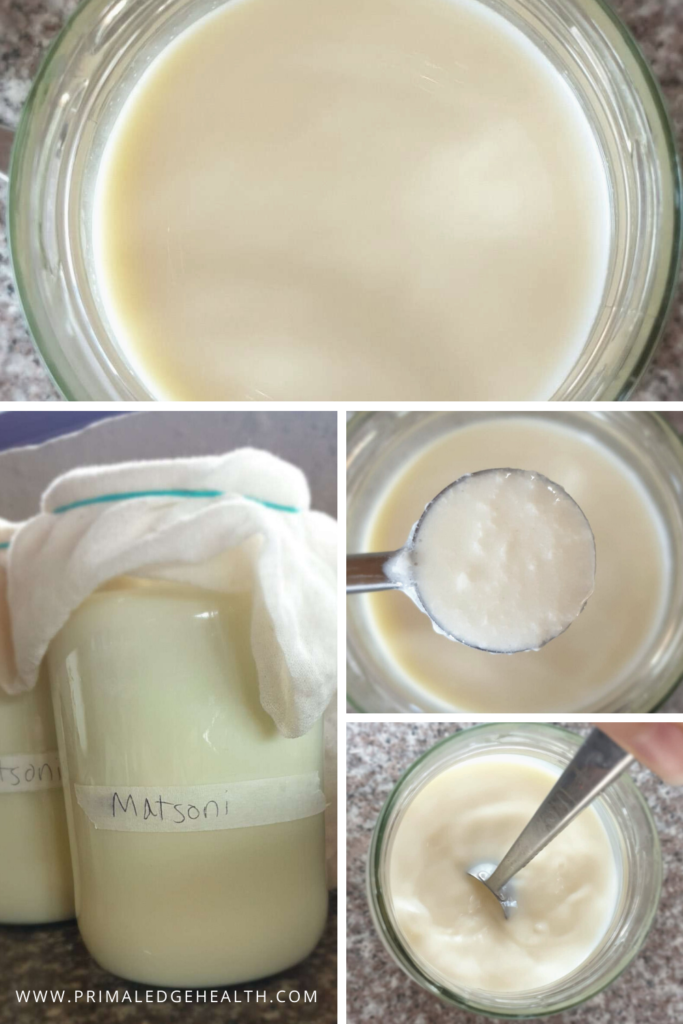
Their website should be bookmarked for anyone interested in a seemingly endless number of DIY recipes for yogurt, cheese, kefir, vegetables and more. For this yogurt recipe, I opt for the 4-pack Heirloom Yogurt Starter Cultures, which contains 4 Scandinavian strains, each with their own unique taste and texture: Filmjolk, Piima, Viili, and Matsoni.
Yogurt mother culture: Introduces the necessary live bacteria to kickstart the fermentation process, turning milk into yogurt. Once established, the mother culture can be reused to make future batches, saving you from having to buy a new starter every time. You’ll need to make this starter ahead of time by following directions from Cultures for Health or whichever brand you purchase from.
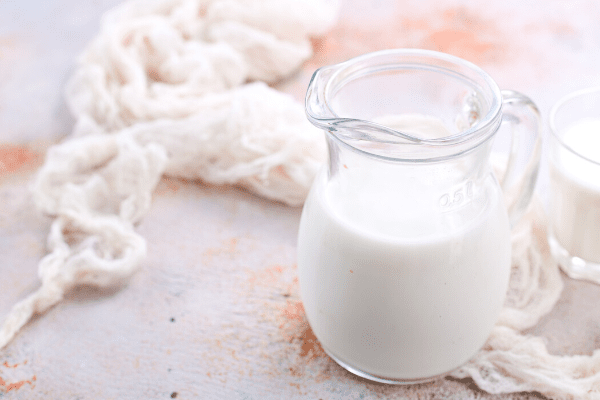
Raw milk: Serves as the base of the recipe, providing natural bacteria and enzymes that enhance the fermentation process. Raw cow’s milk is generally used, but goat’s milk will work great, too.
Step-By-Step Instructions
Here are step-by-step directions for a mesophilic raw milk yogurt recipe. Mesophilic is a term used for organisms that grow best at moderate temperatures, neither too hot nor too cold, which is what we’re doing here. No need to use an oven or cooler for this recipe. No more store-bought yogurt from here on out, too!
Step 1: Measure the milk
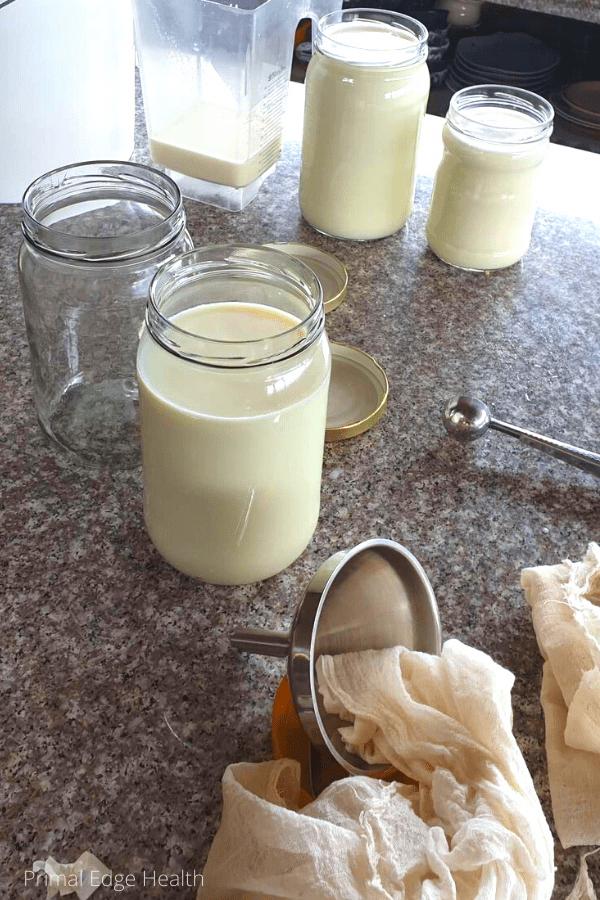
Pour 4 cups of raw milk into a clean glass or plastic container. I use mason jars. Make sure that the container is large enough to allow room for mixing without spilling.
Step 2: Add the mother culture
Stir in 4 tablespoons of the mother culture, mixing thoroughly to distribute the live bacteria evenly throughout the milk.
Step 3: Cover and secure
Place a towel or cheesecloth over the top of the container and secure it with a rubber band. This allows airflow while protecting the yogurt from dust and contaminants.
Step 4: Set in a warm spot
Find a warm spot on your counter, ideally between 70-77°F (20-25°C), and place the container there. Avoid direct sunlight or drafty areas to maintain a stable temperature.
Step 5: Culture the yogurt
Let the mixture sit undisturbed for 12-18 hours to culture.
Step 6: Check for readiness
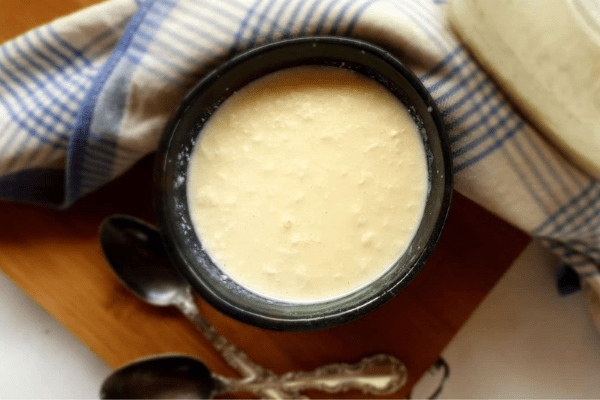
Gently tilt the container to check if the yogurt is ready. If it pulls away cleanly from the sides of the container, it’s done. If it’s still liquid and flows like milk, let it culture a bit longer and check again later.
Step 7: Refrigerate and chill
Once the yogurt is set, transfer it to the refrigerator and let it chill for at least 6 hours before enjoying. This helps improve the texture and flavor.
How To Make Raw Milk Yogurt Using A Crockpot
Have a crockpot or slow cooker in your kitchen? You can absolutely use it to make yogurt from fresh milk. To be honest, I find this approach to be more work than it’s really worth but if you want to try it out, don’t let me stop you.
Take note that if your crockpot reaches temperatures above 115 F, it will cook the milk and kill the naturally occurring bacteria. This will no longer be considered a “raw milk yogurt”. If you are not sure how hot your pot goes, test the temperature with water first and make adjustments as needed.
Follow the directions to learn how to make yogurt in a crock pot.
How To Make Raw Milk Yogurt Using An Instant Pot
Your Instant Pot can also be used to make raw milk yogurt. Follow these simple steps:
- First, pour the milk into the Instant Pot’s insert pot. Add the yogurt starter and stir well to evenly distribute the live cultures.
- Place the lid on the Instant Pot and turn the venting knob to the “Seal” position. This helps maintain the right environment for fermentation.
- Press the “Yogurt” button on your Instant Pot. Then, press “Adjust” to select the “Normal” setting, which is ideal for culturing yogurt.
- Use the +/- buttons to set the timer. Choose a minimum of 8 hours for a mild tang or up to 24 hours for a stronger, tangier yogurt flavor.
- Leave the Instant Pot undisturbed for the entire culturing time. If you’re curious, you can carefully open the lid to check on the progress without disrupting the process too much.
- Once the yogurt is ready, cover the insert pot with a glass or silicone lid and transfer it to the refrigerator. Let it chill for 24 hours to fully set and develop its flavor before serving.
Raw milk yogurt is notorious for being thin. If you crave the thick style yogurt you are used to from the store, try the Traditional Cooking School’s helpful Instant Pot tutorial that adds an extra few steps to ensure quality thickness. Hint: it has to do with gelatin!
You will see her recipe differs slightly from mine below but if you substitute the powdered culture for the mother culture, it should still come out all right.
Raw Milk Yogurt Safety
There are a few things to consider before jumping into your first batch of delicious raw milk yogurt.
Follow standard culinary measures and make sure everything you use for the recipe is clean. Wipe down counters (I use a homemade all-purpose cleaner on my countertops) and choose clean jars with tight-fitting lids. Glass jars are preferred, although plastic containers may also be used.
Only use fresh milk to make yogurt. If the milk is already a few days old or wasn’t chilled right away, there may be competitive levels of bacteria or pathogens present that prevent the yogurt from setting as it should. In this case, you may notice an “off” flavor or yogurt that doesn’t congeal properly.
Raw milk yogurt is not homogenized. Over time the curds and whey will separate as it continues to ferment, even in the fridge. You may also notice the cream rise to the top. Give the jar a good shake to stir it back into the yogurt or scoop it off and eat it alone. Do not mistake this separation as a mistake or bad. It is the natural process that happens to raw milk yogurt after sitting in the fridge for about 7 days. For this reason, it is best to make small frequent batches 2-4 times a week so as to preserve the integrity of the mother culture.
Most people who decide to make their own raw milk yogurt are comfortable with raw milk and do not think it is inherently dangerous. However, as it is possible to be ill from pasteurized milk, one can just as conceivably become ill from raw milk. Please speak with your farmer and assess the situation to see if this is right for you.
Expert Tips
- Find raw milk: Source raw milk if you are able to. Big industry has ruined dairy in many ways, so support a local source of raw milk whenever possible. You may see it available “for pet use” or “for bathing”. Always purchase at your own risk, understanding potential consequences.
- Make a mother culture every 7 days.
- Strain for thickness: Raw milk yogurt tends to have a thinner consistency compared to other types. Give the yogurt a squick strain through a cheesecloth or fine mesh strainer to remove the whey and achieve a thicker, creamier texture.
- Keep it clean: Sanitize your equipment before starting to avoid unwanted bacteria interfering with the process.
- Adjust culture time: For a tangier flavor, allow the yogurt to ferment for up to 24 hours. Shorter times (8-12 hours) yield a milder taste.
- Adjust yield: Follow the ratio of 1 tablespoon starter to 1 cup raw milk, up to 8 cups per container.
Flavor it later: Add sweeteners, fruits, or flavorings after the yogurt has finished culturing to preserve the integrity of the fermentation proc
How to Store This Recipe
Store raw milk yogurt in the refrigerator in an airtight container. Once opened, consume it within a week, as the live cultures will continue to ferment slowly and change the texture over time. Proper sealing and consistent cold storage are essential to keep it fresh.
What to Serve with Raw Milk Yogurt
It’s exciting to learn how to make yogurt from fresh milk because you can enjoy it in so many ways. You can enjoy raw milk yogurt plain, with added granola or toasted nuts, sprinkled with chia or flax seeds, topped with berries, banana slices, or diced mango, or drizzled with honey or maple syrup.
You can also use it as a creamy base for smoothies or breakfast bowls, as a tangy syrup alternative for pancakes and waffles, added in baking recipes like yogurt cakes or muffins, or even in curries for creaminess and depth of flavor.
More Easy Yogurt Recipes To Try
Take your raw milk yogurt and add it into any of these delicious keto recipes with yogurt!
- Boneless New York strip steak with yogurt marinade
- Curry cabbage pancakes with yogurt sauce
- Bunless burgers with tangy dill yogurt sauce
- Tzatziki yogurt dip
Raw Milk Yogurt Recipe
Video
Equipment
- 1 quart (liter) Glass jar with lid
- Kitchen towel or cheesecloth
Ingredients
- 4 cups raw milk
- 4 tablespoons yogurt mother culture
Instructions
- Measure 4 cups of raw milk into a glass or plastic container.
- Add 4 tablespoons of mother culture and mix well.
- Cover with a towel or cheesecloth, secure with a rubber band.
- Set on the counter in a warm spot about 70-77 °F(20-25°C), out of direct sunlight.
- Culture for 12-18 hours. Check by gently tilting the jar. If the yogurt separates from the side of the jar with a clean break, it is done. If it is still very liquid and pours up the side like milk, return it to the counter and check again later.
- Once set, refrigerate for at least 6 hours before eating.
Notes
- Make a mother culture every 7 days.
- Raw milk yogurt tends to have a thinner consistency compared to other types. Give the yogurt a squick strain through a cheesecloth or fine mesh strainer to remove the whey and achieve a thicker, creamier texture.
- Sanitize your equipment before starting to avoid unwanted bacteria interfering with the process.
- For a tangier flavor, allow the yogurt to ferment for up to 24 hours. Shorter times (8-12 hours) yield a milder taste.
- Follow the ratio of 1 tablespoon starter to 1 cup raw milk, up to 8 cups per container.
Nutrition & Macros
To obtain the most accurate representation of the nutritional information in a given recipe, please calculate the nutritional information with the actual ingredients and amounts used, using your preferred nutrition calculator. Under no circumstances shall the this website and the author be responsible for any loss or damage resulting for your reliance on the given nutritional information.


Tried making raw milk yogurt for the first time and followed your safety tips and it was a success. The yogurt turned out so creamy and so delicious. Definitely recommending giving this a try!
Thanks for the wonderful review, Maxine.
Thanks for sharing this very detailed recipe. It was so easy to make and I can really taste the difference from the store-bought ones. Definitely making this again!
That’s great to hear it’s on-repeat. Thank you for the five star review, Pauline.
This yogurt is thick, creamy and so delicious. I served it in a bowl topped with fresh berries and my kids loved it. It’s so satisfying knowing I made it myself with quality ingredients!
Such a feeling of accomplishment, right? Thanks for the wonderful review, Louise.
I was intimidated to try making my own yogurt but you made it look easy! We made our first batch and it turned out great! We’re going to experiment with different strains now.
It’s a fun project for sure. Thanks for the review, Maggie.
Loved how detailed this recipe was. I finally tried it and it was delicious and creamy! Using them for my overnight oats!
Glad to hear the recipe was a success. We take great care in writing them as user-friendly as possible 😉
Hi! did you use pasteurised milk when waking up your starter?
Hi there! Yes, ideally for best results, the starter must be made with pasteurized milk so you preserve the integrity of the culture. I learned that taking a starter from the previous batch of yogurt works well for a while but the quality of flavor degrades over time. Best to culture a mother frequently. Enjoy!
Thank you for all the great information, Jessica!
After seeing your answer to LC’s question, I have one of my own. I have watched your video and read instructions from Cultures of Health, and I need to make sure I am understanding the mother culture thing. 🙂
So… I have my heirloom culture and a cup of raw milk that I am going to prepare according to Cultures of Health Raw Milk Mesophilic directions. I add the provided culture to the milk I have just pasteurized, and I understand this is my mother culture that when ready I will be taking one tablespoon of for each cup of cold raw milk and let it do its thing. Right? 🙂
Let’s say I am making yogurt every day and I am getting down to my last tablespoon of that pasteurized mother culture and I need to refresh my culture. Do I once again heat up a cup of milk like I did before and add that last tablespoon from the initial culture to it when ready? And now I have a new pasteurized mother culture? And I just continue in that fashion?
I hope I made sense. 🙂
Warmly,
Donna
Hi Donna, I’m so excited you’re starting this adventure! YES. To all your questions and the hope that you made sense. Use RAW milk for the yogurt but PASTEURIZED milk for the mother starter. In your example, I would make a new mother once the first culture is 2/3 done, just incase it doesn’t come out correctly for whatever reason, you still have some to try again. The only difference there is waiting until only 1 tbsp of culture remains vs having more for backup. Good luck!
Perfect!
Thank you, Jessica, for your time in answering my question. 🙂
Absolutely, Donna! Thanks for visiting my blog and sharing so much of your adventure with me!
This is so much better than store-bought yogurt and easier than I thought it would be.
One of my favorite foods in the whole world!!!! SO good! LOVE this recipe and the beautiful sourcing you guys espouse! Beautiful yogurt!
Thanks Megan! Making yogurt from a good source is so rewarding!
This is going to be so good! I’m dreaming of all the dishes I can add this delicious yogurt to, or just enjoy a cup!
Great point! From salad dressing to marinade, baking to pancakes, there are so many ways to use yogurt. I usually just drink it by the cup 🙂
Thank you for this delicious and easy to follow recipe! So much better than store bought!
You are right, homemade versions are always better. And they make more servings too!
I just started reading about where to find raw milk around Chicago so I’m definitely adding this to my list of recipes to try!
Make a note! That’s great that you have a local source. It’s very rewarding to be able to connect with a farmer directly and support their work.