How to Render Beef Tallow
Primal Edge Health participates in the Amazon Services LLC Associates Program and other affiliate programs and therefore, may collect a share of sales or other compensation from the links on this page. This comes at no additional cost to you, and all the prices and availability are accurate at the time of publishing.
Learn how to render beef tallow in 2 easy steps. Beef tallow is a versatile animal fat with many uses.
Discovering important historical foods like tallow for yourself can help you connect more deeply with past generations as well as your own personal nutrition. In many ways, tallow is a gateway to organ meats, which are of course, the most nutrient-dense foods on the planet and very affordable sources of bioavailable nutrition.
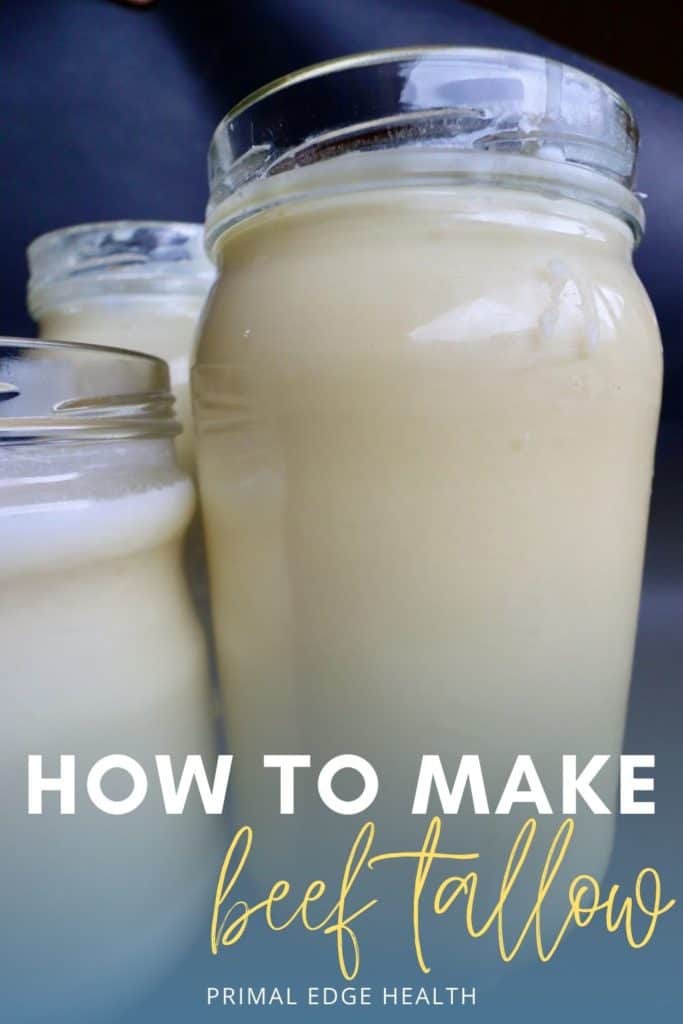
Table of Contents (click to view)
What is Beef Tallow?
Beet tallow is a rendered form of fat from beef suet.
Tallow refers to the rendered fat of an animal, most commonly beef or mutton fat.
Nutrition Advance
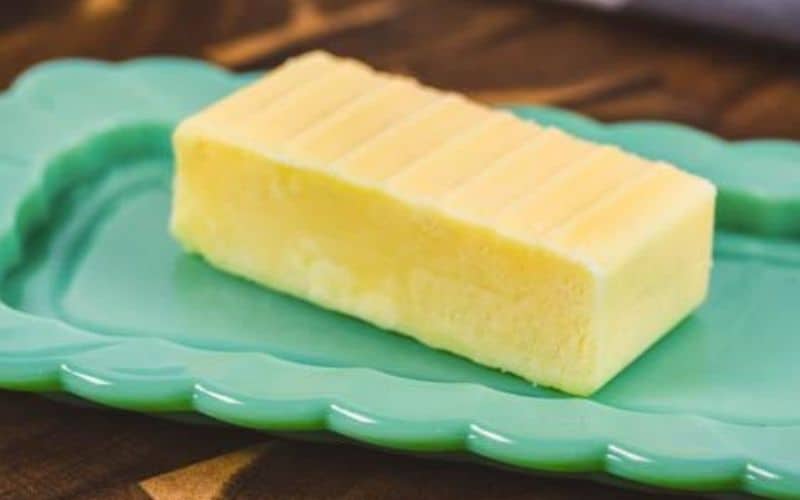
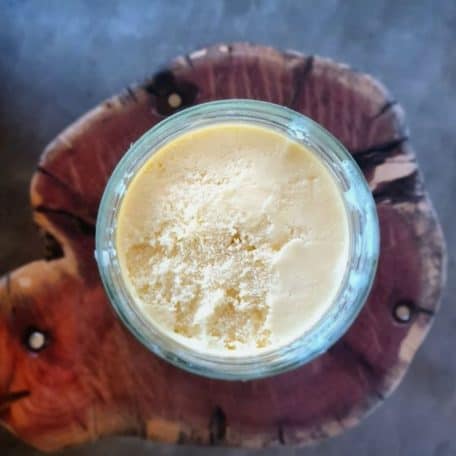
It is a firm waxy fat and solid at room temperature.
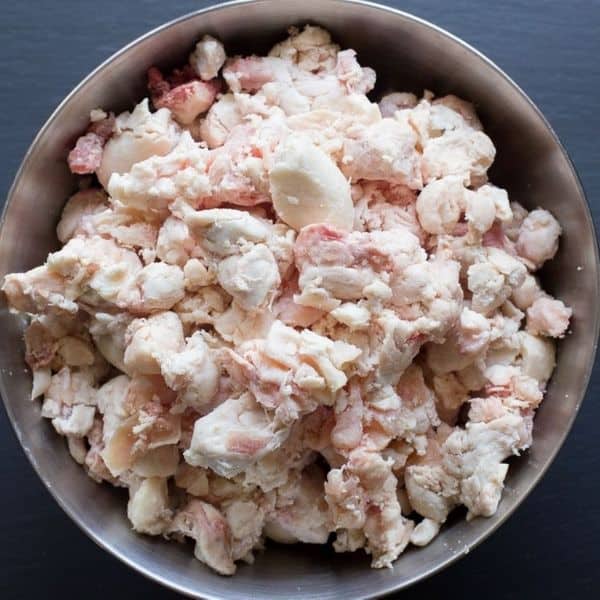
Suet is the hard white fat that encloses the kidneys and loins of cattle, sheep, and other ruminant animals. To make tallow from suet, we gently melt the fat out of the suet while it rests in a pot with low heat over a certain period of time.
Tallow is similar to lard in that both are rendered animal fat, however, the flavor, texture, and appearance vary significantly.
Is Tallow Healthy?
Tallow is a traditional fat used as a household staple until the 1970’s when the vegetable oil industry rose to power and successfully spread propaganda about the so called “benefits” of polyunsaturated fats.
However, saturated fat is not the enemy.
Tallow is an excellent source of important fat soluble vitamins that we need to stay healthy.
It is nutritionally dense, which makes it great for daily use on a high-fat keto diet or carnivore diet.
Tallow has a number of benefits (source and source)
- Contains fat-soluble vitamins; Vitamin D is particularly high
- Rich in CLA (Conjugated Linoleic Acid)
- One of the best fats to use for high heat cooking because it has a high smoke point and remains chemically stable without generating free radicals
- May help to eat less sugar – when you load up on fats and make the metabolic switch to ketosis, many people feel more satisfied and are able to successfully eliminate sugary foods
- Very affordable! You may be able to even snag some for free from your local farmers
How to Make Beef Tallow
Learning how to render beef tallow at home is really, really easy.
I mean, seriously easy.
After following a few simple steps and waiting a number of hours, you will soon have a healthy, old-fashioned fat you made yourself with one single ingredient.
Wait time is passive, so you can leave the kitchen and let the suet do its work without needing to be there, hands on, the whole time.
Compare this at home process to the heavily mechanized industrial extraction of plant oils like canola and soy oil, or so-called healthier ones like avocado, sesame, and sunflower oil.
No one would be eating these foods were it not for the technologically advanced modern food system.
Tallow is a heritage food.
It is an affordable, clean, and a truly sustainable food you can make for your own family.
Are you craving easy and delicious high-protein, ultra-low-carb recipes? Check out my Carnivore Cookbook for simple and straightforward recipes you’ll love!
Unlock the power of nutrient-dense, fiber-free nutrition with The Carnivore Cookbook, available in both digital and print formats. Say goodbye to the struggle of finding strict carnivore recipes—this collection is your ultimate solution.
How Long Does Beef Tallow Last?
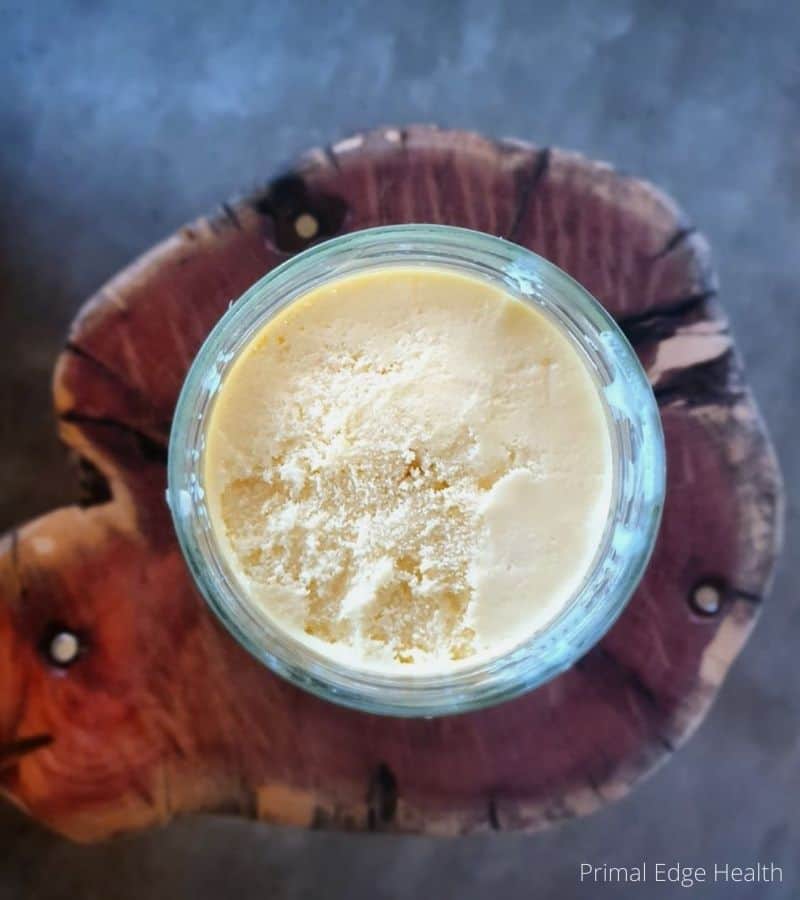
Rendered beef fat is shelf-stable long-term. If made correctly and stored in a clear jar, tallow will not spoil.
Using a dirty container or having any traces of water in the fat usually leads to some sort of mold growing on either the surface of the tallow, the rim of the jar, or the lid.
This is easily prevented by using a clean, dry vessel for storage.
I make large batches of beef tallow a few times a year and store it in our pantry. It’s wonderful to have on hand and always included in my list of emergency keto foods.
Tallow will keep for extended periods of time without the need for refrigeration. However, if you feel more comfortable refrigerating it, you certainly may.
I have also frozen tallow without any negative effects.
Render Beef Tallow at Home (Step by Step)
Anyone can render beef tallow through a very simple process that involves slowly melting the fat out of the suet over low heat for a few hours.
What You Need to Render Beef Suet
Grab one mandatory ingredient and a few necessary tools, then you’ll be ready to make tallow from beet fat.
- Grass-fed suet We do our best to support small scale grass-fed beef. While it isn’t always possible to do all the time, sourcing grass-fed fat does tend to be affordable since it remains in relatively low demand.
- Stockpot or crockpot/slow cooker You have the choice between the two. See my notes on the pros and cons of each below.
- Spoon I use a slotted stainless steel spoon, wooden utensils also work well. Avoid plastic because the fat gets quite hot and the plastic may possibly leach into your food.
- Fine mesh strainer (stainless steel) or colander lined with a cheesecloth Choose how you want to strain the cracklings (cooked suet) out after all the fat has rendered.
- Large baking dish, muffin tray, or sturdy glass jar Finally, decide how you want to store the tallow. I include notes on the various ways I employ further on in this post, continue reading to learn about each option.
How to Make Tallow From Suet
There are 2 steps to making tallow from suet. They are each as simple as they are essential, so don’t let the ease of this process lull you into a stupor.
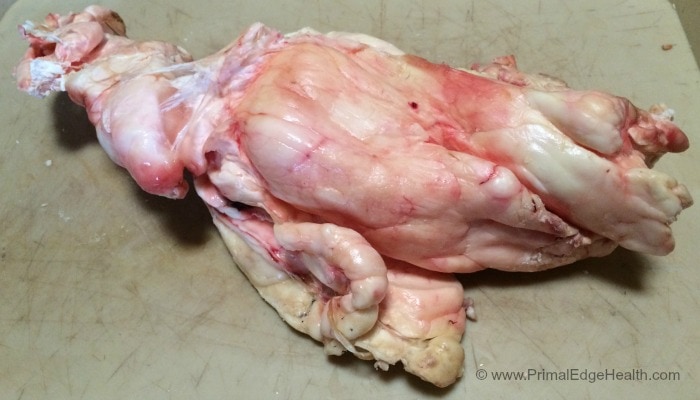
Step 1: Prepare the suet
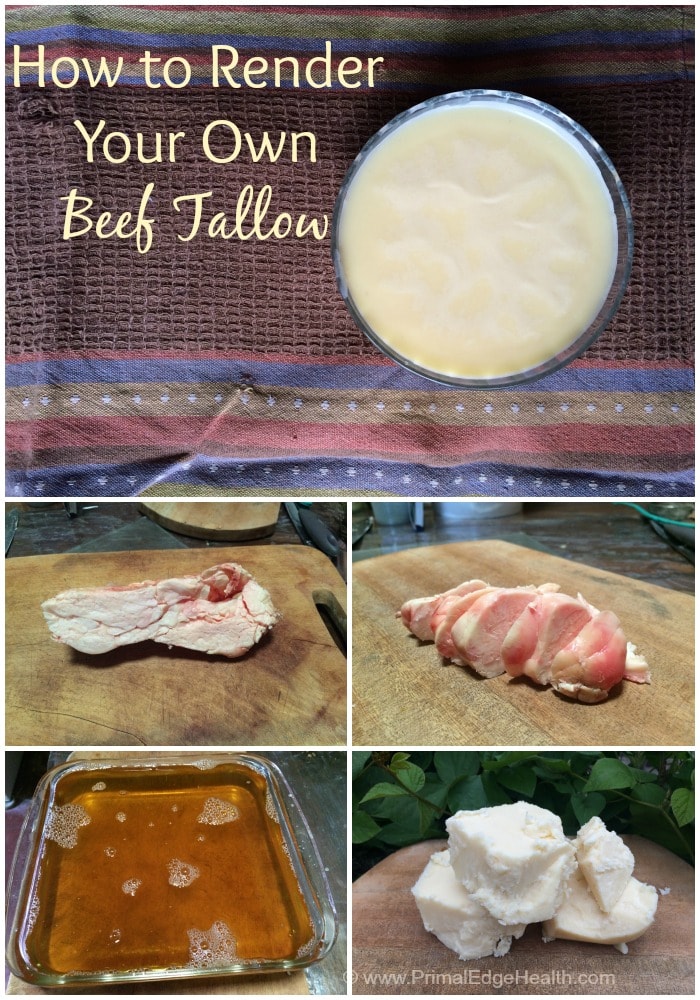
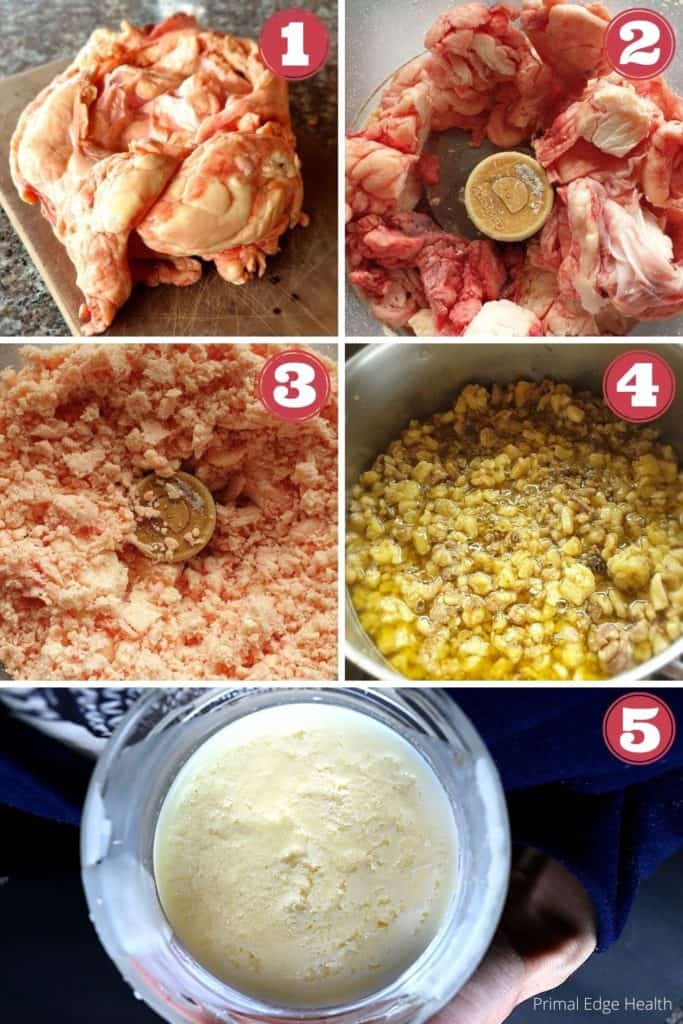
Cut the suet into pieces as small as possible. This allows the fat to come out more easily which makes the whole process go faster and more efficiently.
There are two ways to process the suet:
- Finely chop it by hand
- Pulse it in a food processor
I usually opt to chop by hand with a sharp knife and wooden cutting board.
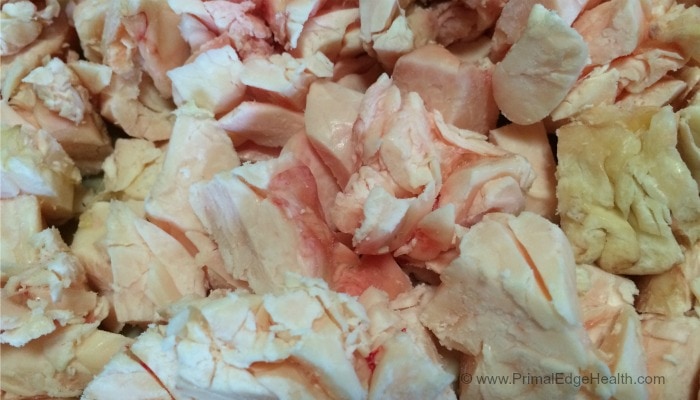
A food processor can also be useful. You’ll still need to cut the large piece of suet into smaller pieces before adding it to the bowl of the machine. I tend to break the original piece down into approximately 3-inch chunks.
The idea is to pulse suet a few times until it is crumbly and coarsely cut. The amount of suet you can pulse at once will be determined by the size of your food processor.
Add just enough so that the blade can run smoothly. If it gets blocked up, remove a piece or two until you can clear the way to continue on.
I have an 11-cup bowl and must work in multiple batches to finish off a piece of suet that is around 6 pounds.
Working with cold (as opposed to fresh) suet is always best since it firms up upon chilling and becomes much easier to slice.
Step 2: Render the fat
There are two ways to render tallow:
- Use a stainless steel stock pot on a stovetop
- Make tallow in a crockpot or slow cooker
I use the same stock pot for tallow that I use for homemade bone broth but you can also use a crock pot or slow cooker if you have one.
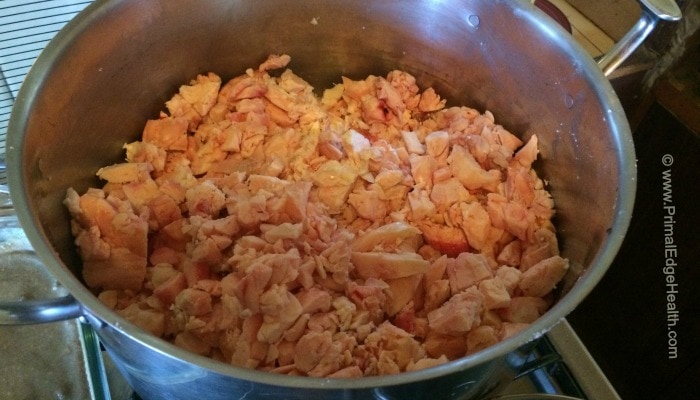
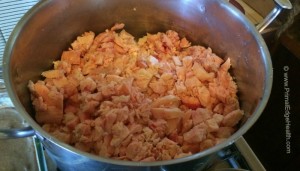
Add all the chopped suet to the pot and set it over low heat. This is the dry method of rendering beef fat, so do not add water.
If you are on the stove-top, keep the flame low so as to melt the fat but not burn it. If you choose to use a slow cooker or crock pot, turn the heat on low.
The total cook time can be up to twice as long when you use either a slow cooker or crockpot as compared to a stove-top. I can finish a batch of tallow on the stove-top in 3-4 hours, whereas it takes 6-8 hours in a slow cooker.
How Do You Know When Tallow is Done Cooking?
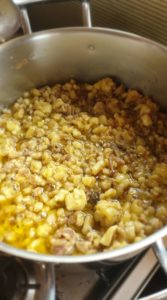
When the fat renders, you will see the suet slowly shrink into little bits that look like popcorn. These are called cracklings.
Cracklings are edible and delicious!
Let them cool slightly after straining the liquid beef fat before sprinkling with a bit of salt. Yummy!
Check in with your pot every hour or so of the cooking time to give it a stir and agitate the material so no pieces get stuck or burnt to the bottom of the pot.
The last hour of cooking is the most important time to watch and make sure you do not burn the fat.
Once tallow is completely rendered out, the cracklings are very small and shriveled.
How to Store Beef Tallow
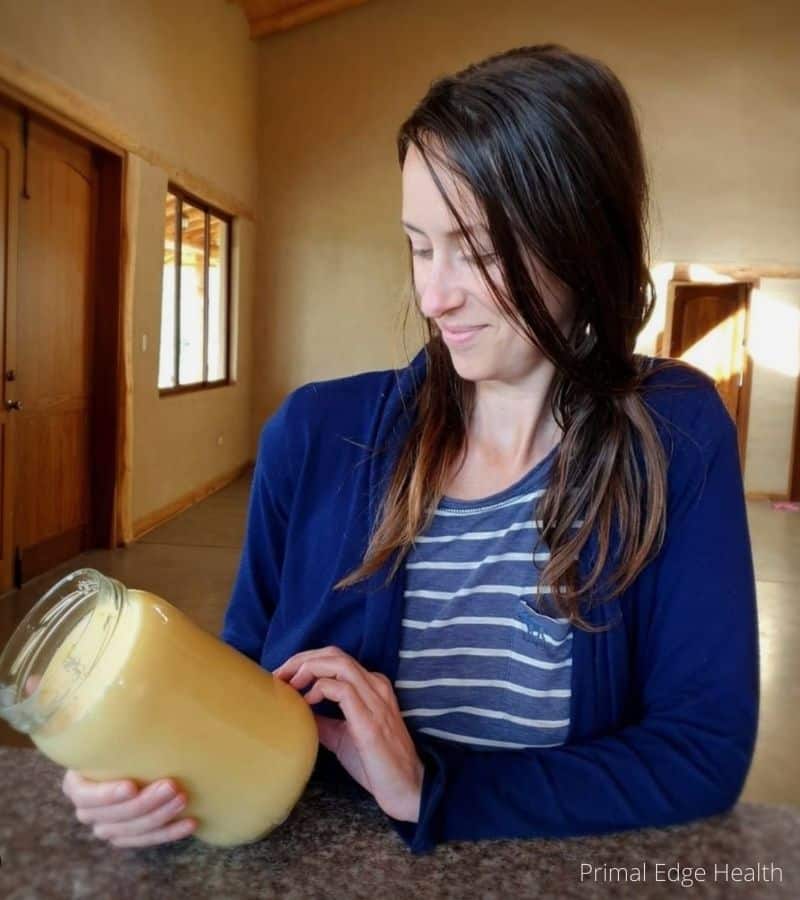
My collection of recycled glass jars comes in very handy whenever I render beef fat.
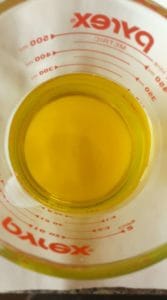
I prefer to let the melted fat cool before pouring it through a fine-mesh strainer and into jars for storage.
An alternative is to pour it out into a glass baking dish (think of a 9×13-inch Pyrex) and then cut it into squares before packing into a storage container.
If you do this, I recommend lining the dish with a piece of parchment or wax paper so you can easily remove the whole piece. Otherwise, tallow will stick to the sides and be more difficult to clean up.
Since small chunks are similar to a cube of butter, they are easy and familiar to work it. The down side is that you have to store the rest of the batch somewhere while having one piece out at a time.
Muffin pans are also nice to use because they form such cute disks of tallow that are equally easy to work with. The drawback is that you only have 12 wells to fill which will be fine if you only use a few pounds of suet to begin with but will not contain all the fat from 3 or more pounds.
Keeping tallow in jars simplifies the situation for me by allowing me to scale up as needed. I store my tallow in quart sized glass jars. One stays on the counter for daily cooking and the others line my pantry shelves.
Tallow is one of my keto pantry staples I never go without.
Find your personal preference and do what works best for you.
Where to Buy Suet or Tallow
Suet is subject to seasonal variability. The quality will change throughout the year, according to the natural cycle of rain and corresponding food supply that fattens or leans the cow.
In our rainy season the grass is plentiful and suet is thick and bright white, while in the dry season grass is more sparse and leaner cows have thinner fat. Flavor is largely dependent on what the cow is eating, although color and taste can vary between breeds as well.
Talk to your local butcher about purchasing beef suet. Ask if they can source it for you.
If you need help connecting with someone in your area, search our directory on how to find quality foods to learn more about the food producers near you.
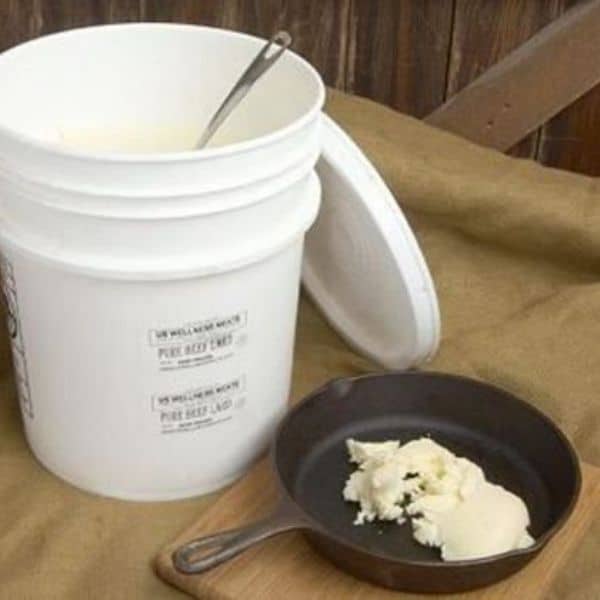
Ordering foods online is quickly becoming more and more popular, so if you prefer to do that, I highly recommend White Oak Pastures or US Wellness. They both offer suet and rendered tallow.
Buying tallow first, before you make it yourself is a nice idea. You can test it out and get familiar with it before investing the time and energy to learn how to make it.
Recommended Products
Beef Tallow Uses
Now that you have your beef tallow, what are you going to do with it?
Check out these ideas and start experimenting with your very own rendered beef fat.
- Cook with tallow. This waxy fat is excellent for deep frying, searing meat, and general cooking purposes. I make many easy keto recipes and carnivore diet recipes with beef tallow.
- Make
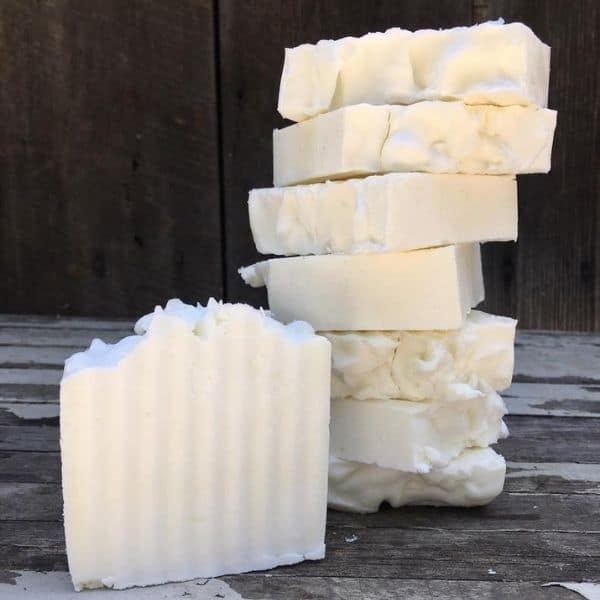
pemmican . Pemmican based on the Native American food preservation technique of combining dry, ground meat with animal fat. It is the best portable food for hiking, camping, and backpacking. - Use tallow in soap. Homemade tallow soap is a wonderful thing to make! Not only is it easy, but also free from any unwanted or toxic ingredients like parabens, and sodium lauryl sulfate. A Pure Tallow Soap does wonders for exceptionally sensitive skin. Read Cold Process Soap Making 101 for answers to FAQs and tips for beginners.
- Make tallow candles. Looking for an easy DIY project to do what will improve your home and provide a nice ascetic? Tallow candles are beautiful, affordable, and long-lasting.
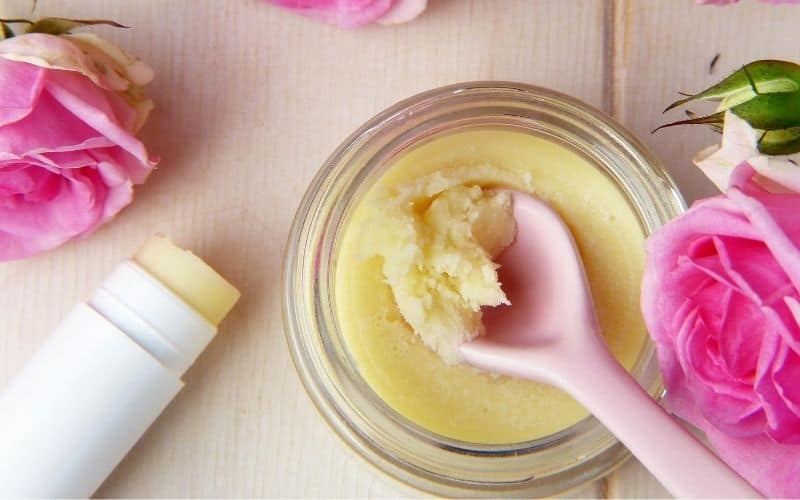
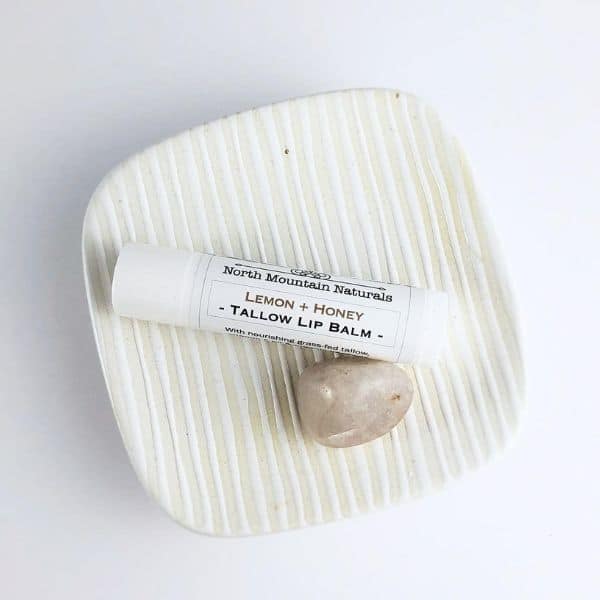
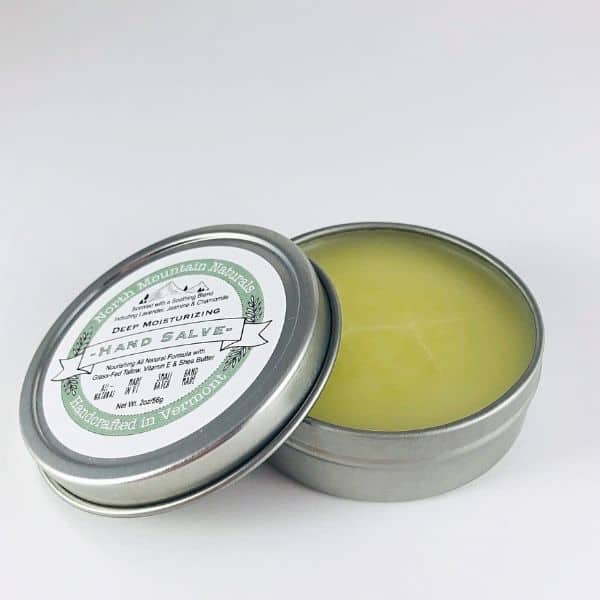
- Add tallow to DIY skincare recipes. Tallow is one of the best ingredients for skincare because of its chemical composition. With 50-55% saturated fat, it so closely resembles the top layer of our own skin, the fat is easily absorbed and very bioavailable. From beef tallow moisturizer to tallow lip balm, there are many easy tallow skincare recipes you can create at home.
Homemade Beef Tallow Recipe
Equipment
- Stock pot or slow-cooker
Ingredients
- Beef suet
Instructions
- Chop the suet into small pieces either by hand or by pulsing in a food processor.Beef suet
- Add the tallow to a large pot and place over low heat. If using a slow cooker, turn the temperature on to "low".
- Stir occasionally, every hour or so, for 3-4 hours to prevent the suet from sticking to the bottom of the pot. If using a slow cooker, stir in a similar manner and adjust the cooking time to at least 4 hours and up to 8.
- Tallow is done once the cracklings are completely shriveled. Let cool slightly before straining and pouring into a storage container of choice.
Notes
Nutrition & Macros
To obtain the most accurate representation of the nutritional information in a given recipe, please calculate the nutritional information with the actual ingredients and amounts used, using your preferred nutrition calculator. Under no circumstances shall the this website and the author be responsible for any loss or damage resulting for your reliance on the given nutritional information.
This post was originally published on March 19, 2019 and has since been updated with new images and tips on August 20, 2020.





It’s an interesting blog. Keep up the good work and create more!
Thank you for visiting the post!
This post was so helpful! I was incredibly nervous I would mess this up so I read the entire post from start to finish and I DID NOT fail! Yay! I cannot wait to do this again, I am making the moisturizer next.
Thanks for your comments, Maggie. Hope you love the moisturizer as much!
Hi Maggie! How do you make the moisturizer? I can’t wait to try this too!
Hi Stacie, I’ll jump in here quickly. Maggie is referring to a moisturizer recipe I posted here on the blog. It’s linked in the article above under “Beef Tallow Uses”. I hope you like it too!
It was surprisingly simple and added amazing flavor to my dishes. Highly recommend!
That flavor is a nice change to cook with. Happy to hear you enjoyed it as well, Ella.
I once made beef tallow for a face cream and it was such a disaster! Your instructions and breakdown are so much more helpful, excited to try again!
It’s always wonderful to hear our step-by-step breakdowns are helpful. Thanks, Sadie.
Didn’t know that homemade beef tallow could be this easy to make. This post was so helpful!!
So easy, and convenient to have on hand. Glad it was a success.
I have a silicon “cup cake” pan it has about 30 each 2 tablespoons cups.
The tallow pops out easy and is about the right size for use. And it is easy to clean!
This sounds like a great tool for molding tallow. It might be called a “mini muffin mold.” Thanks so much for sharing!
One of my suet containers has developed mold. Do I need to throw the whole thing away or can it be salvaged?
If it’s suet (unrendered animal fat) I would cut out the moldy part, give the rest a good rinse, let it dry and render it down. If the rendered tallow is moldy, it indicates there was contamination in the jar or lid. You can discard the moldy section and use the rest. Tallow is great on the skin too, so feel free to browse my tallow skin care recipes here if you don’t want to eat it. When in doubt, discard spoiled food, to be safe.
Soak it in a little bleach and soap in hot water. Then a nylon scrubbie to finish off the pores of the material. Good as new.
I did this and my tallow isn’t getting hard. It’s a condensed milk consistency even in the fridge. How do I fix that?
I’m sorry Amber, rendering soft tallow is a complete mystery to me. I’ve never heard of this happening before!
I am about to do this for the first time, and so have done a little reading. The difference may be in the exact suet (raw product) used. If it is trimmings from muscle meat (rather than organ/kidney meat), the consistency of the tallow might be different.
I’ve always wanted to learn and make render beef tallow at home. Thus recipe was so easy to follow!
Thanks, Nadia. We appreciate your five star review.
I just finished my first-ever batch of tallow- so naturally I have questions 😉
I chopped fairly small, added to the pot and turned the stove to “low” It took about an hour before much melting happened, so I bumped the burner to 2. At the two-hour mark, it started popping, so I dropped the heat back to lo, and put a screen on the pot. 20 minutes later, it got dark and smelled like it was ready to burn, so I shut off the heat, let it cool there on the burner for about twenty minutes, and then poured off the cracklings. They are good, by the way! Like popcorn! So, questions: was I supposed to leave it on low? Was the popping caused by anything in particular, or that’s just what it is? I feel like I ended up with a lot of crackling- should more have rendered down?
I am really enjoying your blog and your recipes, thank you!
Hi Aimee, congratulations on making your first batch! I recommend the following:
1. Keep the heat on low. Be prepared for the whole process to take 4 hours or so.
2. Stir frequently, especially toward the end of the process. Maybe just once an hour for the beginning and then every 20 minutes once you see the pieces floating to the top and separating from the fat.
3. The popping was probably due to overheating.
4. Cracklings are supper yummy, try with salt!
5. You are correct about the low yield. Try it again but be patient with the temperature. You’ll still get a generous amount of cracklings but they will be very shriveled if all the fat melts out properly.
Let me know how it goes! You can always reply here again with follow-up questions 🙂
How much tallow will five pounds of suet make? I’d like to make a good sized batch but don’t know the ratio of suet to tallow. Can you help?
Hi Carol, I’m sorry but I don’t know a strict ratio. I usually buy 10 pounds or so of suet and get about 3 liters of rendered tallow per batch. Based on that, I would estimate 5 pounds of suet could make 1.5 liters. That’s approximately 6 cups. I hope this helps! Best of luck!
Can I use deer or moose instead of beef? Thanks!
I’m sure you can, although I haven’t tried personally. This process should work just fine with deer or moose fat.
Can you also skim the rendered fat from soups or stews that use beef?
Absolutely! This fat is great but will contain some water and moisture from the soup or broth. I recommend storing it in an airtight container and using it within a few days.
This is an awesome site ???
Thank you so much for saying so, Meg! We do it for people like you <3
This is awesome Jessica. I’m going to start doing this . I love making my own home and beauty products, but I use a lot of coconut and other ingredients that are not locally sourced. I want to simplify my ingredients to those I can provide myself. I’m very excited to read more of your blog posts and try some recipes. Thank you!!!
It is so rewarding to be able to do all that you can with local, homemade ingredients! You and your family are wonderful examples of this <3