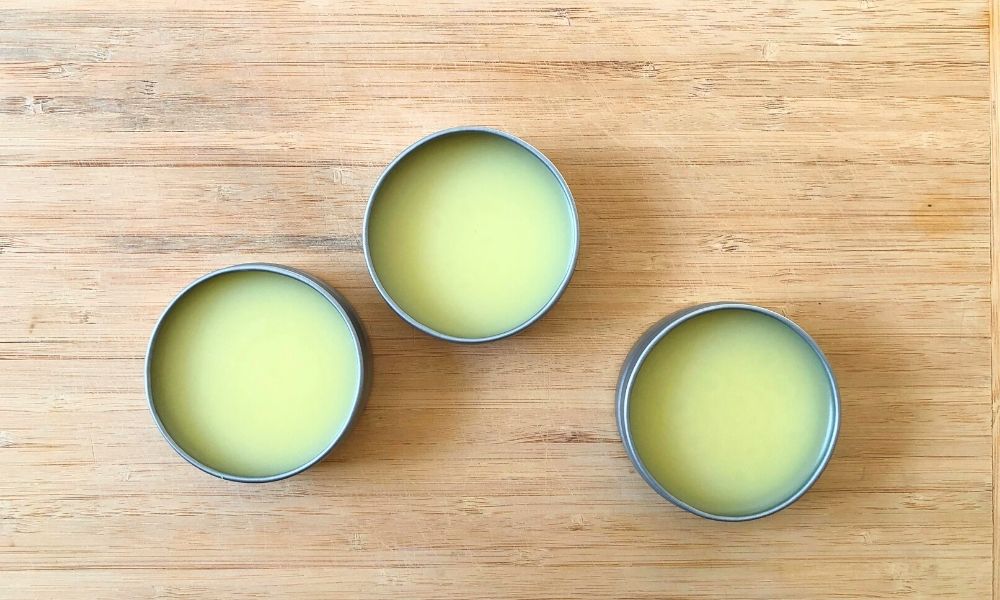
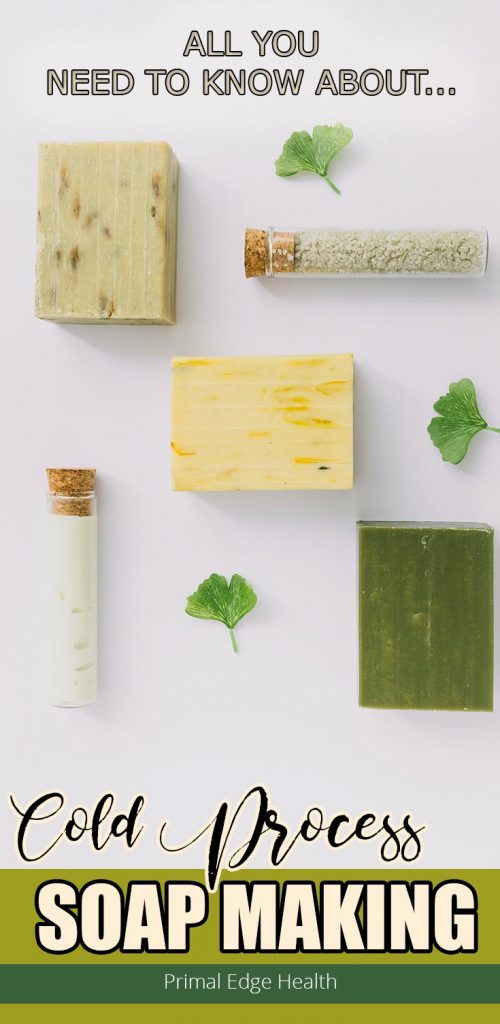
Cold Process Soap Making 101 (+ FAQ)
Primal Edge Health participates in the Amazon Services LLC Associates Program and other affiliate programs and therefore, may collect a share of sales or other compensation from the links on this page. This comes at no additional cost to you, and all the prices and availability are accurate at the time of publishing.
Chances are if you are ready to give soap-making a try, you have been thinking about it for a long time! Get all your answers and more in this Cold Process Soap Making 101 post. You’ll soon realize making soap is not as daunting as it might first appear.
Answers about these soap related FAQs are kindly contributed by Jennifer of 54 Soap. Her passion is unparalleled and her cheerful attitude clearly comes through her writing. I’m grateful for her expertise and feel so inspired to start my own soap making!
Table of Contents (click to view)
Why should I make soap?
The best answer to this, simply put, is because your skin will love you! Not only will you develop a creative output but you will be generating a product that is exactly right for your needs.
You get to choose what you put on your skin rather than buy a product which has you guessing at what might be in there. You will never know what is in someone else’s product, so why not make your own?
Is making soap hard?
When first attempting cold process soap making, there are several learning curves! The best way to tackle them all is one at a time.
Start simple, that way you can learn how each element, once brought into the process, affects your final product. When you make mistakes, learn from them and you will do better the next time.
Jennifer shares a Cold Process Soap Recipe for Beginners that you can try right now!
How is soap made?
The easiest way to remember how soap is made is to think “chemical reaction”. While you do not need to be a scientist to understand this concept, you do have to understand a few key elements of the process taking place.
Saponification
This is the name of a chemical reaction that produces soap. It is an acid mixed with a base to form a salt. What? It is the result of fats or oils (the acid), mixed with your lye (your base) that then forms the soap (which is technically a salt). Huh?
To make this even simpler, when you mix lye with oils (in the right combination), you get soap!
The saponification process is where your soap is restructuring and making itself into real, usable soap.
Curing
The time period after you make your soap, where you are waiting to be able to use your creation. Cure times are dependent on what kind of oils you use, but a good rule of thumb is 4-6 weeks before attempting to try it on your skin.
During the “cure” the lye is mixing with the oils and creating soap, the water is evaporating and the bar is slowly becoming usable. There is a huge molecular-party taking place during this time, which cannot be rushed. What is happening is molecular restructuring. It is mind boggling but is well explained over in aisle two: the brainiac department.
There are so many soaper terms to understand, but for now, those two will get you started and you might pick up a few more before the end of your read.
TIP: To dive into a land of nerdism and vocabulary no one else will know (except other soap makers), bookmark this page and have a whole glossary at your fingertips.
What is cold process soap making?
Cold process soap making is just one way to make a bar of soap. To make this type of soap, one must use sodium hydroxide lye.
This type of soap process will take a lot longer to saponify and requires at least 4-6 weeks of cure time, to allow the soap to become soap!
Cold process soaping makes a nice, hard bar of soap.
The key item to remember here is not to rush this (because you cannot) and the longer you wait (cure the soap), the better the soap will react on your skin.
Cold process soap is made the long way but allows for maximum creativity!
You mix your lye into a liquid, ie water, and then add the right amount of oils, mix the two together, pour into a mold and wait. Then you wait longer!
Other types of soap-making to look up include hot process, melt and pour, rebatching, liquid soap etc.
Complete Directions for Cold Process Soap Making
Hurry Up! When can I make soap?
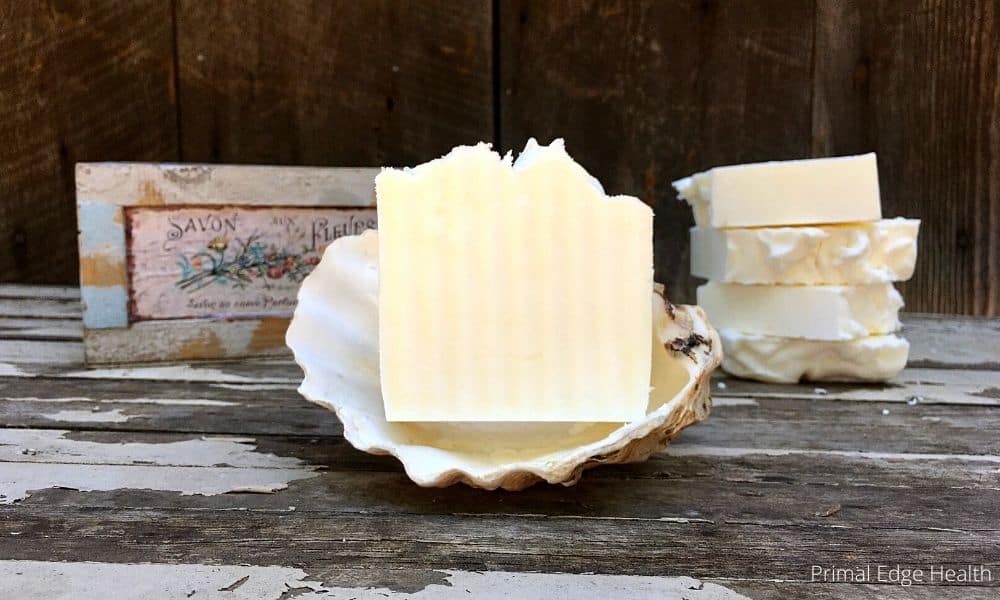
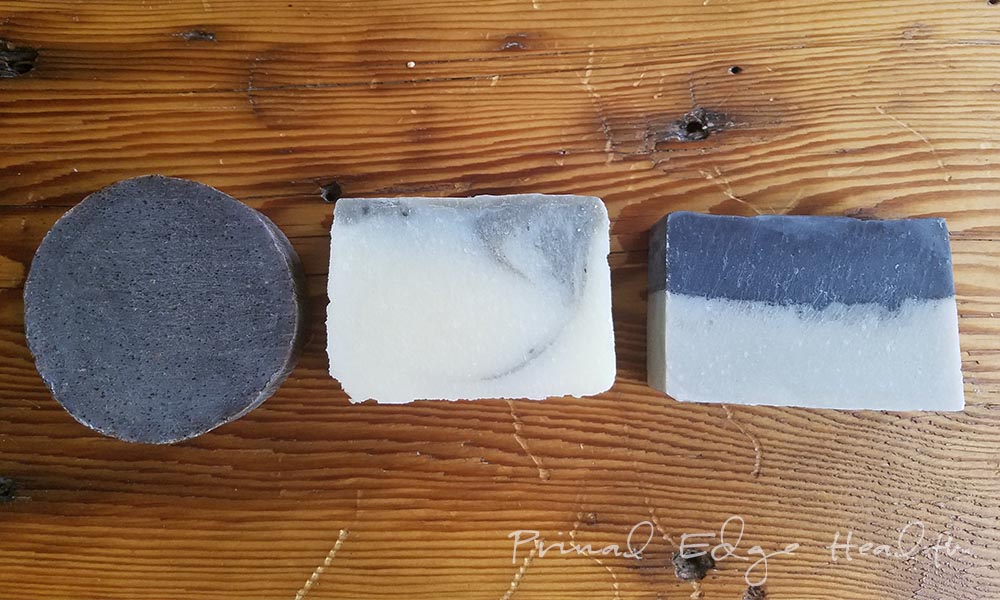
You are probably eager to make a Rosemary Lime Tallow Soap or Pure Tallow Soap.
I understand but, hold on!
There are a few more things to go through first. In order to make soap, you must understand what you are making soap with, how, where, and some safety warnings!
- Supplies and tools
- Location, location, location!
- What not to do and why!
- An overview of your oils
Supplies
Go shopping. Grab new or old items around the house that will never be used for eating from again, and create a nice list and pile everything in your “soap space”.
Here is what you need and why:
| What you need…. | Why you need it…. |
| A scale. Can be a food scale that measures in grams or 1/10th of an ounce. | We need accurate measures of lye and oils so we can make sure the soap we make does not end up caustic. |
| Stainless steel or glass containers/bowls, holding anywhere from 6 to 12 liters/quarts. | Making more soap? Go bigger. Use a nice mixmaster glass container if you want to microwave your oils. Cannot melt them in the stainless steel unless you use the stove! |
| Distilled water. An easy purchase form any grocery store. | Avoid tap water. We do not know what is in there that may react with the lye. |
| Infrared thermometer. | Point and shoot for perfection, they are quick and accurate. |
| Safety gear: long rubber gloves (industrial use-type), eye protection, long pants, long sleeves, an apron, a well ventilated area. | Because getting lye in your eyes is deadly. No one wants to burn themselves, so do not have exposed skin if you do not have to, especially your feet. Make sure you can breathe, but not the fumes. Try mixing in front of a window or under a fan. |
| Old juice jug. 2L. | You will never use this for juice again! Get this ready, the tall kind, for lye and water mixtures. |
| Mixing and measuring utensils. Silicon utensils work best. Large spoons and spatulas for stirring. | Use materials that are easy to clean. Wood absorbs smells and can leave splinters or deteriorate over time. A nice long spoon! |
| Stick blender. | You want to do this with some power, else you may be stirring by hand for a very long time. |
| Small glass containers or beer cups, old margarine containers etc | If you want to use additives, then have something handy to weigh your fragrance or color with. |
| Soap mold, butche paper, small box etc | You can use anything for a soap mold, but make sure it is lined with butcher paper. If you do not have any, you can use a milk carton instead and just rip it off when it’s ready to unmold. If you wish, you can purchase wood molds that come with a silicone liner. For your first attempt, a milk carton works great! |
| Rack for curing | Do not place “wet” soap on paper. Use a rack so air can circulate on all sides of the soap. |
| Old newspapers, an old plastic tablecloth | Use this to cover areas you might be worried about. Most times soap “batter” cleaned u p quickly leaves no residue or damage. However, if you are worried about wood floors, counters etc, make sure you cover them up. |
| A thin sharp knife. | To ease the soap from the mold and to cut the soap into pieces/blocks. |
| Optional Additives: Fragrances, essential oils, micas, natural colorants etc | Essential oils, fragrance oils, micas etc, can all be used in your soap. Plan ahead and make sure you have everything pre-measured before you begin. You have to work fast if you are adding something to the mixture. Note: many times additives accelerate the soap making process, which causes the soap mixture to thicken very quickly. Make notes of what additives you use and how they impact your recipe and process. |
| Lye: food grade lye. | To ensure you are not using a lye with added chemicals you do not want on your skin, purchase food grade lye that is safe to use. Industrial-type lye can contain harmful chemicals. |
| Oils | The fun starts here! Do your research on what oils do what to your skin and have your oils handy and ready to go before you begin. |
| Soap Recipe | Your first first recipe should be simple. No additives, other than some fragrance or essential oils. |
Location
You can make soap anywhere. It is not required that you have a soap studio, as your kitchen will work well. Here is what you need to have no matter what location you choose:
- A clean, uncluttered area. You do not want pet hair or dirt getting into your soap. You want everything tidied up, so you are free to move. If you have clutter, it might be that you trip, fall and have a spill. If you unfortunately do have a spill, a clear area will allow for quick clean up.
- No kids or pets. Do not have your kids running around and your pets even close to lye water that is cooling and especially while you are mixing the two together. Leaving your lye water alone is common, as you want to allow it time to cool and the fumes to clear.
- TIP: while your lye is cooling, that is when you are working on melting your oils, and making sure everything is ready to go.
What not to do and why…plus tips!
1. Do not leave lye, whether mixed with water or in its flake or bead form, up high on a counter unattended.
Why? If there was a spill, it will be u p high and gravity will pull it down. The lye mixture will be all over your counter, table and then to the floor. It will land in everything lower than it. Lye burns!
TIP: Always, and I mean always, work in the sink when mixing your lye with water. Place your old juice jug in the sink with the correct amount of water (pre-measured per your recipe), then slowly add the lye.2.
2. Do not add water to lye.
Why? You want to always add lye to the water, slowly. Adding it the other way around may cause splashes.
TIP: Sprinkle the lye into the water, and stir it in to dissolve it.
3. Do not breathe in the fumes!
Why? You will burn your lungs and throat. You will get a little whiff of it, that is fine. TIP: Simply tie a dish cloth around your nose and mouth, ninja up, and step back after you pour a little in. Stir and step back. Simple. Have a fan blowing the fumes away (but watch where they are going), crack a window, exhaust fan is on and you are golden.
4. Do not leave your hands and feel uncovered.
Why? I think by now you know that lye burns. Cover your hands to your elbows. Wear long pants and socks.
TIP: Worry about hot oils too and fragrances or essential oils. You do not want those on your hands either. Remember, it’s not just the lye you are worrying about!
5.Do not use aluminum anything for soap-making!
Why? There is a chemical reaction that will take place that will generate deadly fumes. Hazard!
TIP: use a milk carton, wood box lined with butcher paper (one side is waxed), cardboard box lined with butcher paper, or buy a nice silicone mold.
6. Do not try to use the soap before 4-6 weeks.
Even then, you might have to leave it sit longer.
Why? Skin irritations occur with using caustic soap.
TIP: Patience!
Oils. Fats. The Stuff you make soap with!
Does it matter what kind of oil I use with my soap?
It does not matter what oils you choose to make your soap with, but just know they each have unique properties. Basically, each oil or fat, creates a certain type of soap and will impact how the bar is formed. Some combinations and percentages are more valuable than others. The type and amount you use affects your bar of soap.
TIP: Oils are either hard or soft. Soft oils are liquid at room temperature, hard oils are solid.
Can I use oils I find in the grocery store?
To get you started, here are a few common oils used in soap-making, that are easy enough to buy at the store or order online. You can make a great tallow-based soap with animal fat!
Explore the endless possibilities. Have a look at this beautiful reference guide by Cathy Winsby, who put a lot of time into this resource.
What is superfatting?
Superfatting is the act of adding in a little extra oil that does not get saponified. Think of it like this: A certain amount of lye can only saponify a certain amount of oils. Once you have reached that threshold, the oils that are extra, will be left untouched by the lye. That is why you can control how much moisturizing properties you give your bars.
TIP: Too much oil can yield a greasy bar of soap, depending on the kind of oils you use.
That’s a lot of information to cover! Thanks so much to Jennifer for joining us here to share her knowledge. I hope these tips help you as much as they have
Pin it for later:
Feature image by FreePik