
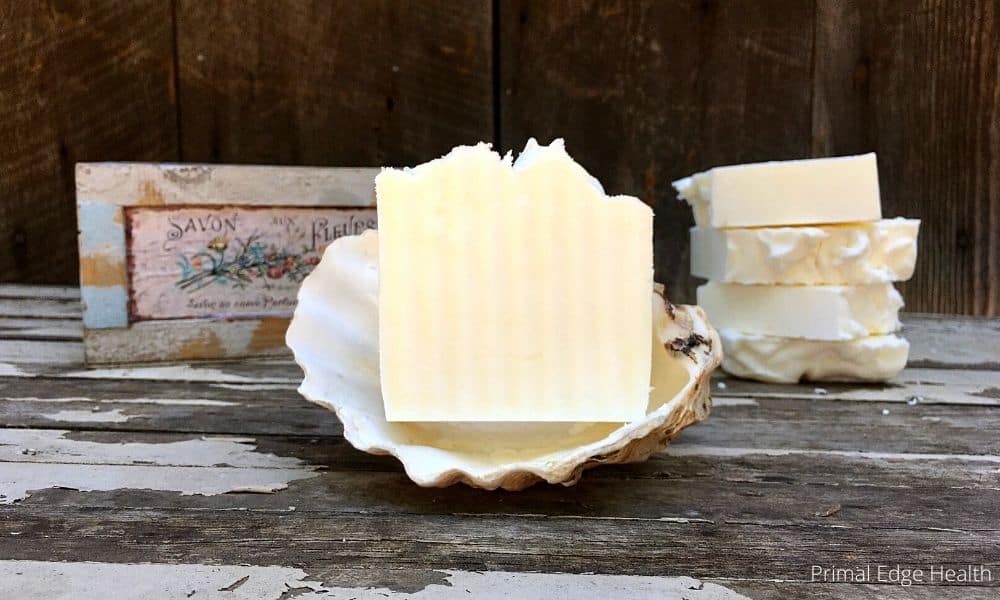
Cold Process Soap Recipe for Beginners
Primal Edge Health participates in the Amazon Services LLC Associates Program and other affiliate programs and therefore, may collect a share of sales or other compensation from the links on this page. This comes at no additional cost to you, and all the prices and availability are accurate at the time of publishing.
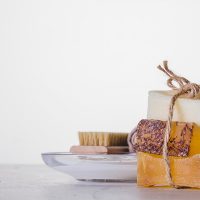
Making soap is a fun, creative and healthy way to do something nice for yourself (and others).
This is the perfect place to start and gain soap making confidence before diving into the next level!
An entry-level soap recipe is kindly contributed by Jennifer of 54 Soap. Her passion is unparalleled and her cheerful attitude clearly comes through her writing. I’m grateful for her expertise and feel so inspired by this simple, accessible recipe.
Tips for a Cold Process Soap Recipe for Beginners
Before you start your recipe, be sure to read over the complete details in Cold Process Soap Making 101 for beginner’s tips and safety protocols.
- Prepare the space. Remove clutter and make a clean working space.
- Tape up the recipe in a place you can easily reference during the process.
- Prepare the soap mold. Keep it nearby, somewhere that you can leave it to sit, unmoved for the entire making process.
- Suit up. Pull your hair back, get out your gloves, warn pets and children about what’s going down so all can act appropriately around the materials.
- Pre-weigh all oils in separate containers before beginning, optional
- Cover your face when handling lye, be ready to step back from the fumes
- Temperature affects how fast your soap will “trace” or thicken up. Soaping at about 110-120F is optimal.
- Temperature affects how fast your soap will “trace” or thicken up. Soaping at about 110-120F is optimal.
- “Trace” is emulsification, the point in soap-making when the oils and lye water begin to stick together.
- Test the trace of your soap every 15-20 seconds. Observe by lifting the blender out of the soap, do the drops that fall off sit on top of the soap batter? If no, mix again for 15 seconds, test again, and again as needed. Once the drops sit on top of the batter, you are at trace!
- Remember to tap the bottom of the container to release any air bubbles that may form every time you take the stick blender out and then back in.
How to Make Cold Processed Soap
Equipment
- 2 Liter Container
- Sink with running water
- Glass measuring cups
- Immersion blender
Materials
- 10.88 ounces water
- 4.87 ounces lye sodium hydroxide
- 11.20 ounces palm oil
- 14 ounces extra virgin olive oil
- 9.80 ounces coconut oil
Instructions
- Fill a 2-liter container with water (round up to 10.9 if needed). Place container in the sink.
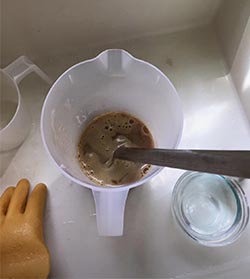
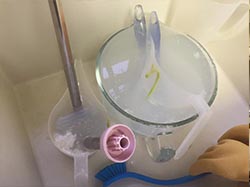
- Measure lye into a glass container. Sprinkle ⅓ of the lye flakes or beads into the water jug that is sitting in your sink, stir it a few times and step back from the fumes.

- Wait 20-30 seconds to make sure it is dissolved and add the next third of the mixture. Stir, wait, and step back. Continue until all the lye is incorporated into the water. The water will begin to heat up. Stir well, ensure no chunks form. Now set it and forget it. Leave the lye alone and walk away, knowing it’s safe in the sink and cannot tip over.
- Melt palm oil in a glass container. Add olive oil and melted coconut oil to it.
- Stir the lye water. Take the temperature with an infrared thermometer. You want the temperature of the oils to be within 10 °F of the temperature of the lye water, all while keeping everything under 130 °F (110-120 °F is optimal).
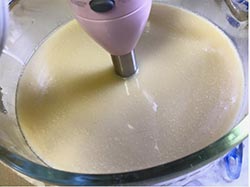
- Slowly pour your lye water mixture into the oils.
- Tap the stick blender on the bottom of the container to release any air bubbles. If not, there may be air bubbles throughout the soap and aesthetically, may be bothersome.

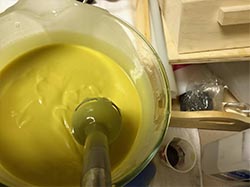
- Blend the soap batter to “trace”. Do not over mix, blend until thickening begins. See article above for more.
- Remove the blender, banging off excess batter and place in the sink to wash.
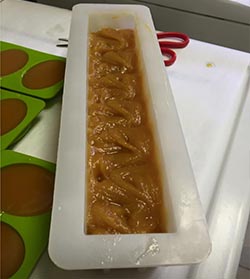
- Pour the soap batter into the mold, placing the dirty bowl into the sink. Use a spatula to remove excess batter from the bowl and plop it into the mold.
- Lightly lift up the soap mold and bang it gently on the counter to release any air bubbles.
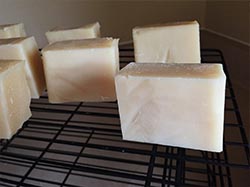
- Place your soap to the side to set for 48 hours.
- If, after 48 hours, the soap is easily removed, it is ready to cut. Divide into 1-inch pieces or other of choice. Transfer the cut soap on a rack to cure for 4-6 weeks.
Notes
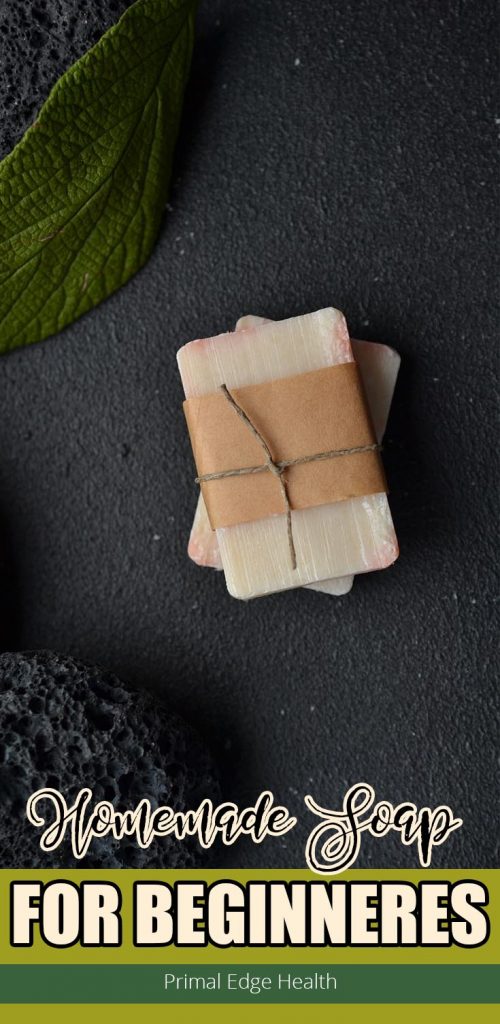
Pin it for Later:


These are helpful directions. I have wanted to try making my own soap for a while.
I’ve often thought about making my own soap, but never knew the process involved. I think I just may have to try this out!
I’ve always been so intimidated by the thought of making soap. I have to try this year for sure! Thank you for sharing!