Rich and Creamy Roasted Garlic Butter Recipe
Primal Edge Health participates in the Amazon Services LLC Associates Program and other affiliate programs and therefore, may collect a share of sales or other compensation from the links on this page. This comes at no additional cost to you, and all the prices and availability are accurate at the time of publishing.

Roasted garlic butter instantly upgrades any meal with its rich, creamy texture and just the right hint of garlic. Spread it on bread, toss it with pasta, drizzle it over veggies, or use it to add flavor to your favorite dishes. Once you try it, you will never want to go back to store-bought.

Garlic bread is a staple for me, whether I am making a quick snack, putting together a butter board, or hosting friends. That is why I always have roasted garlic butter ready or make a fresh batch when needed, just like with my other favorite, rosemary garlic butter.
After trying different recipes, I finally found the perfect one with just five ingredients. Whether you’re following a low-carb, keto, or whole-food diet, this versatile spread adds a delicious boost to everything from veggies to grilled meats to steak bites, without the additives found in store-bought versions.
Why You’ll Love This Recipe
- Affordable option: Forget the pricey store versions. With a few pantry staples, you can make your own garlic butter that’s just as good, if not better.
- Quick to make: You only need 10 minutes and a few basic ingredients to whip up this garlic butter. It’s that simple to get a restaurant-quality result at home.
- Great for making ahead: Make extra and freeze in portions so you always have some on hand when you need to add a little something special to your meals.
- Packed with flavor: Rich, buttery, and garlicky without being too strong, this spread adds a delicious touch to any dish.
- Fresh and natural: Making it yourself means no weird additives or preservatives, just pure, creamy goodness the way you like it.
- Use it for everything: Whether it’s jazzing up rice, adding flavor to veggies, or making proteins more exciting, this butter does it all. You can even serve it as a dip with seafood.
How to Make Roasted Garlic Butter
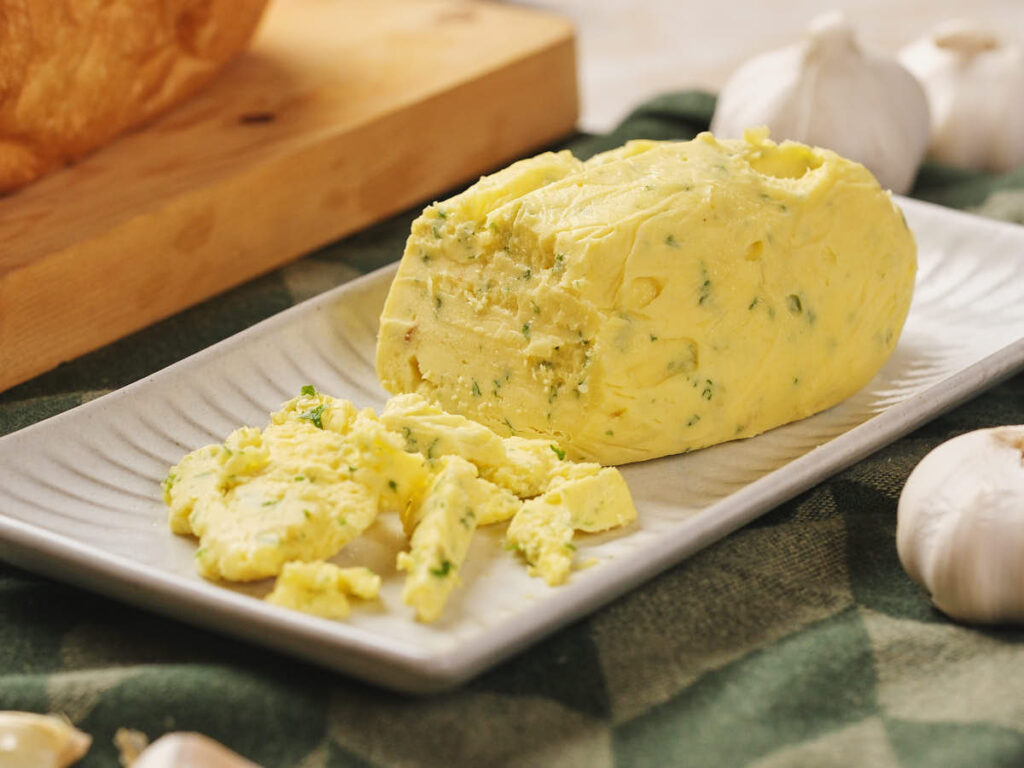
Roasted garlic butter is a simple way to add big flavor to your meals. All you need are five ingredients: garlic, olive oil, butter, parsley, and salt. Roasting the garlic takes a little extra time, but it’s totally worth it for that rich, deep taste. Just mix everything together, chill, and you’re good to go.
For the full recipe, including ingredients and step-by-step instructions, check out the printable recipe card at the end of this post.
Ingredients You Need
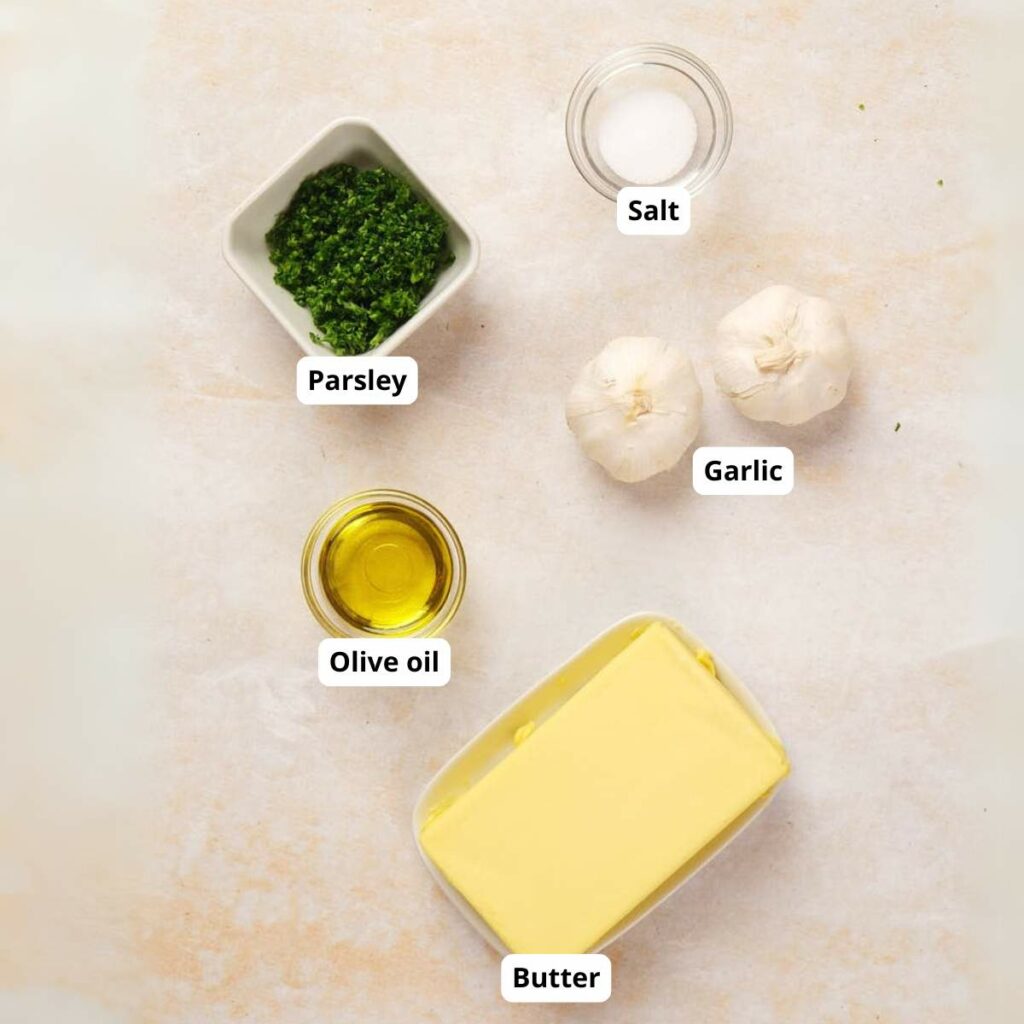
- Garlic: Gives this butter a deep, mellow flavor that’s hard to beat. If you’re looking for something a bit lighter, try using fresh garlic or quickly sauté minced garlic in butter or olive oil to soften the taste.
- Olive oil: Keeps the butter smooth and spreadable, even after chilling. It also helps blend the garlic flavor evenly throughout.
- Butter: The base that makes the spread creamy and rich. Unsalted is the way to go since you will be adding salt later, letting you control the seasoning.
- Parsley: Adds a hint of freshness that cuts through the richness. The little green bits also make the butter look more inviting.
- Salt
Step-By-Step Instructions
Making roasted garlic butter at home is so satisfying. Not only does your kitchen smell incredible, but the end result is a smooth, flavorful spread that works on just about anything. Just follow these four simple steps, and you will have delicious homemade garlic butter in no time!

Step 1: Prepare
Start by preheating your oven to 350 F. Trim the tops off each garlic head to expose the cloves. Drizzle them with olive oil, making sure they are well coated. Wrap each head in parchment paper or foil.
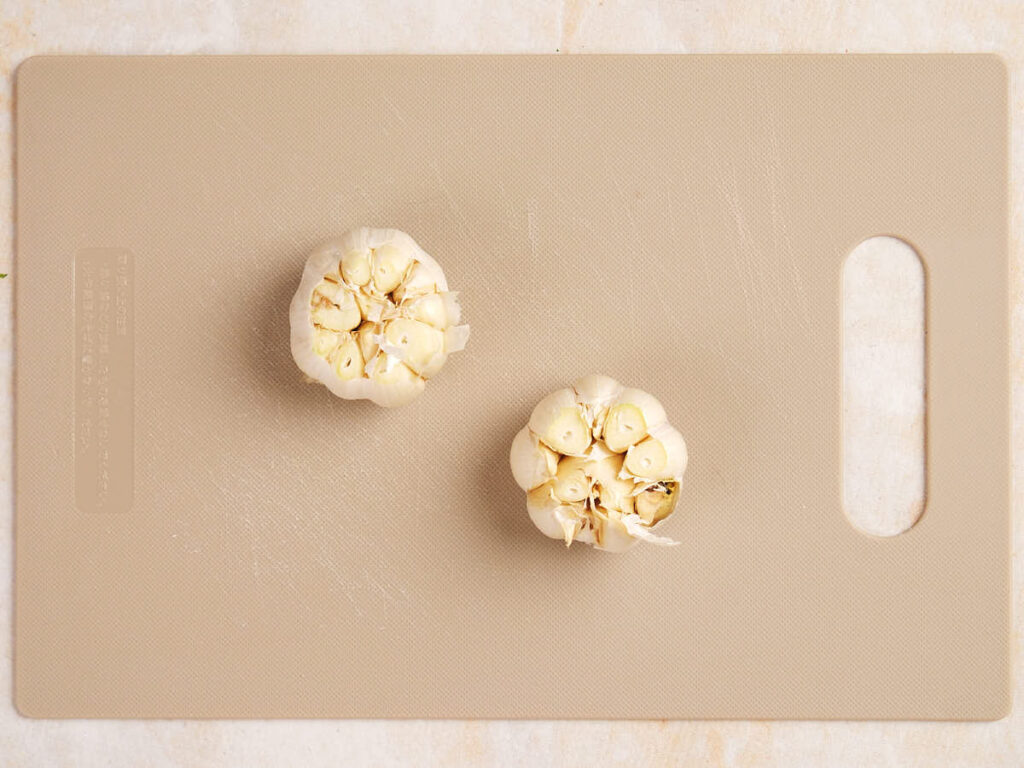
Step 2: Roast
Place the wrapped garlic on a baking sheet and bake for about 30 minutes. Once done, let them cool until they are easy to handle. Unwrap and squeeze the softened garlic out of the skins.
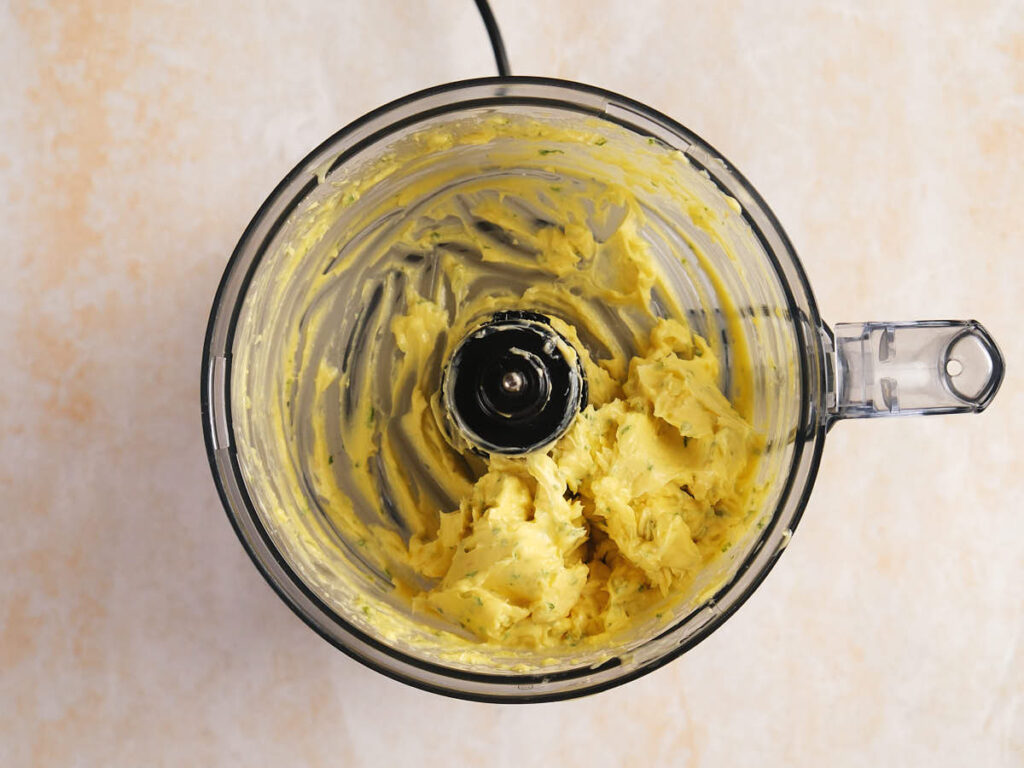
Step 3: Blend the ingredients
Add the roasted garlic to a food processor along with the butter, parsley, and salt. Blend until smooth. You can also mash the garlic into the butter by hand or use an electric mixer if you prefer.
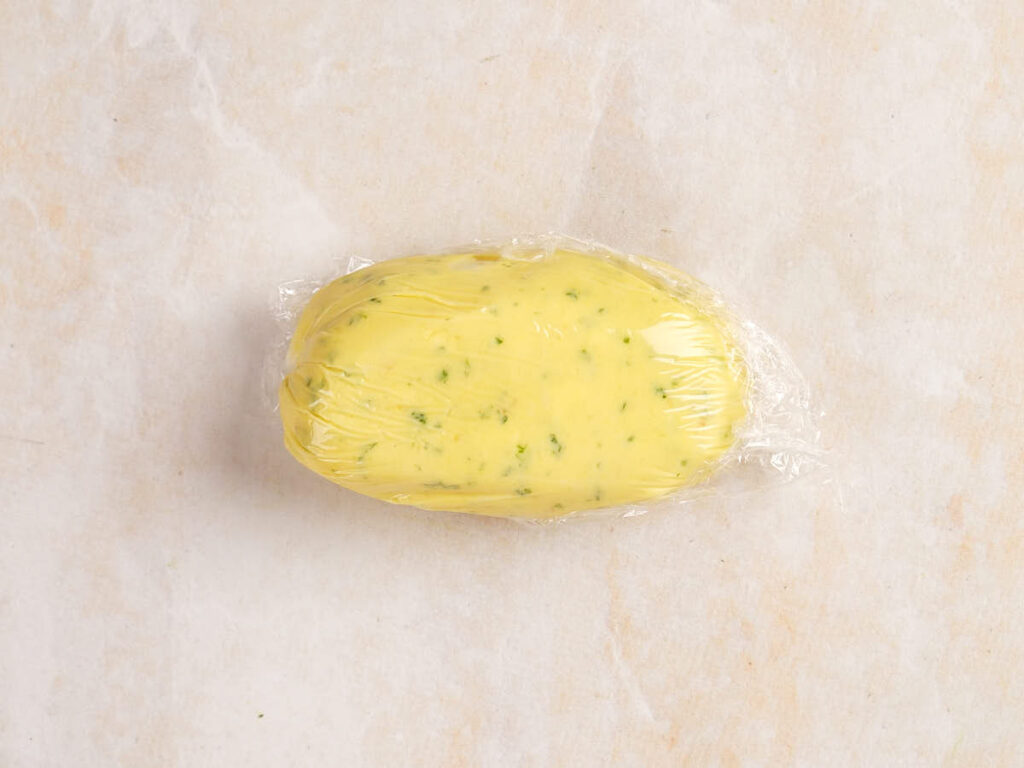
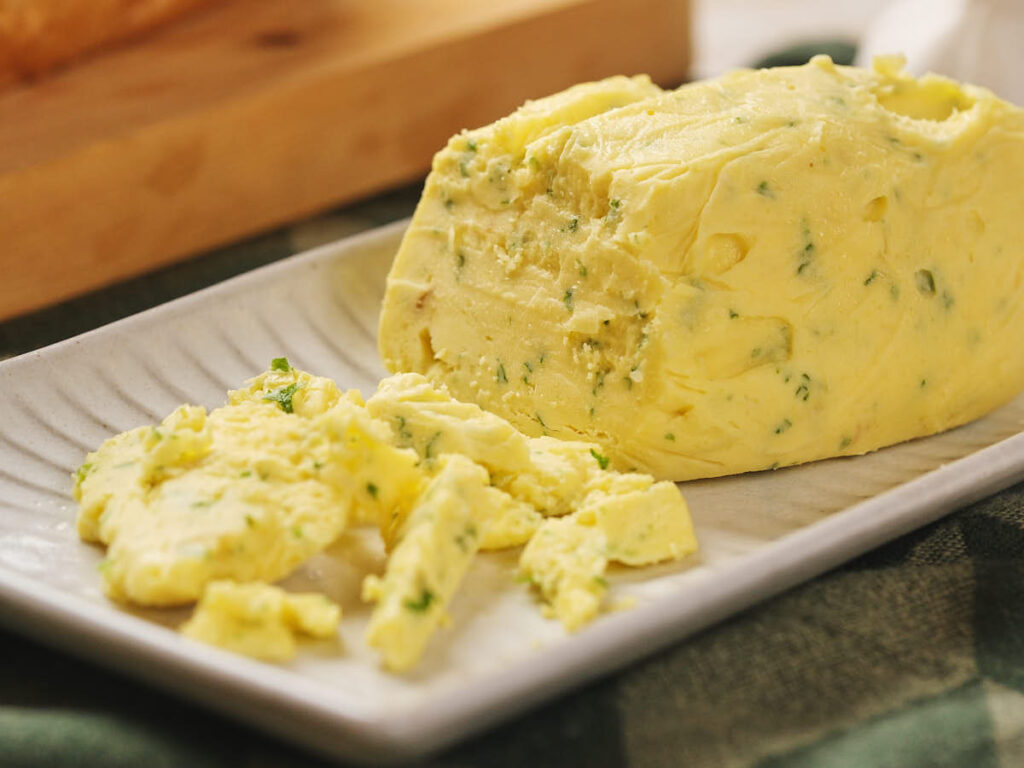
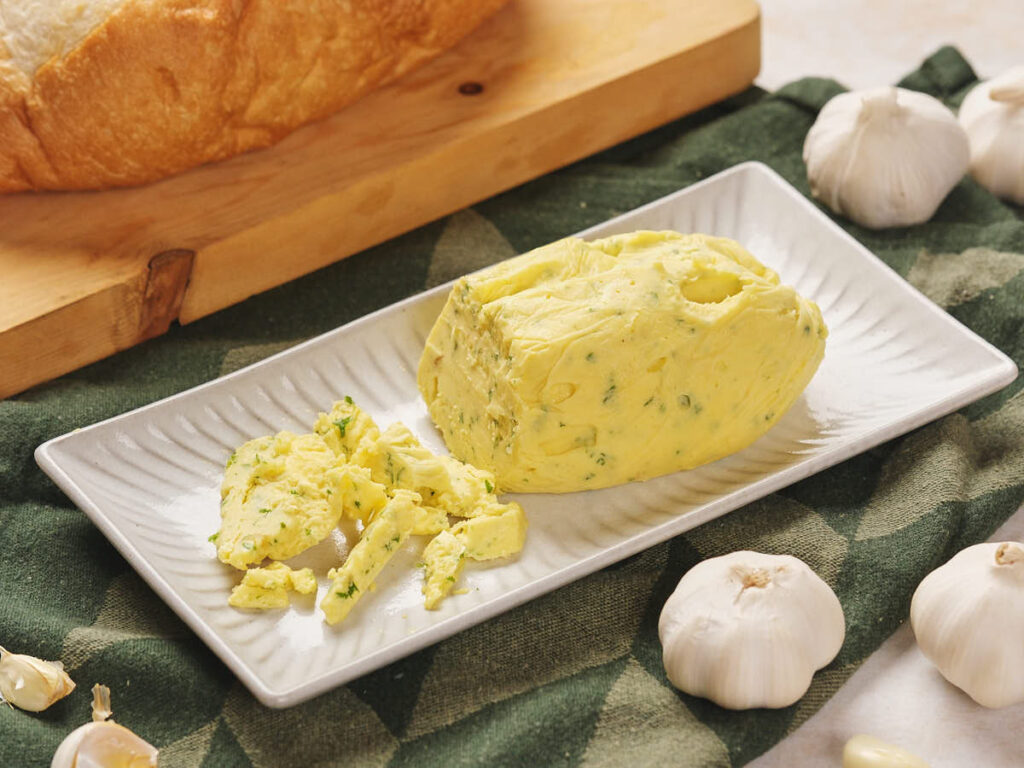
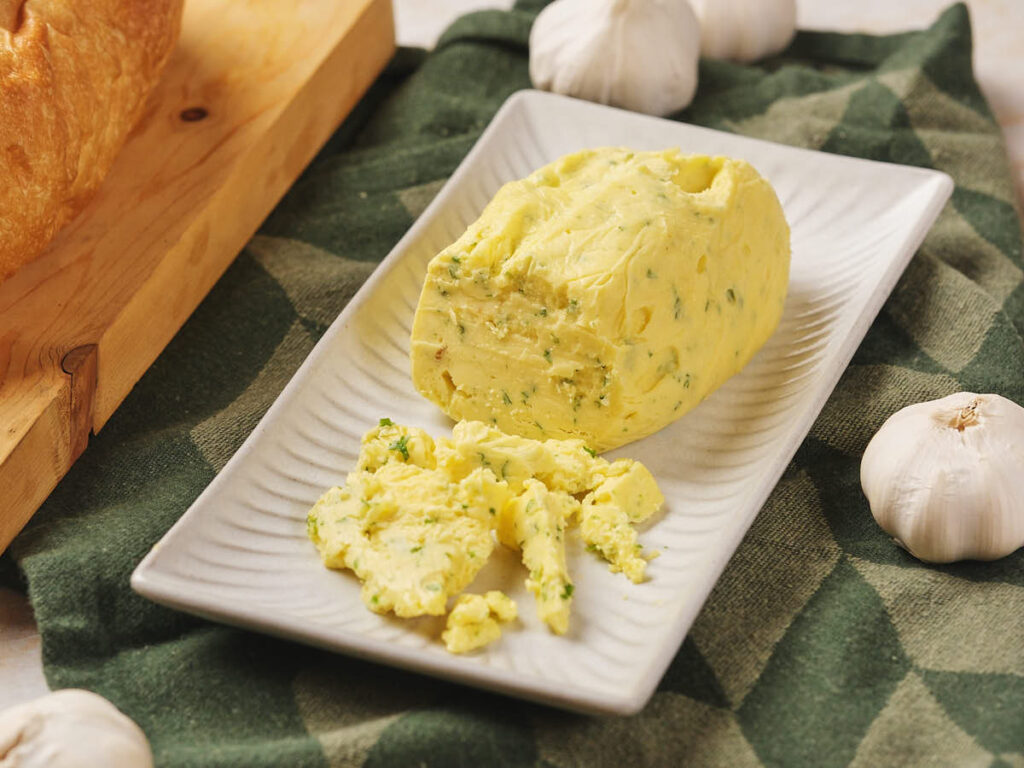
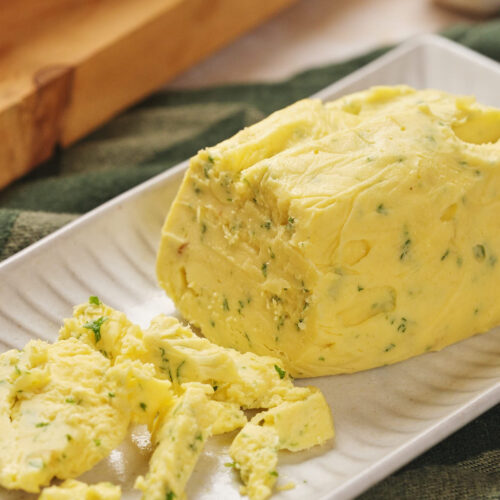
Step 4: Shape and chill
Scoop the mixture onto a piece of parchment paper or plastic wrap. Shape it into a log, twist the ends to seal, and refrigerate for at least 3 hours to let the flavors meld.
Substitutions
- Garlic: If you don’t have fresh garlic, you can still make it work. Garlic powder is a good backup. Just use about half a teaspoon per clove for a milder, more balanced taste.
- Olive oil: You can easily swap olive oil with something similar like avocado oil or melted ghee.
- Parsley: Fresh chives, cilantro, or basil work just as well and still add a pop of freshness.
Expert Tips
- Add some brightness: A squeeze of lemon juice can really balance out the richness, especially when you’re planning to serve the butter with seafood.
- Keep it smooth: Using a food processor makes your garlic butter ultra-smooth and evenly mixed, giving it a fluffy texture that’s hard to achieve by hand.
- Serve right away: You don’t have to chill the garlic butter if you’re in a hurry. It’s ready to use as soon as you mix the ingredients. Chilling just gives it a more traditional look and makes portioning a bit easier.
- Let it sit: If you skip the chill time, give the butter about 30 minutes to sit after mixing. This helps the garlic and herbs blend into the butter for a fuller flavor.
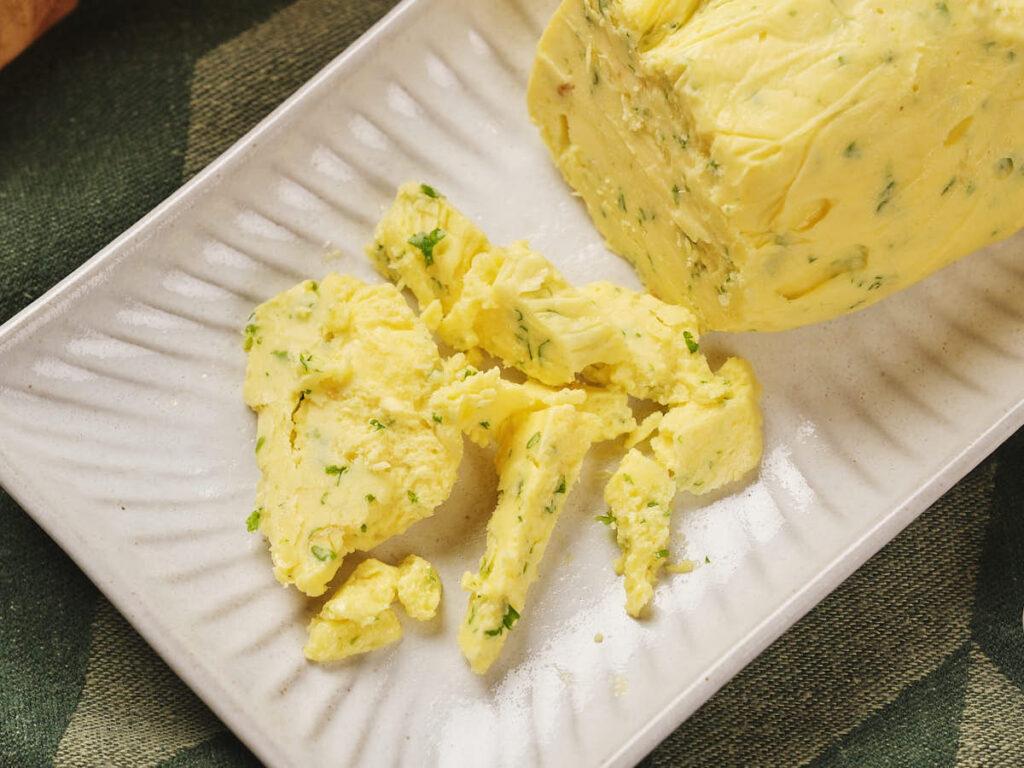
How to Store This Recipe
Place the roasted garlic butter on a piece of parchment paper or plastic wrap, shape it into a log, and wrap it tightly. Store in the fridge for up to 2 weeks. If you prefer, you can also put it in an airtight container and refrigerate for the same amount of time.
What to Serve with Roasted Garlic Butter
There are so many tasty ways to use garlic butter! Here are a few favorites:
- Eggs with a twist: Use it when cooking scrambled eggs or drizzle on poached eggs for an extra hit of flavor.
- Easy pasta sauce: Stir it into spaghetti, fettuccine, gnocchi, or one of your favorite keto pasta alternatives for a quick, buttery coating that’s super satisfying.
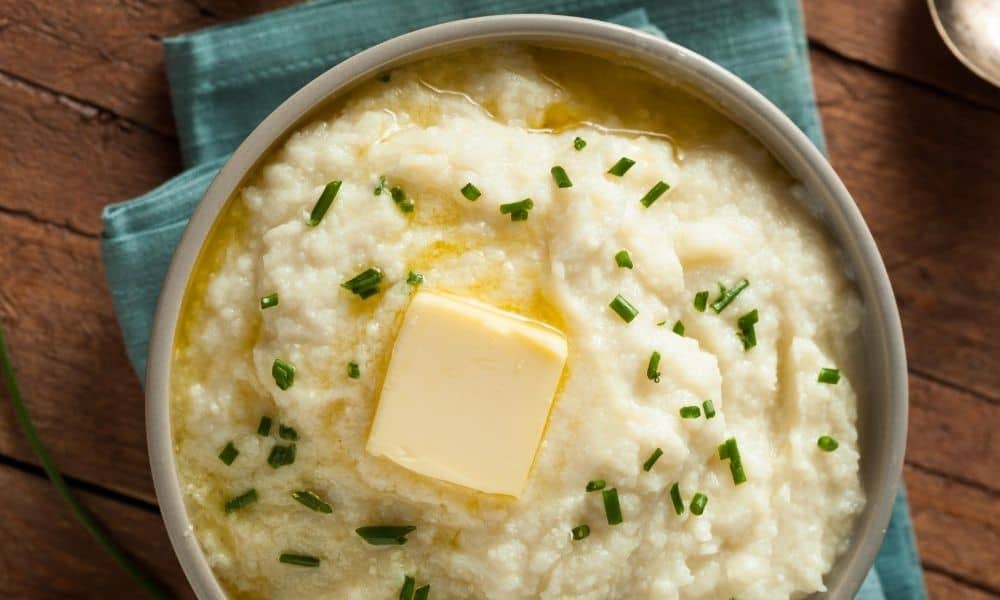
- Upgrade your sides: Mix it into rice, quinoa, or mashed potatoes to add a rich, garlicky taste. We love this garlic butter on cauliflower mash!
- Steak topper: Melt a bit on a hot, grilled steak for an easy way to make it extra juicy and flavorful. We also love it on top of pan-seared New York strip steak!
- Charcuterie must-save: Include it on a board with bread and spreads for a flavorful, homemade touch.
- Seafood dip: Perfect for shrimp, lobster, scallops, or grilled fish. It’s also great for dipping steamed artichokes, warm dinner rolls, keto flatbreads, or naan.
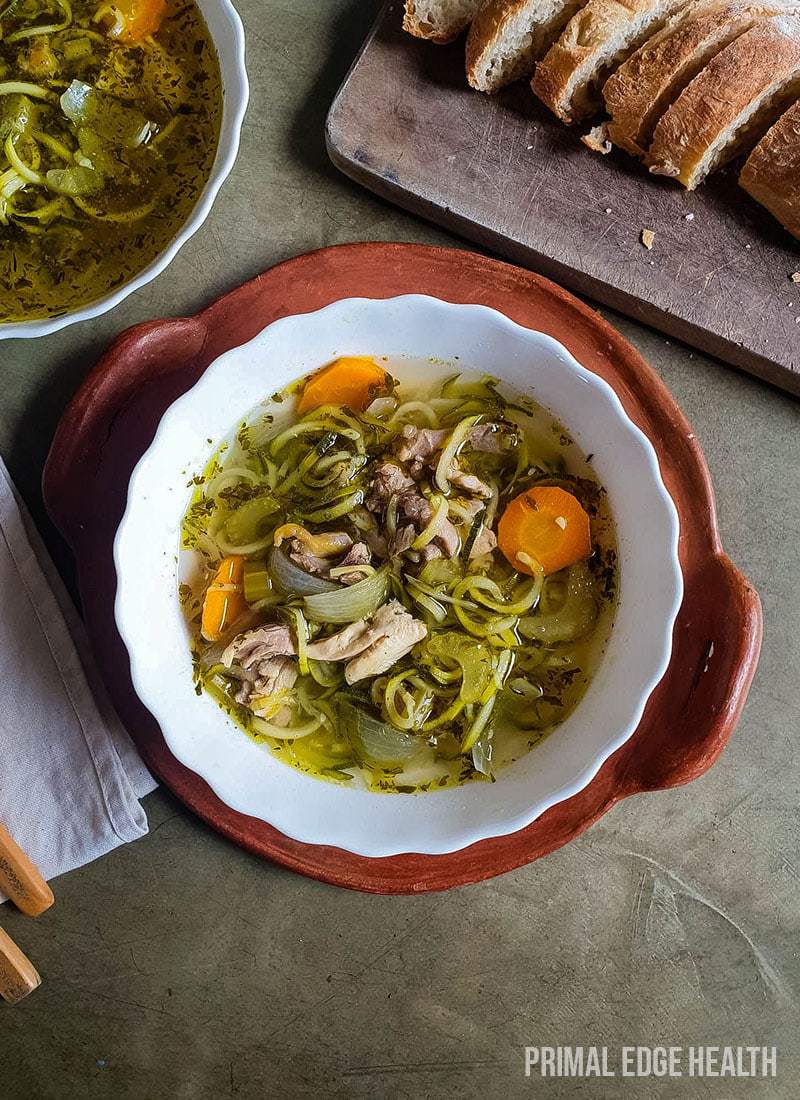
Side Dishes You’ll Love with Garlic Butter
The Easiest Roasted Garlic Butter Recipe
Ingredients
Instructions
- Start by preheating your oven to 350 °F. Trim the tops off each garlic head to expose the cloves. Drizzle them with olive oil, making sure they are well coated. Wrap each head in parchment paper or foil.
- Place the wrapped garlic on a baking sheet and bake for about 30 minutes. Once done, let them cool until they are easy to handle. Unwrap and squeeze the softened garlic out of the skins.
- Add the roasted garlic to a food processor along with the butter, parsley, and salt. Blend until smooth. You can also mash the garlic into the butter by hand or use an electric mixer if you prefer.
- Scoop the mixture onto a piece of parchment paper or plastic wrap. Shape it into a log, twist the ends to seal, and refrigerate for at least 3 hours to let the flavors meld.
Notes
- A squeeze of lemon juice can really balance out the richness, especially when you’re planning to serve the butter with seafood.
- Using a food processor makes your garlic butter ultra-smooth and evenly mixed, giving it a fluffy texture that’s hard to achieve by hand.
- You don’t have to chill the garlic butter if you’re in a hurry. It’s ready to use as soon as you mix the ingredients. Chilling just gives it a more traditional look and makes portioning a bit easier.
- If you skip the chill time, give the butter about 30 minutes to sit after mixing. This helps the garlic and herbs blend into the butter for a fuller flavor.
Nutrition & Macros
To obtain the most accurate representation of the nutritional information in a given recipe, please calculate the nutritional information with the actual ingredients and amounts used, using your preferred nutrition calculator. Under no circumstances shall the this website and the author be responsible for any loss or damage resulting for your reliance on the given nutritional information.