
Upgrade Your Steak Game With the Reverse Sear Method
Primal Edge Health participates in the Amazon Services LLC Associates Program and other affiliate programs and therefore, may collect a share of sales or other compensation from the links on this page. This comes at no additional cost to you, and all the prices and availability are accurate at the time of publishing.

Steak lovers know that the perfect steak is hard to come by. Traditional methods, like open-flame grilling, can make it hard to control the finished product due to swings in temperature.
Thankfully, the reverse sear method has recently gained popularity as a way to save the day. This game-changing yet simple technique involves cooking the steak low and slow before giving it a quick sear, resulting in a juicy, tender and evenly cooked piece of meat.
This article will demonstrate how to reverse sear a steak like a pro and why it’s the ultimate way to elevate your steak game.
Jump To:
Selecting the Right Steak for a Reverse Sear
Reverse searing can be done with almost any type of steak whether it’s an expensive filet or a cheaper cut of meat like a top sirloin. However, thicker, well-marbled (higher in fat) steaks are often chosen for this method.
When buying steaks to reverse sear, look for a cut with a minimum thickness of 1½ to 2 inches.
Optimal steak cuts for reverse searing include:
The options aren’t limited to just steak, however. Reverse searing also works exceptionally well with beef roasts like tenderloin, prime rib and eye of round.
While thinner cuts of steak could theoretically be reverse seared, there’s a higher potential to overcook them, and it’s not worth the time involved. Save those steaks for the grill or quick and easy stir-fries. Sheet pan steak and shrimp fajitas are perfect for those thin steaks.
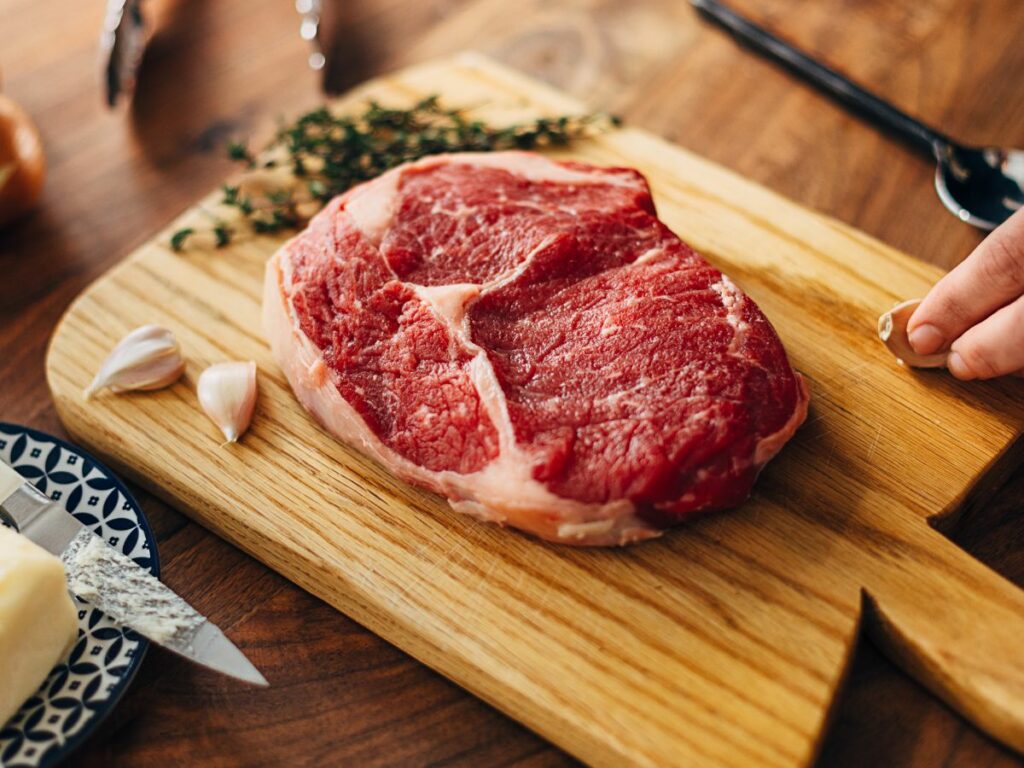
Preparing the Steak
To prepare the steak for the reverse sear method, start by seasoning it generously with salt, pepper and any other desired herbs or spices. You can also use the seasoning to help tenderize the steak, making it extra juicy and flavorful. Use fresh herbs from your garden and gourmet salt for incredible flavor.
Place the steak on top of a wire rack set on a rimmed baking sheet and let it rest uncovered in the refrigerator for at least half an hour up to overnight. The resting period helps draw out moisture, creating a better crust on the steak.
“I love to reverse sear any thick cut of steak. I find that it ensures my meat is more evenly cooked and turns out juicier than any other method I try with the perfect crispy crust on the outside every time. Try placing your uncooked steak on a wire rack in your fridge the night before to magnify the impact, too.”
— Michelle Price, Honest and Truly
The Reverse Sear Process
A steak would be placed on a preheated grill with normal grilling, and the sear would happen first while the inside of the steak cooks secondarily. With the reverse searing method, the opposite occurs.
There are two parts to the reverse sear process:
- Slow cooking
- Finishing with a sear
Slow Cooking the Steak
The slow cooking part of the process can be done either in the oven (most common) or on a gas or charcoal grill over indirect heat.
If choosing the oven, preheat to anywhere between 225F to 275F. Transfer the seasoned steak on the wire rack and baking sheet into the oven on the middle rack. Cook the steak until the internal temperature reaches 10F to 15F below the desired doneness.
For example, the final temperature of a medium-rare steak should be 130F. Therefore, when reverse searing a steak to medium-rare, it should be pulled from the slow cooking process at 115F to 120F.
The same process should be followed when slow cooking the steak on a grill instead of in the oven. A high-quality instant-read thermometer is very helpful here.
The grill must be set up for indirect cooking. This means that half the burners would be turned off on a gas grill, and the steak would be placed on the side without the flame. For a charcoal grill, the charcoal would be pushed to one side and the steak placed on the opposite.
Expert Tip
The key to a successful slow cook is having an instant-read meat thermometer handy. The process will take longer than traditional grilling since the steak is cooked at a low temperature. Start checking the temperature around the 25-minute mark for 1½-inch steaks.

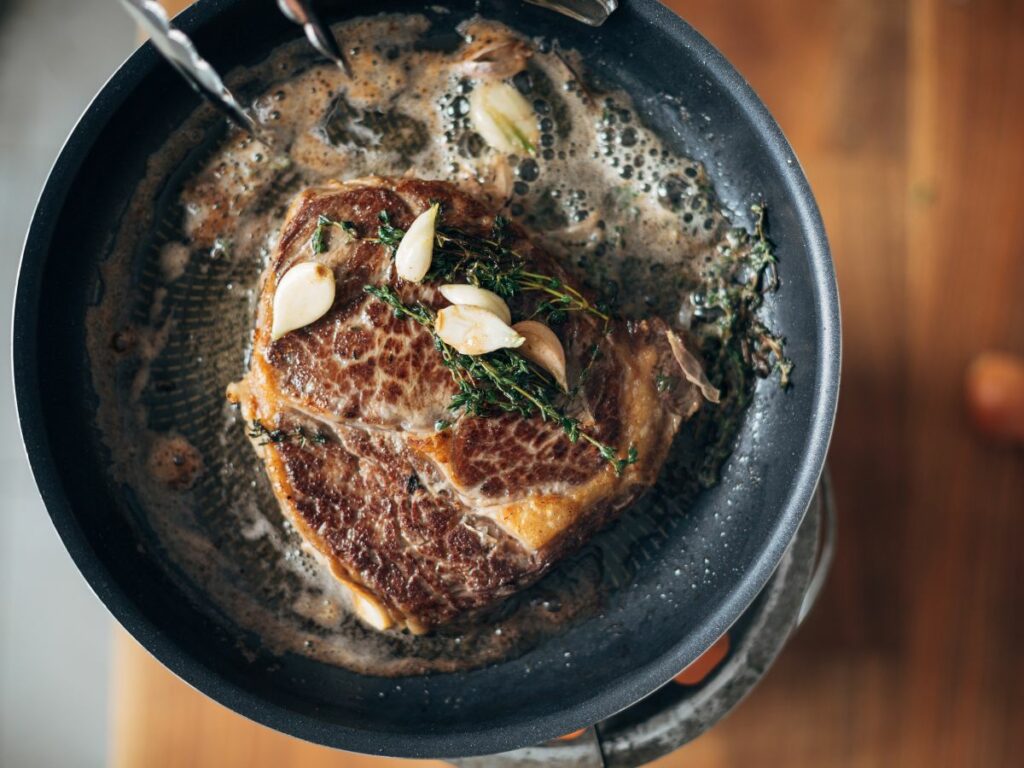
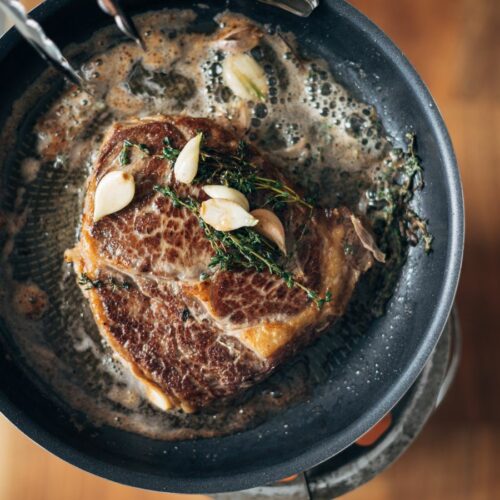
Searing off the Steak
When the steak is 10F to 15F below the desired level of doneness and just pulled from the oven, it will likely look pretty gray and unappetizing. This is the point where the reverse sear method shines.
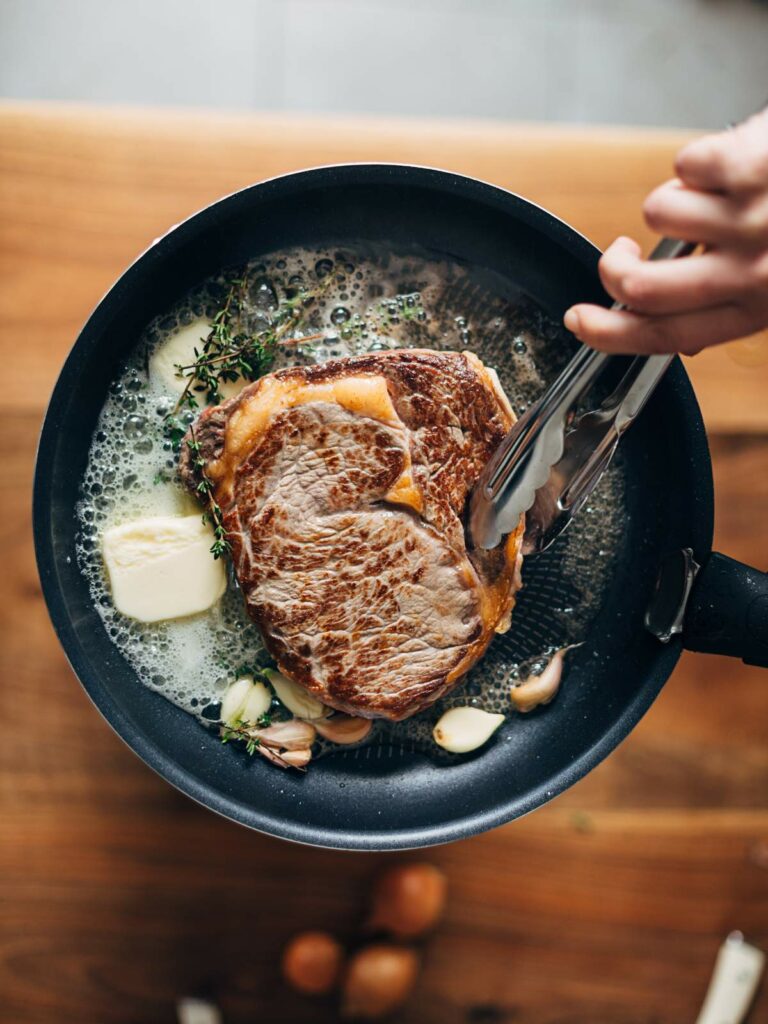
Like the slow cooking process, the finishing reverse sear can be done either on the stovetop in a cast iron skillet or on the grill over direct heat. I really like cooking meat in cast iron cookware.
If you don’t have a cast iron pan, a regular stainless steel frying pan or skillet would do. However, be sure to pay attention to the heat more closely since cast iron maintains high heat better.
For stove top searing, place a tablespoon or so of either lard, tallow, or a high smoke-point oil in a
Carefully place the steaks into the hot skillet and sear for about one minute per side until golden brown. Every kitchen should have a pair of tongs. These are indispensable for searing the sides of the steaks as well.
“Reverse searing ribeyes on my
— Sara Nelson, Real Balancedcast iron skillet is always a foolproof way to achieve steakhouse-quality results at home. Taking the time to gently cook the meat before giving it a quick sear results in a tender and juicy steak with a perfectly caramelized crust.”
To sear on the grill, first, remove the steaks from the grill after the slow cooking process. Turn on all the burners to high or build up the biggest charcoal flame possible, then cover the grill and let it preheat until it reaches its peak.
Once hot, place the steaks back onto the grill and turn frequently until crisp on all sides. This should take about one to two minutes in total.
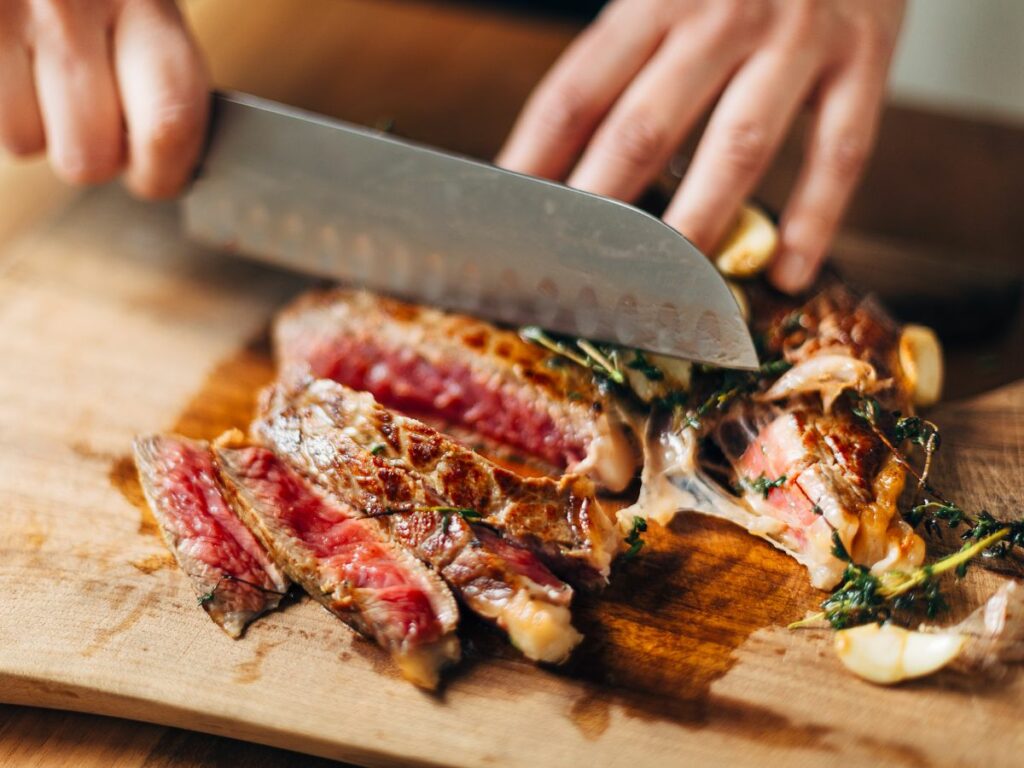
Serving the Steak
A reverse-seared steak does not need resting time. It’s ready to be served immediately. However, knowing how to slice the steak for the most tender result is important.
Although not specific to reverse searing, almost any steak will benefit from cutting against the grain when serving.
Whether cutting tri-tip steak with its confusing two-directional grain pattern or a simpler flank steak, slicing against the grain results in a more tender bite making the steak much easier to chew.
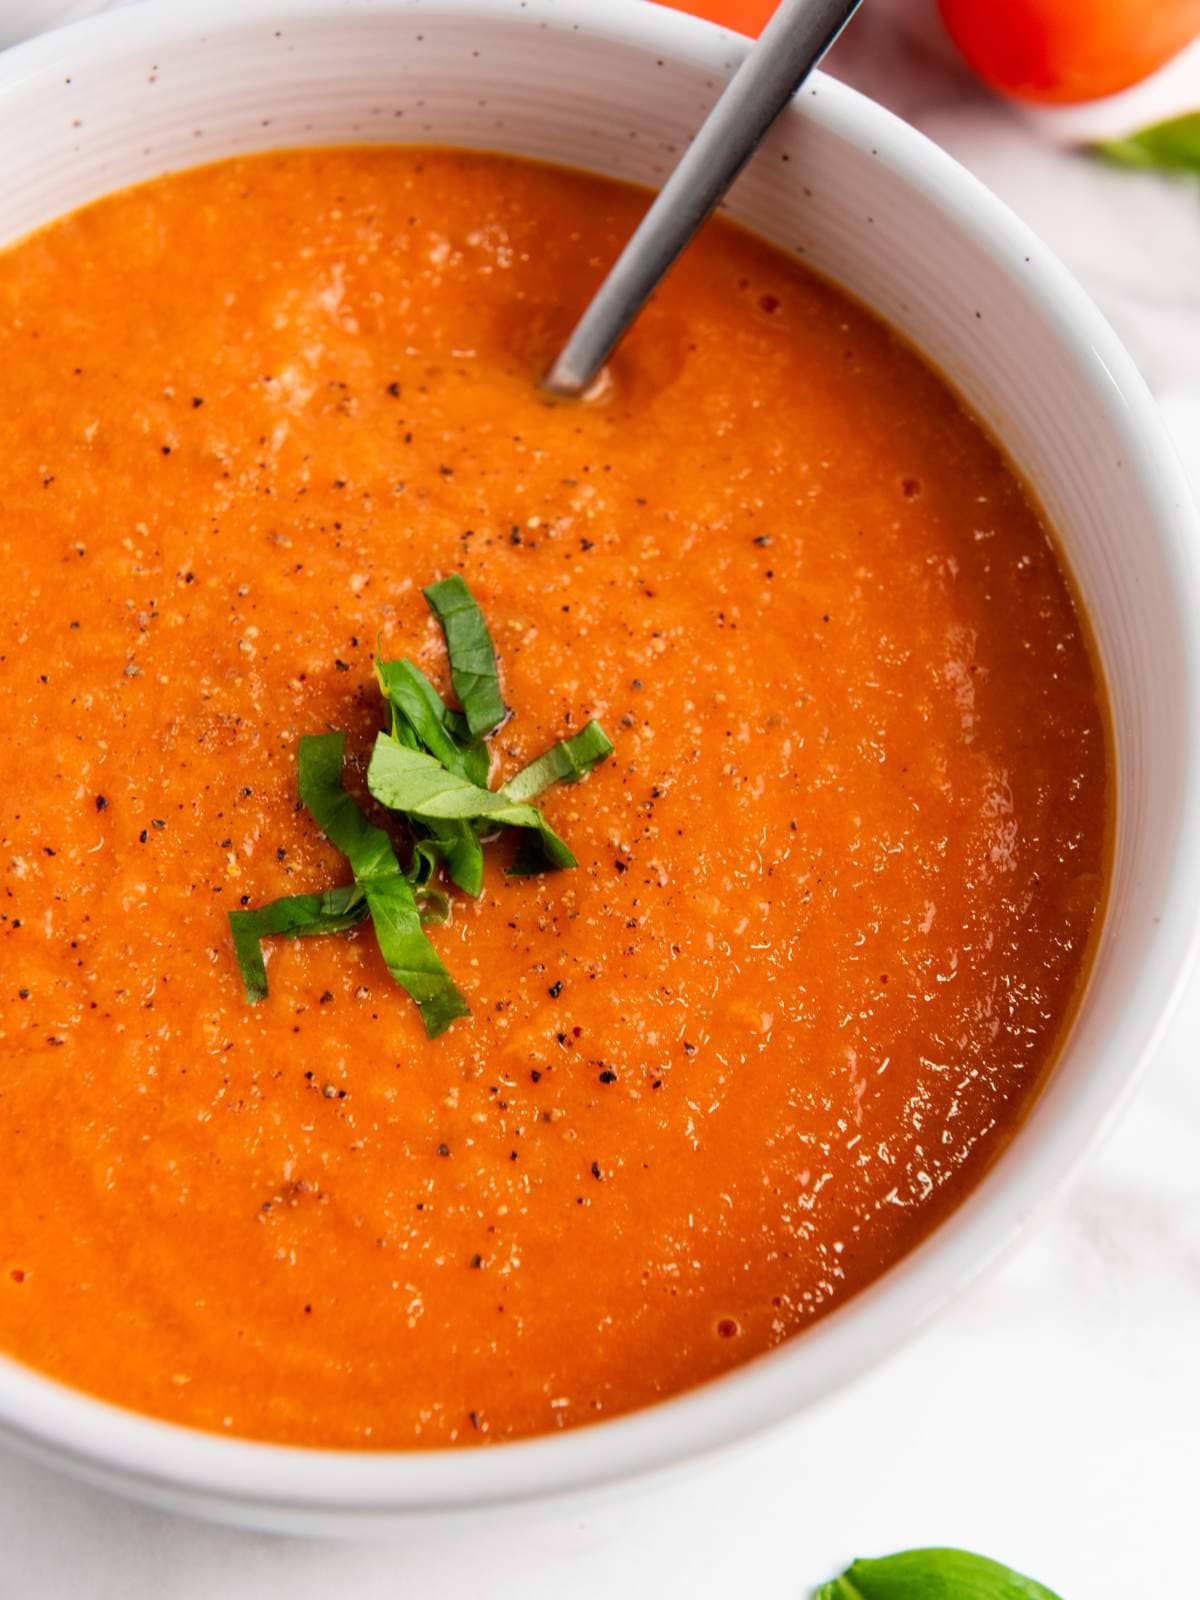
Serve with complementary sides like low-carb cauliflower mash, coleslaw, or cauliflower rice. Sliced steak is also delicious over a bed of low-carb pasta or spiralized vegetable noodles.
Pros and Cons of the Reverse Searing Method
While the perfectly cooked, rosy center might have you thinking otherwise, there are a few downsides of the reverse searing method worth mentioning.
- Takes longer than traditional grilling methods
- Doesn’t work well for all cuts of beef
- Harder to make a sauce from
The last point is that there isn’t significant buildup in the pan after the quick reverse sear. While that’s great from a clean-up standpoint, that buildup, known as “fond,” is typically the base of a delicious steak sauce.
The good news, however, is that a reverse-seared steak is packed with so much flavor (all those brown bits that would typically be in the pan stay inside the steak instead), it certainly doesn’t need a steak sauce to shine.
The benefits of reverse searing are simple yet powerful:
- Perfectly cooked steak each time
- Better browning on the outside
- More tender meat
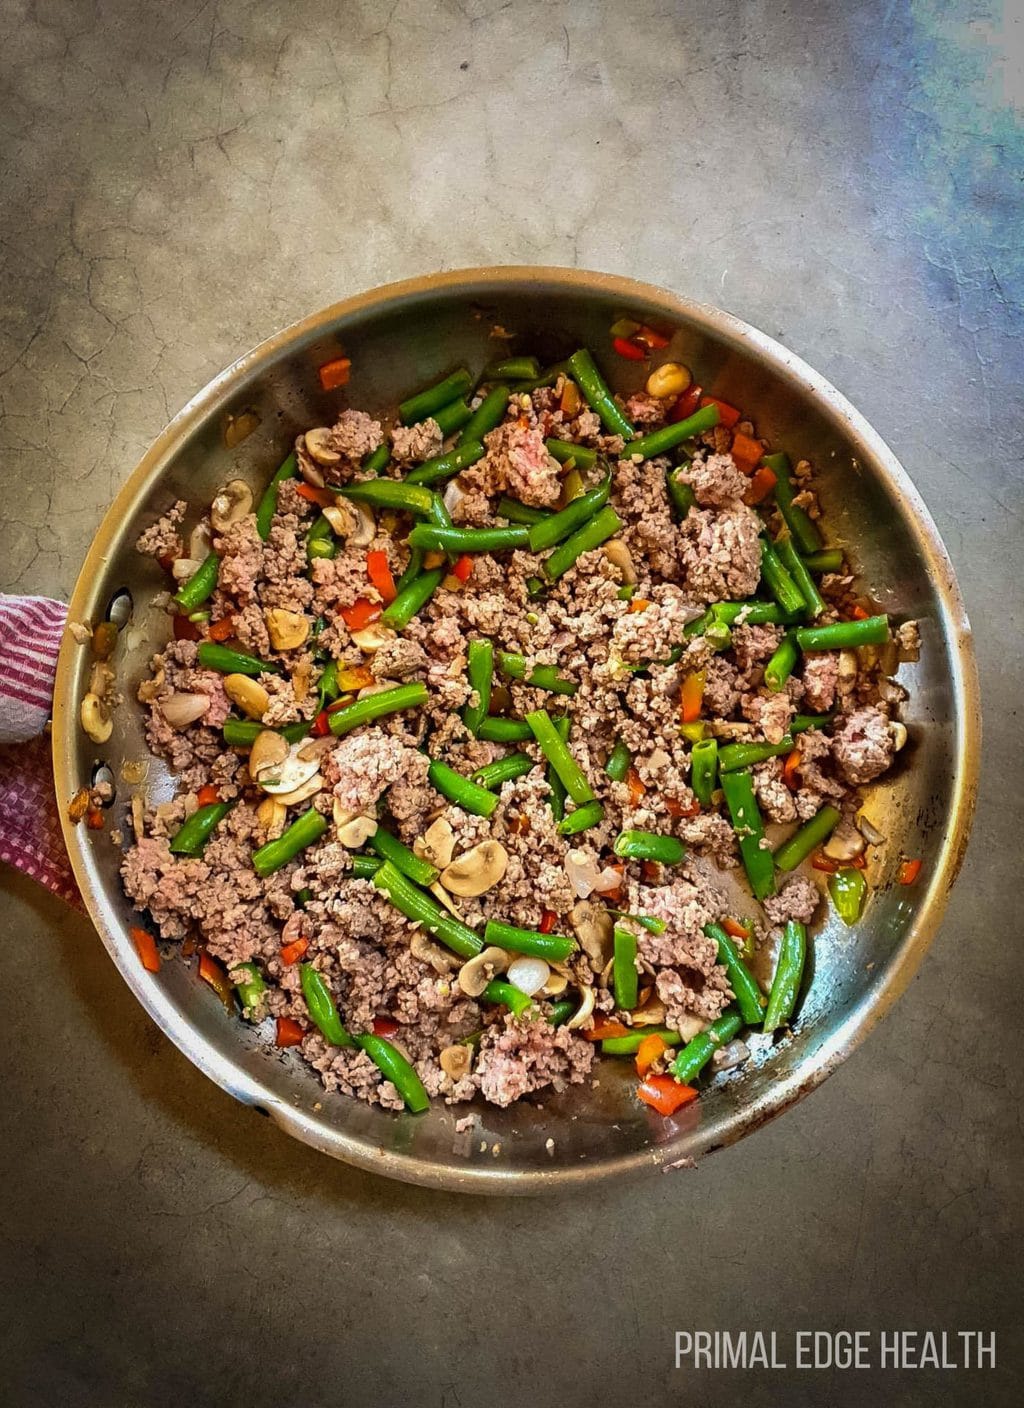
Unsurprisingly, this method works great for burgers, too, if you want an alternative to traditional grilled burgers. I recommend trying it out when you want a more controlled cooking temperature for your patties.
FAQs
Some cooking methods result in uneven heating of steak. With reverse searing, you’re sure that your steak cooks evenly because of its low-and-slow approach. It also gives you more control of the cooking temperature of your steak; thus preventing overcooking. With this method, you can also get a velvety soft steak on the inside with a perfect and flavorful crust.
If you want your steak rare, I recommend reverse-searing it in the oven for 20 to 25 minutes. For medium-rare, pull out your steak from the oven after 30 to 35 minutes. Meanwhile, 30 to 35 minutes is recommended for medium, and 35 to 40 minutes is for medium-well.
Reverse searing gives you more control over your steak’s doneness. Cooking your steak at a lower temperature first ensures that your meat’s interior cooks evenly, unlike the traditional searing. However, note that this method isn’t great for all cuts and thicknesses of meat. Also, it takes longer, so it’s not ideal if you’re short on time.
Not all cooking oils are ideal for reverse-searing a steak. If you’re using oil for your steak, you can start with a neutral oil with a high smoke point.
Butter and oil are both used for cooking steak. It’s common to use butter because it adds more flavor to the steak than cooking oil. However, the butter may start to burn before the meat finishes cooking. Steak experts suggest adding butter at the end of the sear but using oil initially.
You can reverse-sear a steak without a thermometer. If you don’t have a thermometer, check your steak regularly after the 30-minute mark. However, it will be challenging, especially if you’re not a pro in the kitchen. So, I still recommend using a thermometer.
Go Forth and Sear
Now that everything you knew about cooking a steak has been flipped on its head, hopefully, the intrigue of reverse searing has set in. It’s a worthwhile cooking method to try out if time allows. The results will speak for themselves with the first bite of flavor-packed, tender steak.
Reverse Sear Steak in the Oven
Ingredients
- 16 ounce steak cut 1 ½ inches thick
- 1 tablespoon oil or lard or tallow
- ½ teaspoon salt
- ¼ teaspoon ground black pepper
Instructions
- Season the steak generously with salt and pepper.
- Place the steak on top of a wire rack set on a rimmed baking sheet and let it rest uncovered in the refrigerator for at least half an hour up to overnight.
- Preheat the oven to 250 °F
- Transfer the seasoned steak on the wire rack and baking sheet into the oven on the middle rack. Cook the steak until the internal temperature reaches 10 °F to 15 °F below the desired doneness.
- Place a tablespoon or so of high smoke-point oil (lard or tallow) in a cast iron skillet over high heat until almost smoking.
- Carefully place the steaks into the hot skillet and sear for about one minute per side until golden brown.
- Remove from heat but do not rest, serve immediately.
Nutrition & Macros
To obtain the most accurate representation of the nutritional information in a given recipe, please calculate the nutritional information with the actual ingredients and amounts used, using your preferred nutrition calculator. Under no circumstances shall the this website and the author be responsible for any loss or damage resulting for your reliance on the given nutritional information.
Parts of this article originally appeared on Food Drink Life.


This method turned out so good for me! My husband said he never had a steak cooked by me so well 🙂
It really is the best. Glad it was a win.
This has made it SO easy for to cook the perfect steak every time. No more disappointingly overdone steaks at my house!
Thanks for the great review, Nina. Happy for those perfect steaks 🙂