
Why Make Animal Fat Soap + Easy Recipe
As an Amazon Associate, I earn from qualifying purchases.
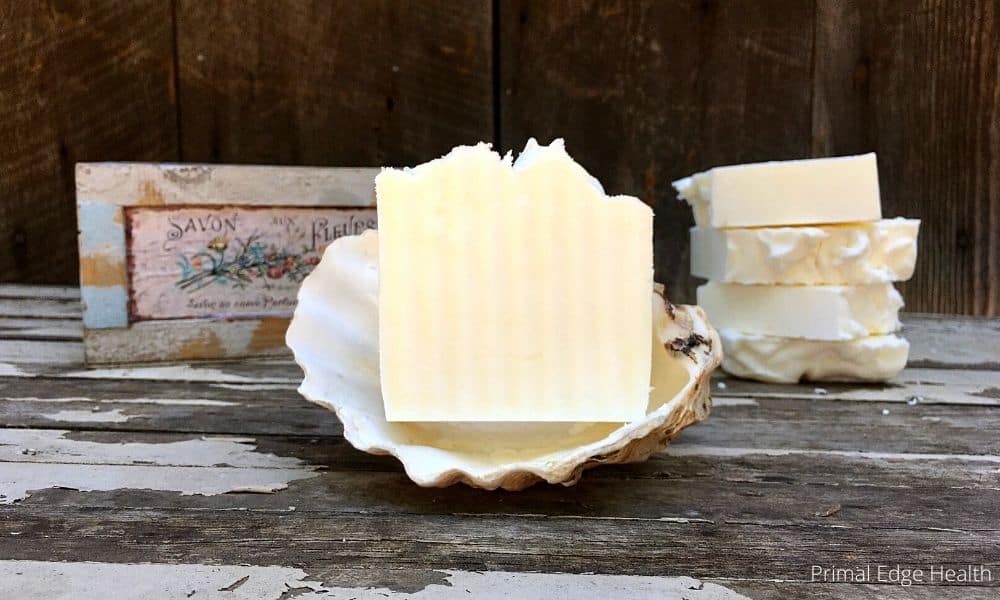
Yes, I said it: animal fat soap. Did you ever think using a bar of fat could leave you feeling squeaky clean? Using beef tallow in soap creates a very hard, long-lasting bar with a gentle lather. It is an ideal ingredient for DIY natural soap making.
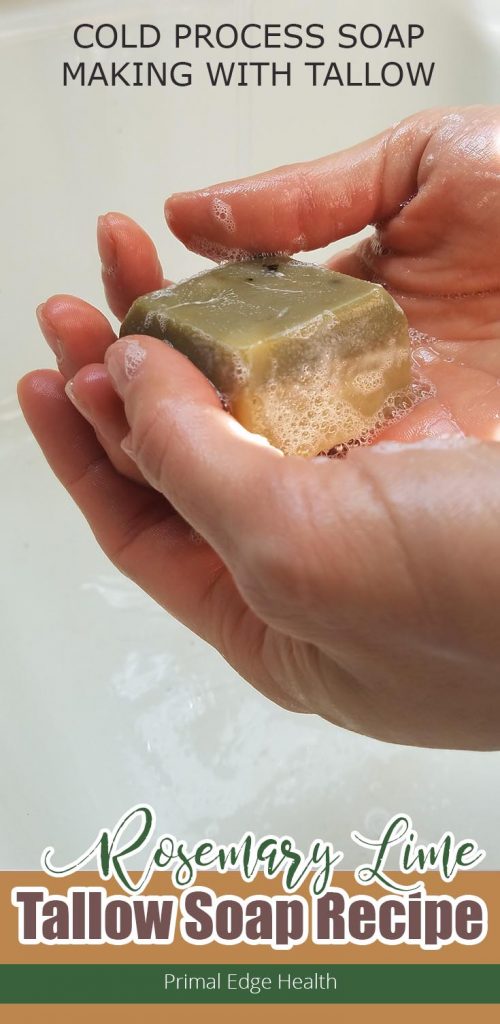
I’d like to welcome Hill from Primal Pillars, who will guide us through the process of cold-processed soap making with tallow in this guest post. She makes it simple and straightforward so we can all get the benefits of natural tallow soap in our own homes.
Jump To:
The History of Soap Making
Soap has a long story through the centuries all the way up to modern day when I tell people I make soap from grass-fed tallow. Their first reaction is most often “What is tallow?” After I explain that tallow is rendered beef fat, their second reaction is usually “Eew” as they imagine themselves rubbing a greasy bar of fat on their skin.
Believe it or not, a tallow soap recipe does wonders for sensitive skin! However, if this is all too much for you right now, get started with a cold process soap for beginners recipe using palm, olive, and coconut oil instead.

Ancient History
No one knows exactly when soap was first created or by whom, but the earliest record of soap is from the Babylonians around 2800 B.C. Additionally, the Romans, Greeks, Celts, and Egyptians each seem to have developed soap independently of one another.
Legend says that in ancient Rome, women washed clothes in the river at the foot of Sapo Hill, where animal sacrifices were performed. The runoff of animal fats would mix with the clay in the water, and the women found that clothes became cleaner in this mixture.
For hundreds of years, this early form of soap was made from fats, oil, and wood ash. It was used mainly for cleaning wool. Water leached lye as it poured through wood ashes. This lye was then boiled in a vat with animal fat.
The lengthy process required an experienced soap maker who could properly test and adjust the mix. Too much lye meant the soap was harsh and would damage skin and fabrics. Too little lye and the soap would be greasy and never harden. The ratios have to be just right.
Soap for Personal Use
The use of soap for personal hygiene didn’t seem to come around until 18th-century France when the chemist Nicolas LeBlanc synthesized a solution of sodium hydroxide. This man-made lye was more reliable and easier to use than wood ash lye. Suddenly, soap could become a more affordable commodity for the common person.
These days there has been a resurgence of using animal fat like lard and tallow in soap making, perhaps due to the growing awareness of nose-to-tail use of an animal, or making use of the entire animal to minimize waste. When I originally set out to create tallow soap, I found that my local Utah grass-fed beef rancher was more than happy to supply me with hundreds of pounds of kidney fat.
Few people request beef fat from a butcher, and when they do, they usually only want a small amount to use in cooking. However, the uses of beef tallow extend way beyond cooking. I also use it for cast iron seasoning, homemade skincare products, and, of course, soap-making.
Why Use Animal Fat For Soapmaking?
Animal fat has been a staple in soapmaking for centuries, and there are good reasons it remains a popular choice today. Using fat from cattle, sheep, goats, deer, and other animals in soap offers several practical benefits, making it an ideal ingredient for crafting gentle, effective, and natural soap. Here are some of the most important ones.
It’s Rich in Nutrients and Moisturizing
Animal fat is rich in nutrients, including essential fatty acids, antioxidants, minerals, and vitamins, that help nourish and moisturize the skin. Tallow, in particular, closely mimics the natural oils produced by our skin, which allows it to effectively restore moisture without feeling greasy.
Creates a Long-Lasting, Hard Bar
Soap made with animal fat tends to produce a hard, long-lasting bar. This means your homemade soap will last longer in the shower and won’t dissolve quickly, thereby reducing waste.
The firm consistency also gives the soap a luxurious feel and a creamy lather, making it a pleasure to use. Its cleansing effect is also as effective (if not more) than regular soaps.

Eco-Friendly and Sustainable
Using animal fat for soap is a great way to reduce waste and promote sustainability, especially when it’s sourced from nose-to-tail practices. Tallow is often a byproduct of meat production that might otherwise be discarded as waste.
By using it for soapmaking, you’re using the whole animal, which aligns with a more sustainable, environmentally friendly approach to resources. Plus, you can help farmers make sure that all their hard work goes to good use. You can also use discarded or budget-priced bones for bone broth.
Less Irritating Than Many Alternatives
Unlike some vegetable oils and other plant-based oils (e.g., palm oil, avocado oil, shea butter) that may cause irritation for those with allergies or sensitivities, tallow is often better tolerated by those with sensitive skin. It also doesn’t require the extensive processing that some plant oils do, which helps keep the final soap simple and free of unwanted chemicals.
A Tradition That Works
Our ancestors have been using tallow for soap for generations, and for good reason—it’s effective and easy to obtain. Before modern synthetic soaps became the norm, tallow was a trusted ingredient that cleaned well while leaving the skin soft and healthy. Choosing animal fat for soapmaking is a great way to return to these simple, effective skincare traditions.
Save Money
Hard or liquid soap is a staple for households, and while they may not be that expensive, the costs can add up, especially if your family uses hypoallergenic soaps. Making your own tallow soap is a great way to reduce that expense. You can check out local butcher shops and supermarkets for low-cost tallow or fat you can render. So, delete that soap order from your Amazon cart, and try my recipe instead.
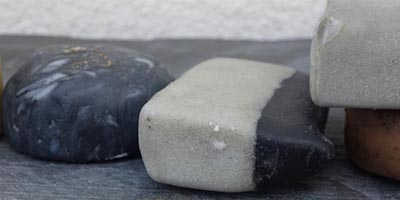
DIY Cold Process Tallow Soap Recipe
Getting started with making your own soap is easier than you might imagine. You don’t need to be a chemist. You don’t need industrial safety equipment, only a few tools and a basic understanding of how to safely handle your ingredients.
Be sure to read over the information in cold process soap making 101 for beginner’s tips and safety protocols. Before beginning, it is best to have all your ingredients weighed out in advance. Use a soap calculator for accurate measurements.
Materials
- Kitchen scale
- Silicone or plastic spoon or whisk (not wood since the lye can disintegrate it)
- Plastic dish for measuring lye
- Heat-resistant bowl or pot for mixing soap (plastic, Pyrex, stainless steel, or a small bucket)
- Gloves
- Eye protection
- Thermometer (I used a probe or candy thermometer)
- Soap mold (a silicone mold is easiest, although you can use a wood mold or make your own. If you are not using a non-stick material like silicone, you will need to line the mold with parchment paper. For a round bar, I love using a 4-inch PVC pipe, capped at one end and lined with parchment paper.)
- Immersion Blender
- Isopropyl Alcohol in a spray bottle
Ingredients
Lye (100% sodium hydroxide): My favorite brand is Red Crown Lye, which I order online, but in a pinch, I have used whatever sodium hydroxide I have found at the hardware store. It’s found in the plumbing section since this is also used to clear clogged drains. Just be sure it’s 100% sodium hydroxide.
Fat: We will focus on beef tallow, though you can use lard or bear fat. I usually render tallow at home, but you can also purchase grass-fed beef tallow.
Oils: Common oils include olive, coconut, cocoa, and castor oil, also called “soft oils” for cosmetic use. Tallow can make a wonderful soap on its own, but adding a variety of oils to the mixture will provide a better lather, which is especially useful if you want to use it for shampoo or shaving. Each oil has its own unique properties when saponified. For example, coconut oil makes a thicker lather with larger bubbles. Olive oil has minimal lather on its own but adds soothing and moisturizing properties. Castor oil contributes to a stable and fluffy lather and is a humectant that seals moisture into the skin. Typically, castor oil is used at only 2-5% of the total oils in a soap recipe; otherwise, the bar can become sticky.
Liquid: Typically this is water; however, if you are making, for example, coffee soap, your liquid would be brewed coffee.
Essential oils: optional; I personally love an unscented bar of tallow soap. Some people think it smells a little fatty, but I find that it smells like freshly baked pastries. I never use fragrance oils because of the potentially harmful effects of fragrance, and I dislike how artificial they smell. Essential oils are nice, but understand that it’s not going to be a highly fragrant bar of soap that leaves your skin smelling like the scent. In my experience, the essential oils make it more of an aromatherapy soap. You’ll experience the smell more while using the soap and less when it is sitting on the counter. You can use any oil you like, but my favorites are peppermint and tea tree.
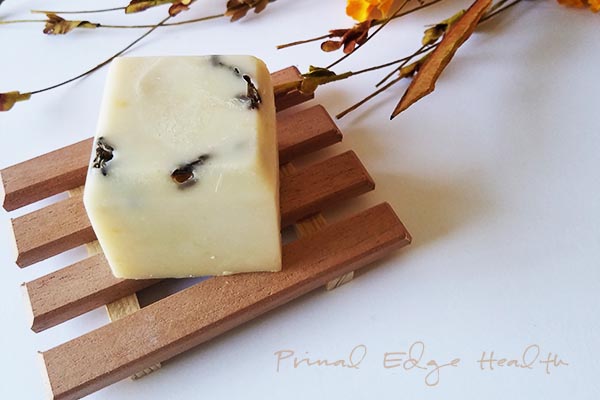
Step-by-Step Instructions on How to Make Cold Processed Soap
There are a few specific and important things to consider when making different types of soap at home. Follow the directions, and you’ll have nothing to worry about.
Wear gloves, safety glasses, and clothing to protect your skin. It is important that you always use protective gear when handling lye. This safety tip applies to the whole process, from measuring ingredients to pouring the soap into the mold.
Be prepared to neutralize lye if it comes into contact with your skin. If lye touches the skin, immediately rinse the area with plenty of cool running water for at least 15 minutes to remove the lye. Avoid using vinegar, as it may cause a chemical reaction that can increase the burning sensation. Seek medical help if irritation persists.
Step 1: Prepare the Lye and Liquid
Before mixing the liquid and lye, your liquid should be cold. Once you combine these ingredients, the exothermic reaction will heat the mixture to temperatures up to 200F. So, if you start off with a warm or hot liquid, it could get way too hot. Use “fridge cold” water.
When mixing liquid and lye, always add the lye to the water rather than pouring water into the lye, which can cause a small explosion. Mix the ingredients in a well-ventilated area because the mixture gives off fumes. Gradually add the lye into the cold water, stirring until it dissolves well. Cover this mixture with a cloth and let it cool to about 110-120 F which can take one or more hours.
Step 2: Prepare the Fats
Melt or warm the fat (depending on whether it is liquid or solid at room temperature) to about 100-110 F on the stove. The lye mixture will heat up again once you add it to the fat. If either ingredient starts off too hot, it can cause an expansion and spill over in the mold. A temperature discrepancy can also create unwanted texture in the final product.
I have found that the optimal temperature for the lye liquid is 120 F and fats are best at 110 F. In general, they should be within 10 degrees of each other.
Properly timing this can take some practice. I will make the lye liquid first, then heat the tallow from solid. This order usually allows the fat to turn liquid and cool slightly by the time the lye mixture reduces to a usable heat.
You can also use the cooling time to prepare your other ingredients. Have your mold ready, your essential oils measured and any other ingredients you may be adding.
Step 3: Combine Fat & Lye
Have your liquid fats in the bowl that you will pour into the soap mold. Slowly pour the lye mixture into the fats, stirring constantly.
From here, we are looking for the mixture to reach a trace, with a pudding-like consistency. You can reach trace simply by stirring and stirring, but depending on the size of your batch, this could take 30 minutes or more.
Using an immersion blender is a much more effective way. I pulse the blender in short 3-5-second bursts, then stir with a whisk while checking regularly for a trace. You can look for trace by lifting up your whisk and letting the mixture drip onto the surface. If it leaves a mark across the surface, this is trace.
Don’t over-blend the mixture! Overblending causes the mixture to seize and become too solid, making it difficult to pour into the mold.
Once at trace, you can add your essential oils or other coloring ingredients you may or may not be using. If you are adding essential oils, I recommend bringing it to light trace so that it doesn’t seize up when you are stirring in the essential oils. Mix just enough to blend; then it is ready to pour into the mold.
Step 4: Pour into the Mold
Silicone molds are very easy to use and remove soap from. Otherwise, line your mold with parchment paper and use tape to seal off the edges and hold it in place, if needed. You’ll need to turn it upside down and tap it firmly.
Whether using a loaf mold or a tray of individual molds, it’s important to tamp out any air bubbles that could be hiding in the soap. Gently tap the mold against the table or shake it from side to side.
Spray the surface with alcohol to prevent soda ash or white film from forming on top. Soda doesn’t pose a problem other than it isn’t very attractive. If the soap is for your personal use only, you may not care.
Insulate the mold for about 24 hours to allow the soap to cool more slowly. Use two bath towels; one on top to cover and wrap the second around the sides. After 24 hours, remove the towels. If you are using small molds, you can remove the soaps carefully now. If you have a loaf mold, I recommend waiting another 24 hours to let it harden more before removing it.
Step 5: Cut & Cure
If you have used a loaf mold, you will need to cut your loaf into bars now. Don’t wait too long before cutting your loaf, as it can begin to harden and may crack or crumble when it’s cut.
This doesn’t need to be complicated. You can use a large knife to eyeball the size of each bar and hand-cut. I love the homemade look of an unevenly cut bar of soap, but if your goal is to make them look even and identical, you may want to invest in a simple soap loaf cutter, which will help you make each bar the same size with a straight cut.
Now you can celebrate having done all the hard work. But not too much because your soap isn’t actual soap quite yet. The saponification process will now happen over a six- to eight-week curing period. The chemical reaction must continue so the bars can fully harden and dry out.
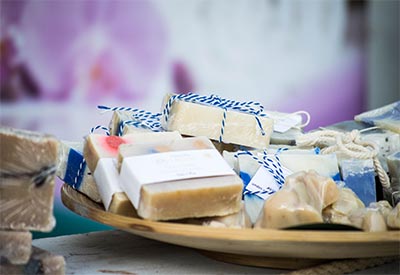
Tips for Curing Cold Process Soap
- Place your bars on a rack (a baking cooling rack works well) in a cool (not cold) area with plenty of airflow.
- Stack the bars a few inches apart so they are not touching, allowing air to flow all the way around the soap.
- The smaller or thinner you have cut the soap, the quicker it will cure. I find that a 1-inch bar is nice to hold onto and lasts a while.
- After six weeks, you can try out your soap. If it leaves your hands feeling slippery or if your skin stings at all, it’s not ready.
Eight weeks may seem like a long time to wait for your homemade soaps, but the satisfaction of creating your own product from animal fat that might otherwise have been thrown away is truly worth the wait. Label your tallow or lard soaps with the date you made them so you know when they’re ready to use.
Once you understand the basic process of cold soap making, there are endless varieties of soaps you can make by adding different essential oil combinations, experimenting with fat and oil blends to achieve different lather textures, and adding natural botanicals and clays for color.
More Homemade Personal Care Items
Once you begin to handcraft your own unique soaps, I guarantee you that you’ll never want to buy another bar of store-bought soap ever again. It’s a gateway to other products like tallow lip balm, tallow moisturizer, homemade wrinkle cream, and more.
If you are interested in making your own soap, I know you will also enjoy homemade toothpaste too! The remineralizing bentonite clay toothpaste has become my favorite. Who knows? You might want to swap your bathroom essentials for these natural products, too
If you want more ideas, check out bath and body recipes that make great homemade gifts. Then try all my other easy tallow skin care recipes, too!
Rosemary Lime Tallow Soap Recipe
Equipment
- Immersion blender
Materials
- 8 ounces beef tallow
- 3 ounces coconut oil
- 3 ounces extra virgin olive oil
- 1.5 ounces castor oil
- 0.25 ounces rosemary essential oil added at trace
- 0.25 ounces lime essential oil added at trace
- 2.14 ounces lye
- 4.79 ounces cold water
- 1 teaspoon clay optional, see notes
Instructions
- Gradually add the lye into the cold water, stirring until it dissolves well. Cover with a cloth and let it cool until about 110-120 °F, can take 1+ hours.
- Heat the fat and other oils until liquid, then let cool to 100-110 °F (38-43C).
- Slowly pour the lye mixture into the fats. Alternate between using an immersion blender in short 3-5 second bursts and stirring with a whisk. Check regularly for trace (see more in “TIPS” above). Do not over blend. If using clay, add during the last moments of mixing.
- Once trace is achieved, pour mixture into your mold (use a silicone mold or line with parchment paper).
- Tamp out any air bubbles by gently tapping or shaking the mold against the table
- (Optional) Spray the top with alcohol if you want to prevent soda ash (purely for appearance to prevent any white film on the top).
- Insulate the mold(s) with 1-2 bath towels, 1 covering the top and 1 wrapped around. Leave small individual molds for 24 hours, larger loaf pans sit for 48 hours.
- Pop soaps out of silicon molds or turn upside down and tap firmly to release from mental molds.
- Cut 1-inch thick bars with a sharp knife or soap loaf cutter.
- Cure the bars for 6-8 weeks on a rack in a well ventilated cool, dark area. Each bar should be standing alone, not touching the others.
- Test the soap after six weeks. If it leaves your hands feeling slippery or if your skin stings at all, it’s not ready yet.


I thought Lye was toxic and shouldn’t be used? And where do you get it?
So is Lye safe to use?
Thank you
Hello Gina, I use lye in cold process soap and am not familiar with an alternative. As I suggest in the post, you can read over the information in Cold Process Soap Making 101 for beginner’s tips and safety protocols. The process of saponification will neutralize the lye, so the most important thing is knowing how to properly handle it while you make the recipe.
You can’t make soap without lye, it is required for the saponification of the oils. None remains in a correctly made soap when you’re done.
Thank you for a simple and beautiful recipe! And also for the tip about the alcohol on top. I Just want to point out that it’s missing the instructions for when to add the clay if we want to use it…
Thank you for your kind feedback! The clay should be added in during the very last moments of mixing, just before trace. I added that detail to the recipe card so it’s more clear for everyone. Thanks again for stopping by and saying hi!
Great details, very well written. I also enjoyed the history of soap making. Thank you
Thank you for such a great review Kari! I’m so glad you like the article! Soap is a fascinating topic.
I had never made soap with lye before trying this recipe. I now love making my own soap and it is fairly easy, fun, and oh so rewarding! Thank you for sharing!
I’m delighted to hear of your success, Sherri! I felt the same way after making my first soap recipe. Why did I wait so long to try it in the first place? It’s so easy and fun!
I make moringa soap with pko and shea butter but I want to add tallow and other additives. How much tallow do I need to add to the other oils for 1 liter total oils?
Great question. Hill wrote this guest post with me so I recommend you contact her directly via Instagram @primalpillars and ask.
As an experienced soap maker I would only add two things.
#1 Freezer paper works really well for lining the molds and is much less cost than parchment paper.
#2 Word of caution: soap making is addictive! As long as you use a lye calculator you can be so creative in soap making!
Thanks for sharing your tips!
Wow! eight weeks is a long time for a lot of people in that instant day and age the art of patience is lost on many. I, however, see it as a challenge, sometimes the most rewarding things take a good amount of time. I look forward to trying this out. I am going to see a man about a cow. lol but really I intend to make my own tallow and give this a full try. You wrote an amazing piece. Thank you so much. How much did you pay for your kidney fat?
Patience certainly is a virtue. The price of suet is going to vary depending on where you are in the world, however, it tends to be very affordable no matter where you are.