
Pan De Yuca (Gluten-Free Cheese Bread)
Primal Edge Health participates in the Amazon Services LLC Associates Program and other affiliate programs and therefore, may collect a share of sales or other compensation from the links on this page. This comes at no additional cost to you, and all the prices and availability are accurate at the time of publishing.

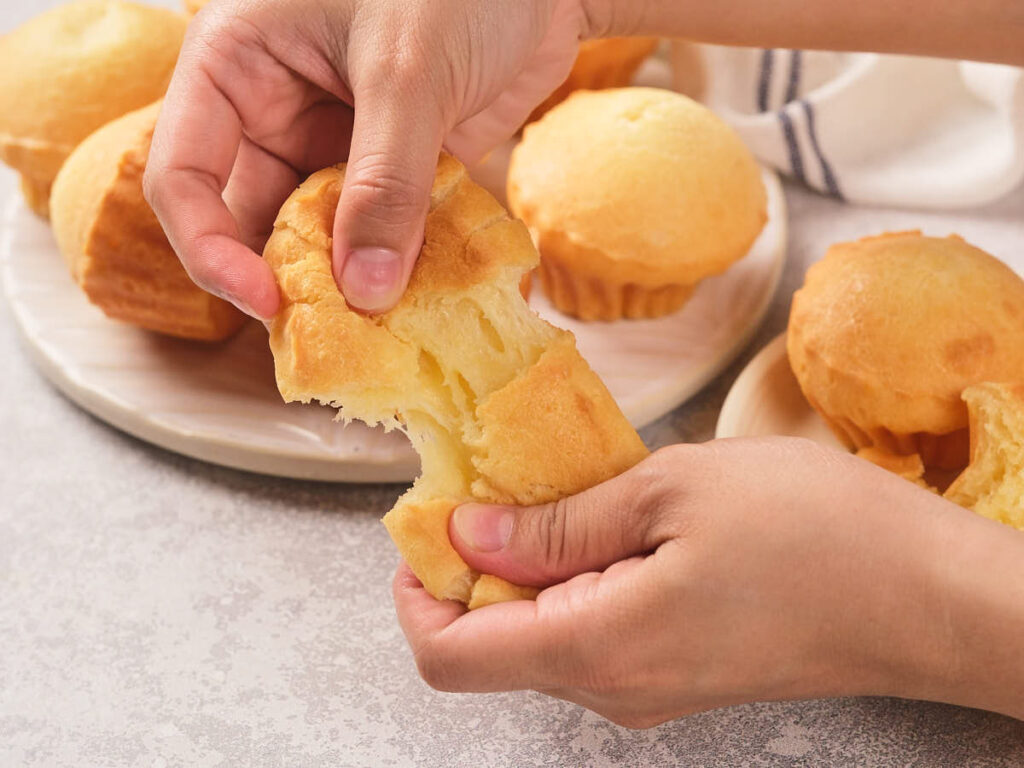
Get ready to fall hard for this homemade pan de yuca! It’s an effortless bake that serves and wows a crowd. Now you can enjoy this traditional South American cheese bread anytime, guaranteed to be cheesy and buttery inside with a crispy crust. Perfect as a snack, appetizer, or side dish.

I’ve been making this recipe since moving to Ecuador in 2010 and discovering it locally. It’s sold in all the local bakeries and great to pick up while out and about shopping and doing errands with kids.
This from-scratch, no-knead cheese bread is every lazy baker’s dream; just mix and bake! I’ve worked on the original recipe to make it, dare I say, even better. No kneading, no fancy equipment. I make this bread alternately with my other favorite cheesy treat, crack biscuits, for potlucks and gatherings.
Jump To:
Why You’ll Love This Recipe
- 10-minute prep
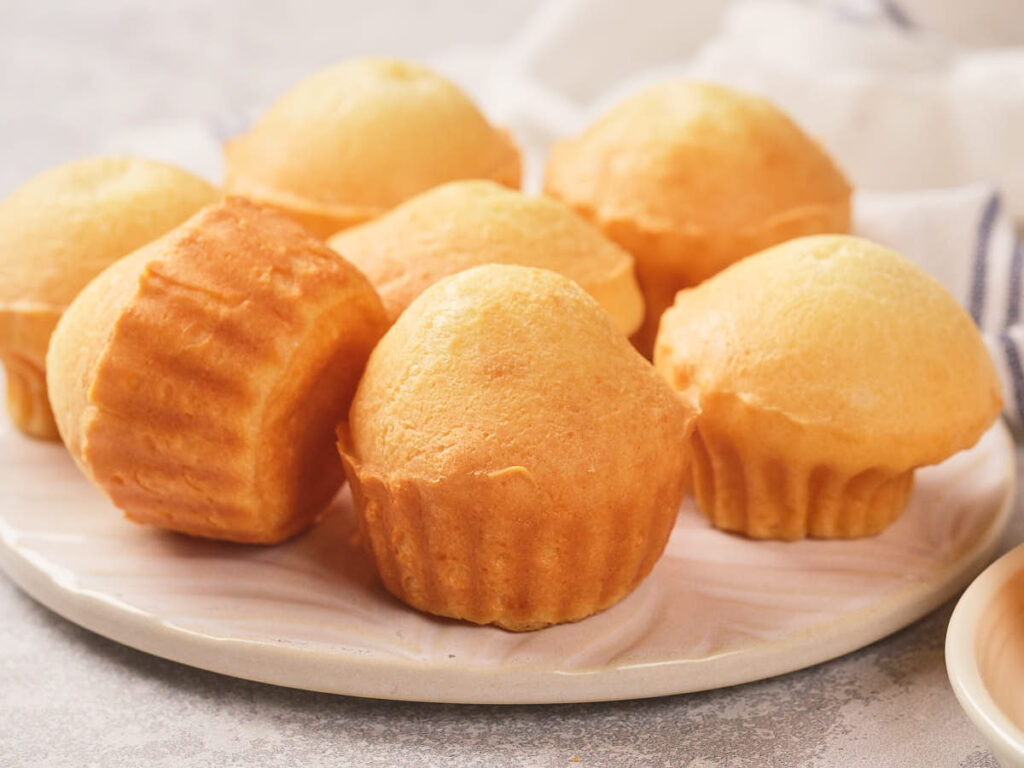
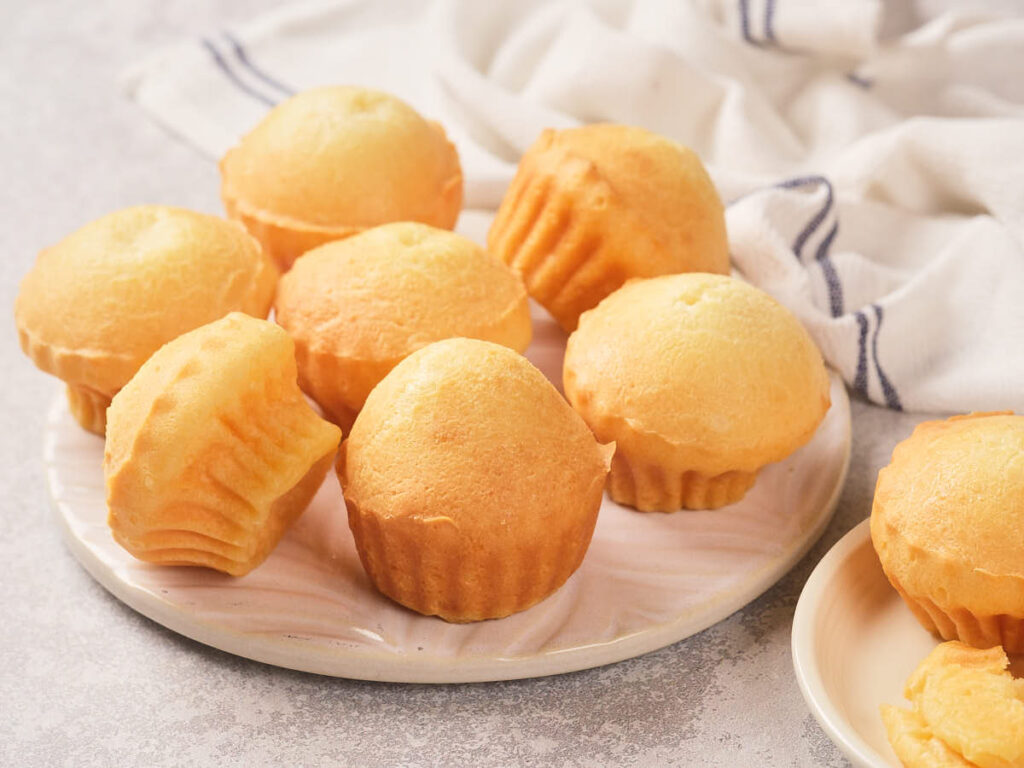
- Ultimate comfort food: Perfectly golden edges, a soft, fluffy crumb, and pockets of gooey, stretchy cheese in every bite.
- Naturally gluten-free
- Great any time
- Perfect party food: Bite-sized pieces make a fun and crowd-pleasing appetizer.
- Meal prep friendly: Make ahead, freeze, and reheat for a delicious treat all week long.
How to Make Pan De Yuca
Even though I can easily buy pan de yuca in local bakeries, I wouldn’t trade this homemade, fresh-off-the-oven version for anything. Besides, a batch is super easy to make and finishes in 35 minutes. Simply make the dough using a food processor then pop it in the oven.
Scroll to the bottom of this post for a printable recipe card with a full list of ingredients, measurements, and step-by-step instructions.
Ingredients You Need
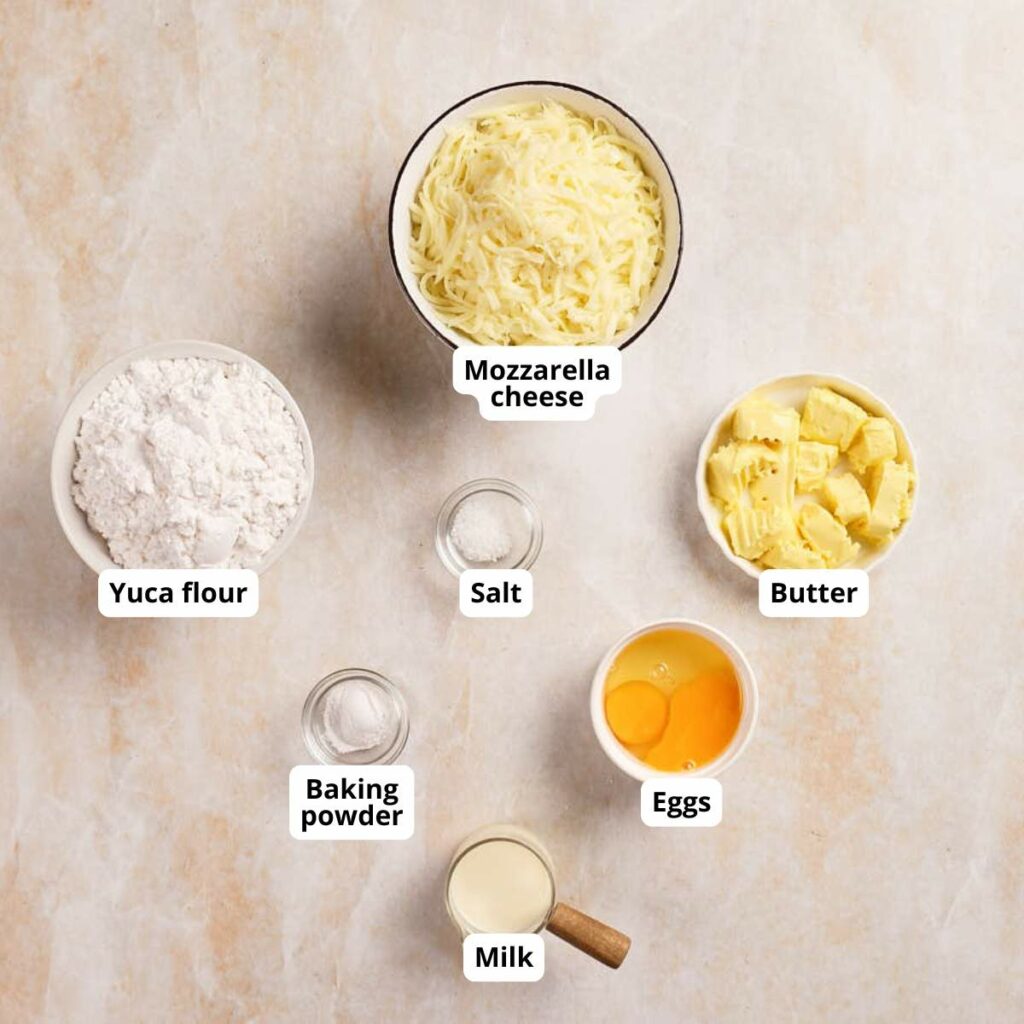
- Yuca flour: Yuca flour, aka cassava flour, gives the bread its signature chewy bite, crisp edges, and fluffy interior. Don’t confuse it with yucca, which is a completely different plant.
- Mozzarella cheese: Shred cheese straight from the block for the best melt and creaminess.
- Baking powder: Helps the bread rise slightly without yeast, which is crucial in no-knead recipes.
- Salt
- Butter: Use unsalted butter since salt will be added separately.
- Eggs
- Milk or water: I use whole milk or water most often, skim milk would also be fine. You just need enough to get the dough to a well-mixed, pourable state.
Step-By-Step Instructions
Ready to bring this cheesy, dreamy treat to life? The steps are simple enough for beginners but rewarding enough for seasoned bakers. Follow along with these easy instructions, and before you know it, you’ll be pulling golden, cheesy bread straight from the oven.
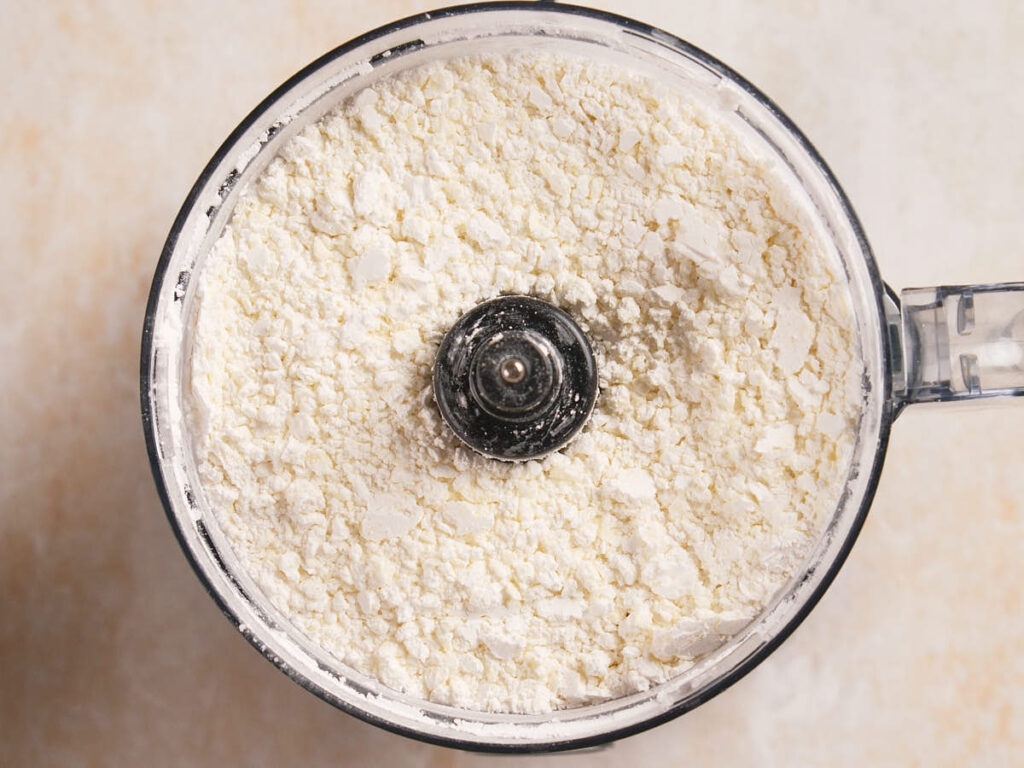
Step 1: Mix the dry ingredients
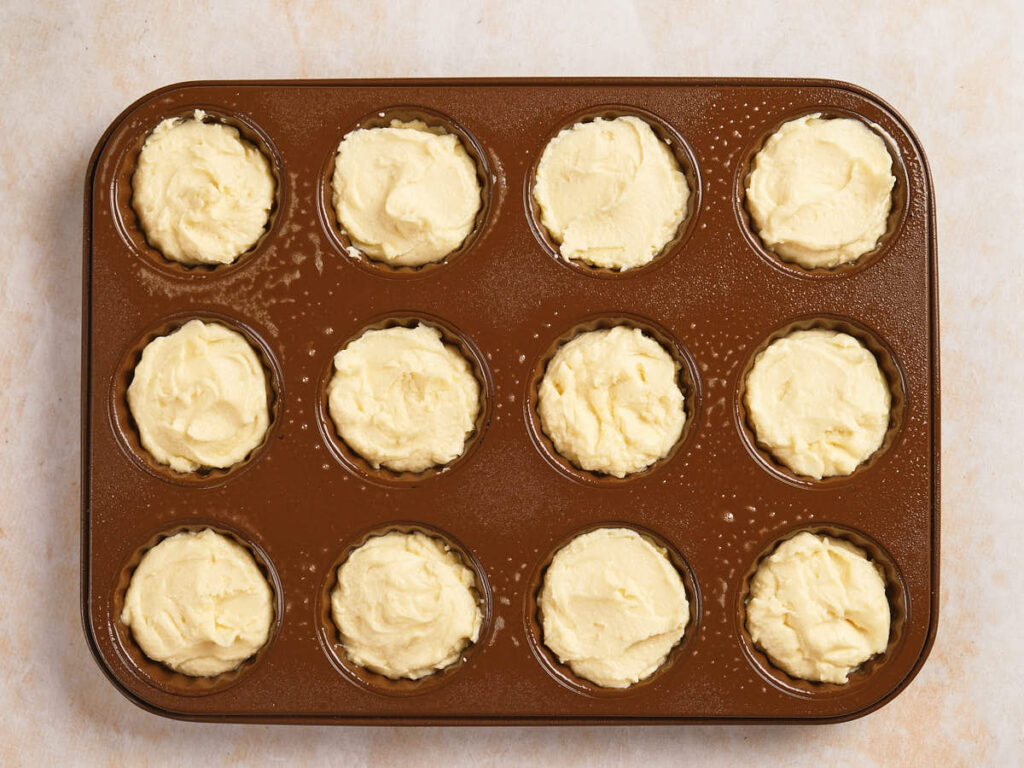
Preheat the oven to 375 F and grease a muffin pan.
Add yuca flour, cheese, baking powder, and salt to the bowl of a food processor. Blend to combine.
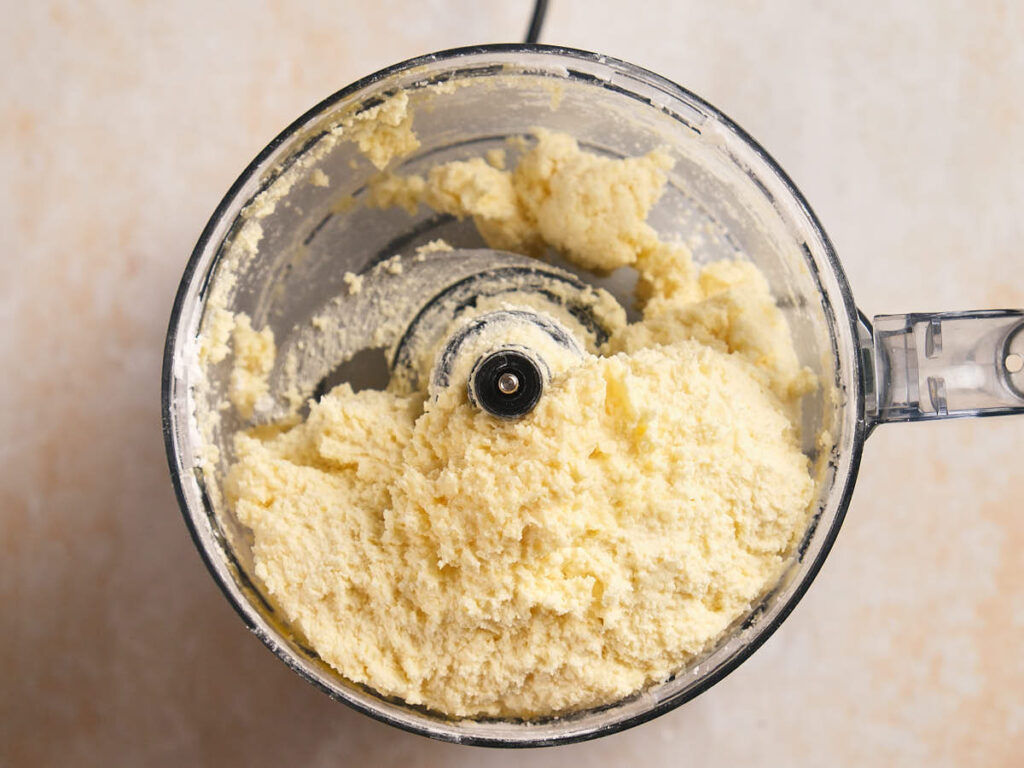
Step 2: Add the wet ingredients
Add butter and eggs. Mix until a thick dough forms.
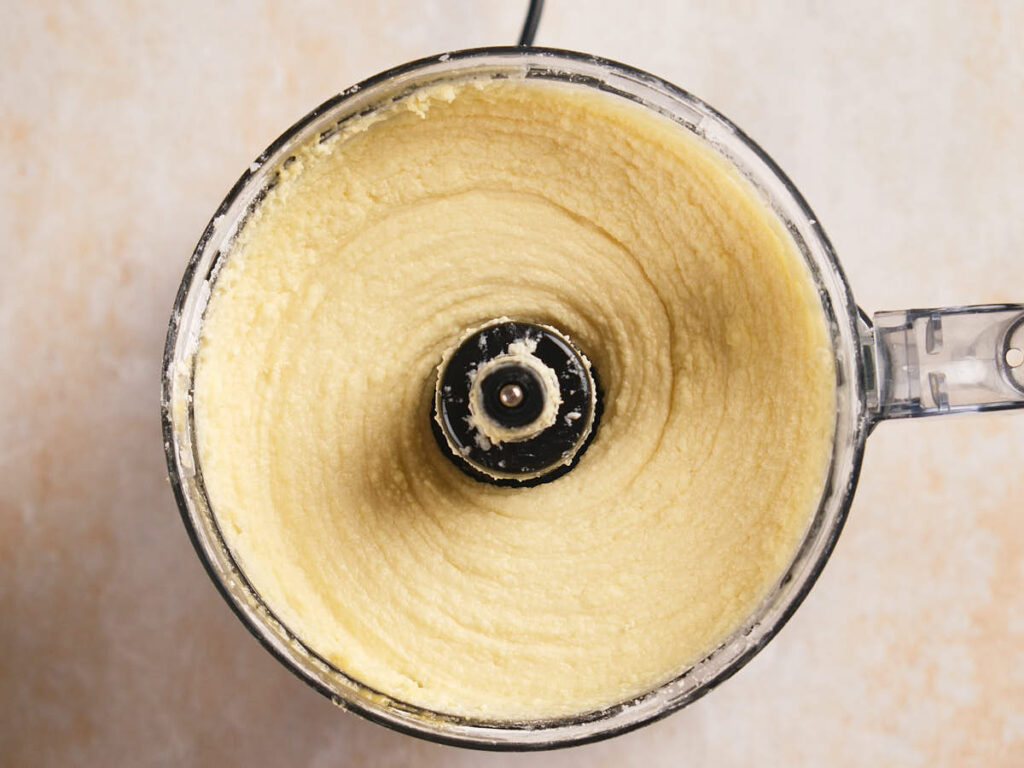
Step 3: Thin out the dough
Add water, 2 tablespoons at a time, while mixing. Continue until you achieve a dough thin enough for the machine to blend smooth. I add at least ½ cup of liquid and may add up to a whole cup, usually depending on how soft or dry the cheese is.
Step 4: Bake
Use a spoon to fill each muffin well ¾ full of dough. Bake for 25 minutes until the edges are golden brown.
Expert Tips
- Add flavor: For extra flavor, add 1 teaspoon garlic powder to the dough or mix in herbs like rosemary or thyme, a pinch of chili flakes for heat, or even swapping mozzarella with your favorite melty cheese or cheese blend.
- Use a baking dish: Instead of using a muffin tin, you can also bake this cheese bread in a 9×13 inch baking dish. You would need to increase time to 50 to 60 minutes, depending on how crispy you like the edges.
- Freeze for later: Shape the dough into balls and freeze before baking. Bake straight from frozen, adding just a few minutes to the oven time, for fresh bread anytime. Or freeze baked bread and thaw overnight before warming up in the oven before serving.
How to Store This Recipe
Pan de yuca tastes best fresh out of the oven, but if you have leftovers, store them in an airtight container in the fridge for up to 5 days. When ready to enjoy, simply reheat in a 350°F oven or warm them in a skillet over medium heat.
How to Serve Pan De Yuca
It’s great for brunch, as a snack, or warm side to balance out fresh salads or hearty soups. Pair with soups like avocado bone broth soup, beer cheese soup, and butternut squash soup with coconut milk. It’s a great pair for a heartier dishes like beef stew and slow cooker turkey chili as well.
You can serve it with a fresh salsa ranchera or salsa macha, chimichurri, gluten-free tomato sauce, or even a creamy dipping sauce. For a lighter option, pair it with a crisp salad, or make it the star of a snack board with cured meats, olives, and fruit.
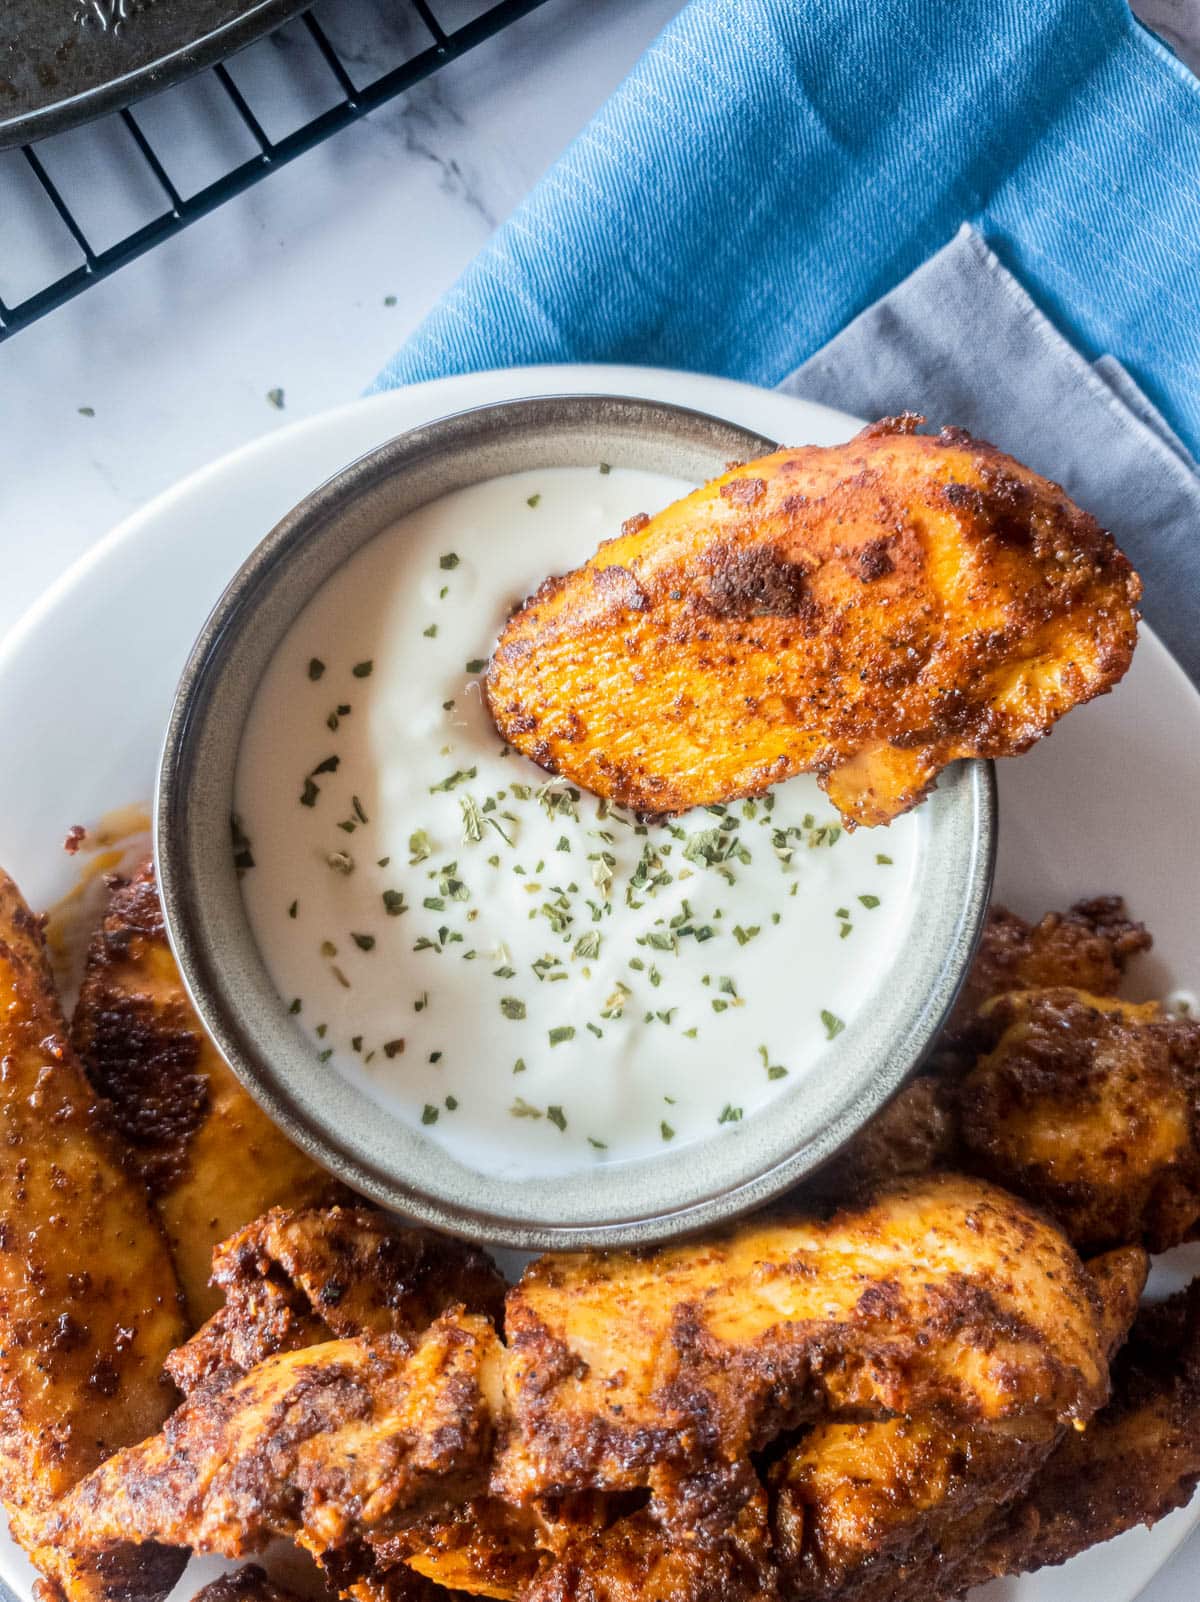
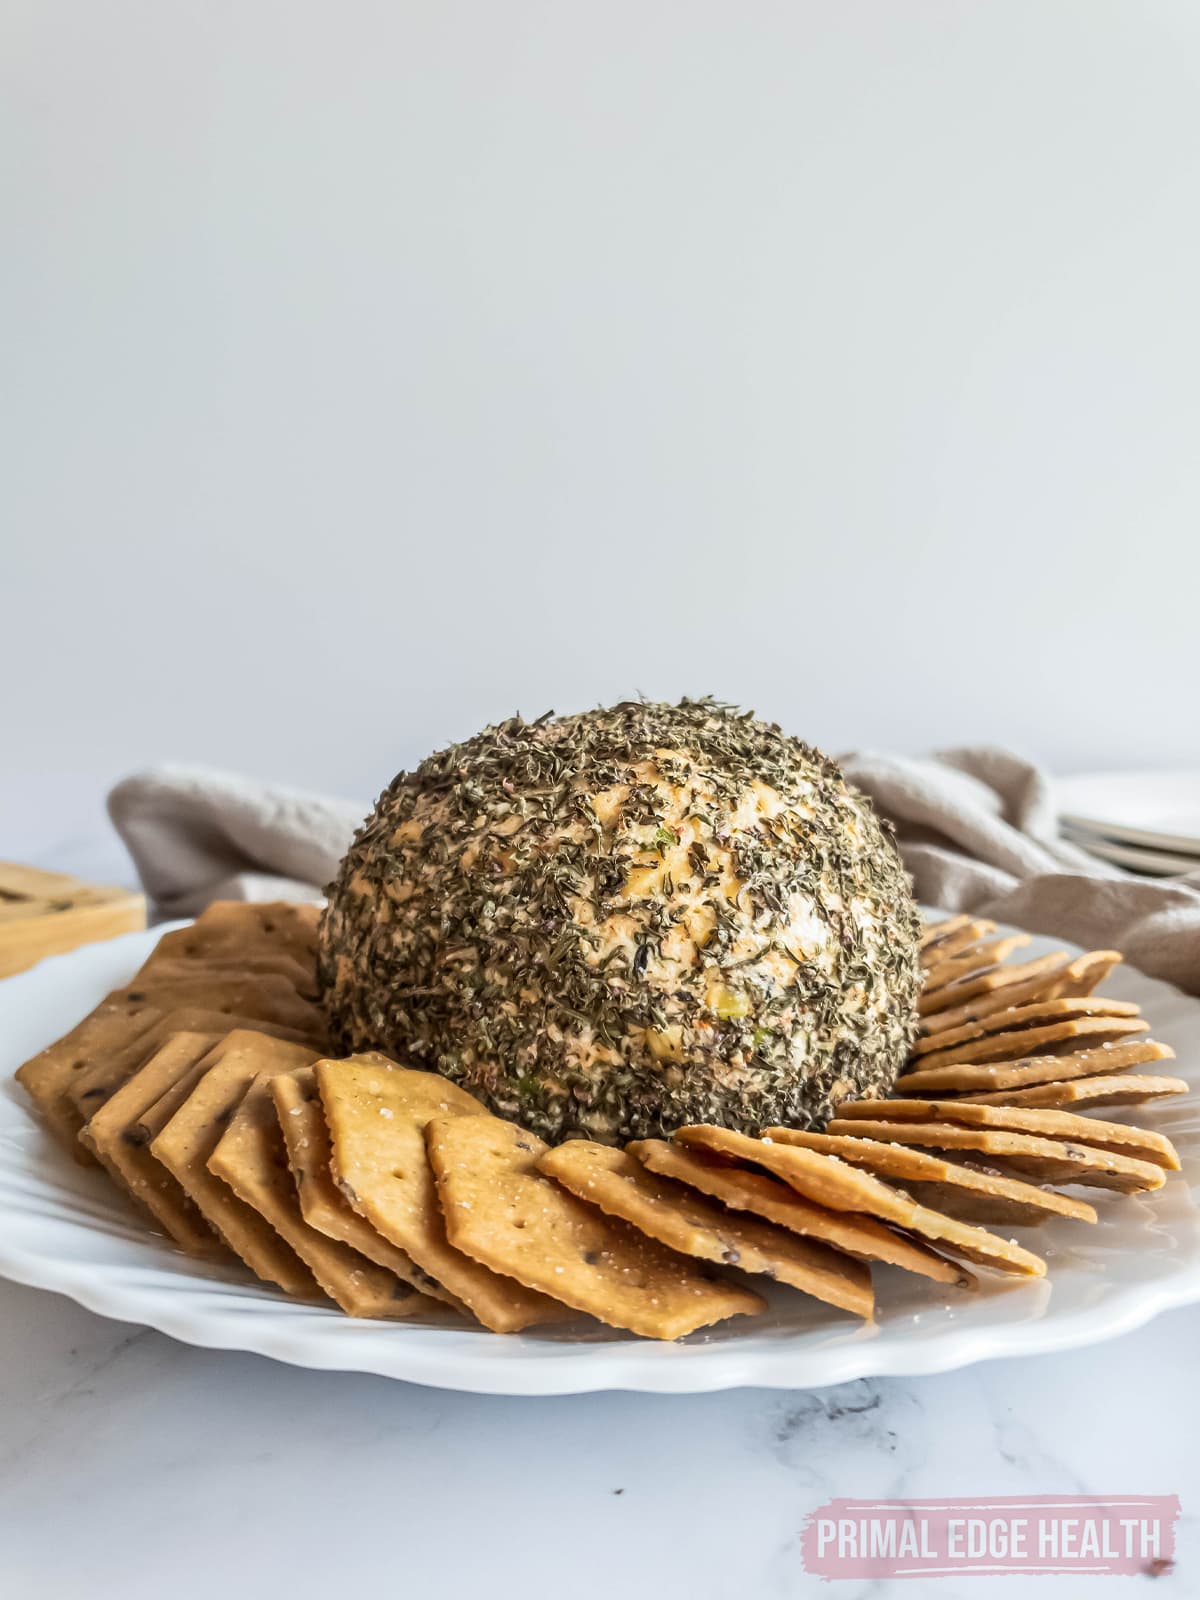
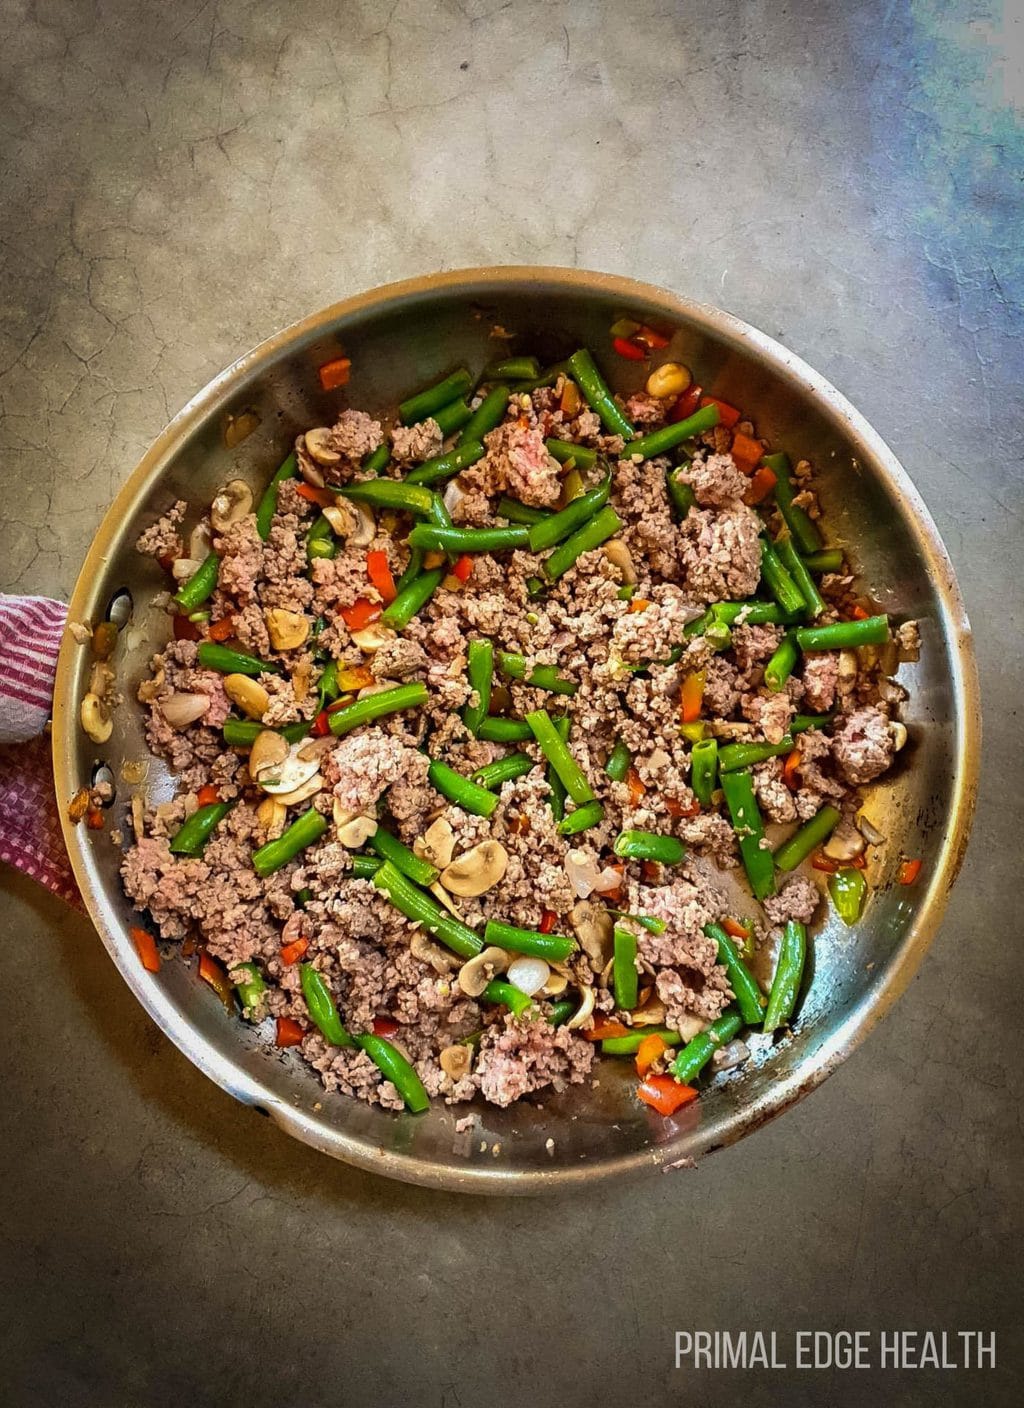
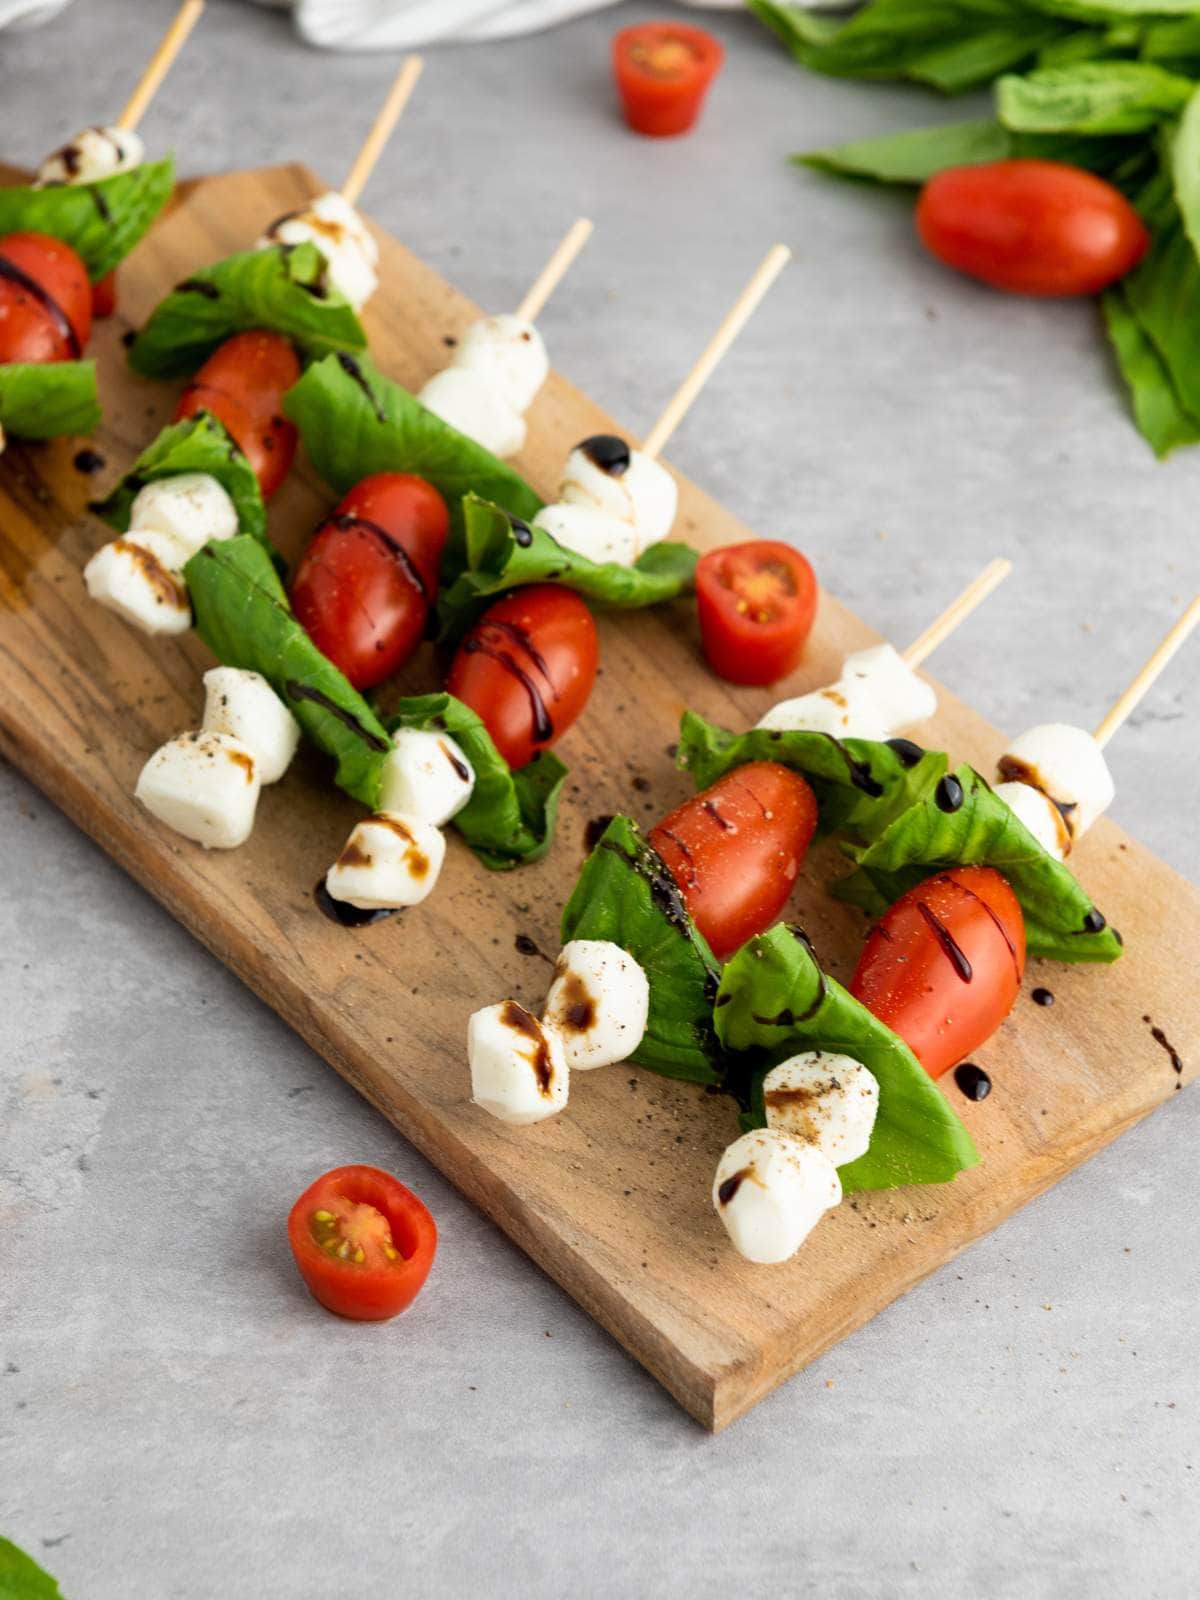
More Easy Appetizer Snacks To Try

No-Knead Pan De Yuca Recipe
Video
Ingredients
- 2 cups yuca flour also known as tapioca starch
- 4 cups shredded mozzarella cheese
- 1 teaspoon baking powder
- ½ teaspoon salt
- 4 ounces butter
- 2 large eggs
- 1 cup water or milk, divided
Instructions
- Preheat the oven to 375 °F .
- Add yuca flour, cheese, baking powder, and salt to the bowl of a food processor. Blend to combine.
- Add butter and eggs. Mix until a thick dough forms.
- Add water, 2 tablespoons at a time, while mixing. Continue until you achieve a dough thin enough for the machine to blend smooth. I add at least ½ cup of liquid and may add up to a whole cup, usually depending on how soft or dry the cheese is.
- Use a spoon to fill each muffin well ¾ full of dough. Bake for 25 minutes until the edges are golden brown.
Notes
- For extra flavor, add garlic powder, herbs, a pinch of chili flakes, or your favorite cheese blend to the dough.
- Instead of using a muffin tin, you can also bake this cheese bread in a 9×13 inch baking dish with additional baking time.
- Shape the dough into balls and freeze before baking. Bake straight from frozen, adding just a few minutes to the oven time, for fresh bread anytime.
Nutrition & Macros
To obtain the most accurate representation of the nutritional information in a given recipe, please calculate the nutritional information with the actual ingredients and amounts used, using your preferred nutrition calculator. Under no circumstances shall the this website and the author be responsible for any loss or damage resulting for your reliance on the given nutritional information.


This recipe yields a delicious, versatile snack with excellent texture and mouth feel.
It reminds me of the Quejos buns I used to have shipped to my remote location.
So satisfying!
Thank you for the most wonderful recipe.
Hey, Toby, that’s such a lovely compliment. Thank you! 😊 We’re thrilled it hit the mark for you, especially if it brought back those Quejos bun memories. Really appreciate you taking the time to share!