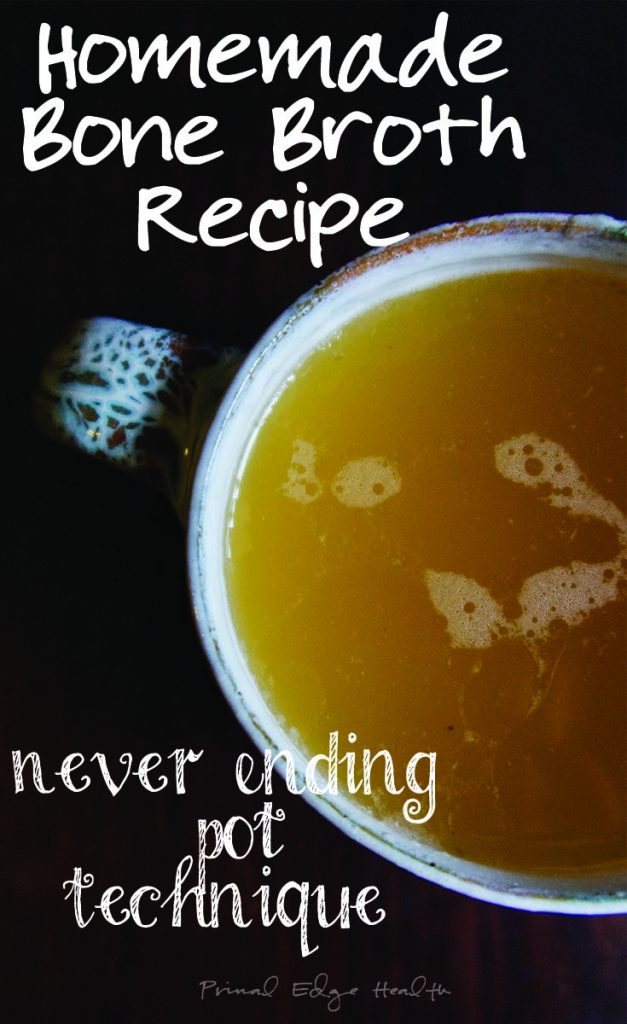
When I first started eating nose-to-tail, over six years ago, bone broth was one of the first recipes I learned to make.
Never-ending bone broth is great to have around once soup season arrives! Bone broth stews and soups are easy, quick, and so comforting. Browse our keto soup recipes for all the ideas you need for low-carb and weight loss-friendly options.
It quickly became a favorite recipe. I can still remember standing in my kitchen fishing out the slow-cooked meat and sucking the collagen off the bones. I really needed the nutrients at the time! It was a very primal moment.
I used this “endless” way of making bone broth because we were drinking it so fast and demand was high! The whole family and all the animals (dogs, cats, and chickens) share my batches of broth.
Tips for Homemade Bone Broth
When you get really into broth and enjoy eating the slow-cooked meat on a regular basis, knowing how to make endless broth takes your food prep skills to the next level!
Nose-to-tail eating can have a very important role for our health and is a respectful way to use all the animal, with little to zero waste.
- Bone broths are great for the keto diet or carnivore diet.
- Use a mixture of meaty bones, marrow bones, and knuckle bones. Tails and feet are nice too – they will add lots of collagen and gelatin to the broth! (I recommend US Wellness if you don’t have a local source!)
- Homemade bone broth can be used in so many ways: sauces, dips, soups, purees, and for braising vegetables
- Broth can usually be stored in the fridge for 3-5 days; freeze for longer
- Tallow rises to the top and will solidify at room temperature. It is an excellent fat for frying and cooking. Your skin will love it too.
- A thick tallow cap will seal the broth below and preserve it well, possibly upwards of 2 weeks.
- Add scraps or diced pieces of onion, carrot, celery, rosemary, thyme, oregano, bay leaf, garlic, salt and pepper for extra flavor. This step is completely optional and best done for a normal batch of broth when you don’t need to fish out reusuable material for “endless” batches
- I prefer to skip the veg and use a variety of mineral rich salts instead, they are just enough for me
- Want to make a Slow Cooker Beef Bone Broth instead? No problem!
- If you’re just not ready to make your own, buy organic, shelf-stable broth from Kettle and Fire and sit on this information for a little longer until you’re feeling inspired
The history of bone broth has always interested me and I’m happy to be able to continue the tradition in our home and share with others. One of our very first Youtube recipe video/vlogs features this homemade bone broth recipe. It’s a fun blast from the past! Our daughter was so young back then!
Get started with the Traditional Homemade Bone Broth Recipe or a zero-carb Carnivore Diet Bone Broth Recipe.
Did you know bone broth for dogs is also good? However, make sure you adapt this to a pet-friendly recipe because they don’t do well with salt, garlic, or onion.
Homemade Bone Broth Recipe | The “Endless” Method
Equipment
- Stock pot
Ingredients
- 4-6 pounds beef bones from grass-fed beef, goat, or lamb*
- ¼ cup raw apple cider vinegar lemon, or lime juice
- veggie and herb scraps optional, see note
Instructions
- Dry roast bones at 350 °F until lightly golden brown by placing the bones in a roasting pan or glass pyrex, (no butter or oil). Roast for about 20 minutes.**4-6 pounds beef bones
- In a large pot, add the bones and cover completely with water. Pour in vinegar or lemon/lime juice.¼ cup raw apple cider vinegar
- Bring to a simmer over low heat and maintain for 24 hours. Do not boil. Keep an eye on the water line, make sure the bones stay covered with water. Top off as needed.
- Add optional herbs and veggie scraps like onion, carrot, celery, rosemary, thyme, and/or oregano in the last two hours of the cooking time.veggie and herb scraps
- Remove from heat and let cool a little. If there is any film on top, skim it off. Strain contents through a cheese cloth or fine mesh strainer. Store in the refrigerator for up to 5 days, freeze for longer.
- To make ENDLESS broth: Strain the bones and separate what ever meaty parts you want to eat. Return the cooked bones to the pot and add an additional 1-2 pounds of fresh meaty bones. Begin the process again from step 2. Repeat this process over and over again all week (month?) long. You’ll see when the bones are done; there marrow will be gone and the porous parts will have disintegrated. Keep the cycle going by tossing the old bones and replacing with fresh meaty ones until you’ve had enough.
Video
Notes
Nutrition & Macros
To obtain the most accurate representation of the nutritional information in a given recipe, please calculate the nutritional information with the actual ingredients and amounts used, using your preferred nutrition calculator. Under no circumstances shall the this website and the author be responsible for any loss or damage resulting for your reliance on the given nutritional information.
Hello. When you say to simmer for 24 hours does that have to be non stop or can I stop the cooking process overnight and start it up again in the morning.
Thank you
Thanks for the question, Al – the simmer needs to be non-stop for the full period, or at least 18 hours minimum.
Have you adapted this recipe to Quick Pot?
Hi Rebecca, I’m not familiar with a “Quick Pot” and haven’t adapted this recipe for that appliance. Usually, brands will give general guidelines on how to adapt standard stovetop recipes to their unique appliance. I suggest you ask the company or search for articles that teach how to adapt recipes for the specific tool you have. Since this broth recipe is so simple, it shouldn’t be difficult to modify at all!
You say “simmer, but do not boil” Is there a reason for that? Wouldn’t it concentrate the broth even more to keep boiling the liquid away and adding more throughout the process? thanks. ralph
I understand your thinking but long-time broth researchers like the Weston A Price Foundation and Sally Fallon Morell who wrote Nourishing Traditions consistently recommend a long cooking period over low temperature as a way to best preserve the quality of nutrients and mineral content.
Yes, I’ve heard that using apple cider vinegar helps pull more nutrients from the meat. My question is will the broth have that vinegar taste to it when it’s done? I’m worried to add it to the broth. My husband hates apple cider vinegar.
Hi Candice, no I don’t notice a taste of vinegar once the broth finishes. There’s only 1/4 cup in a few liters of broth. It’s not noticeable. If you’re worried you could use just 2 tbsp at first and then increase to the full 1/4 cup next time.